Browse Customers
1
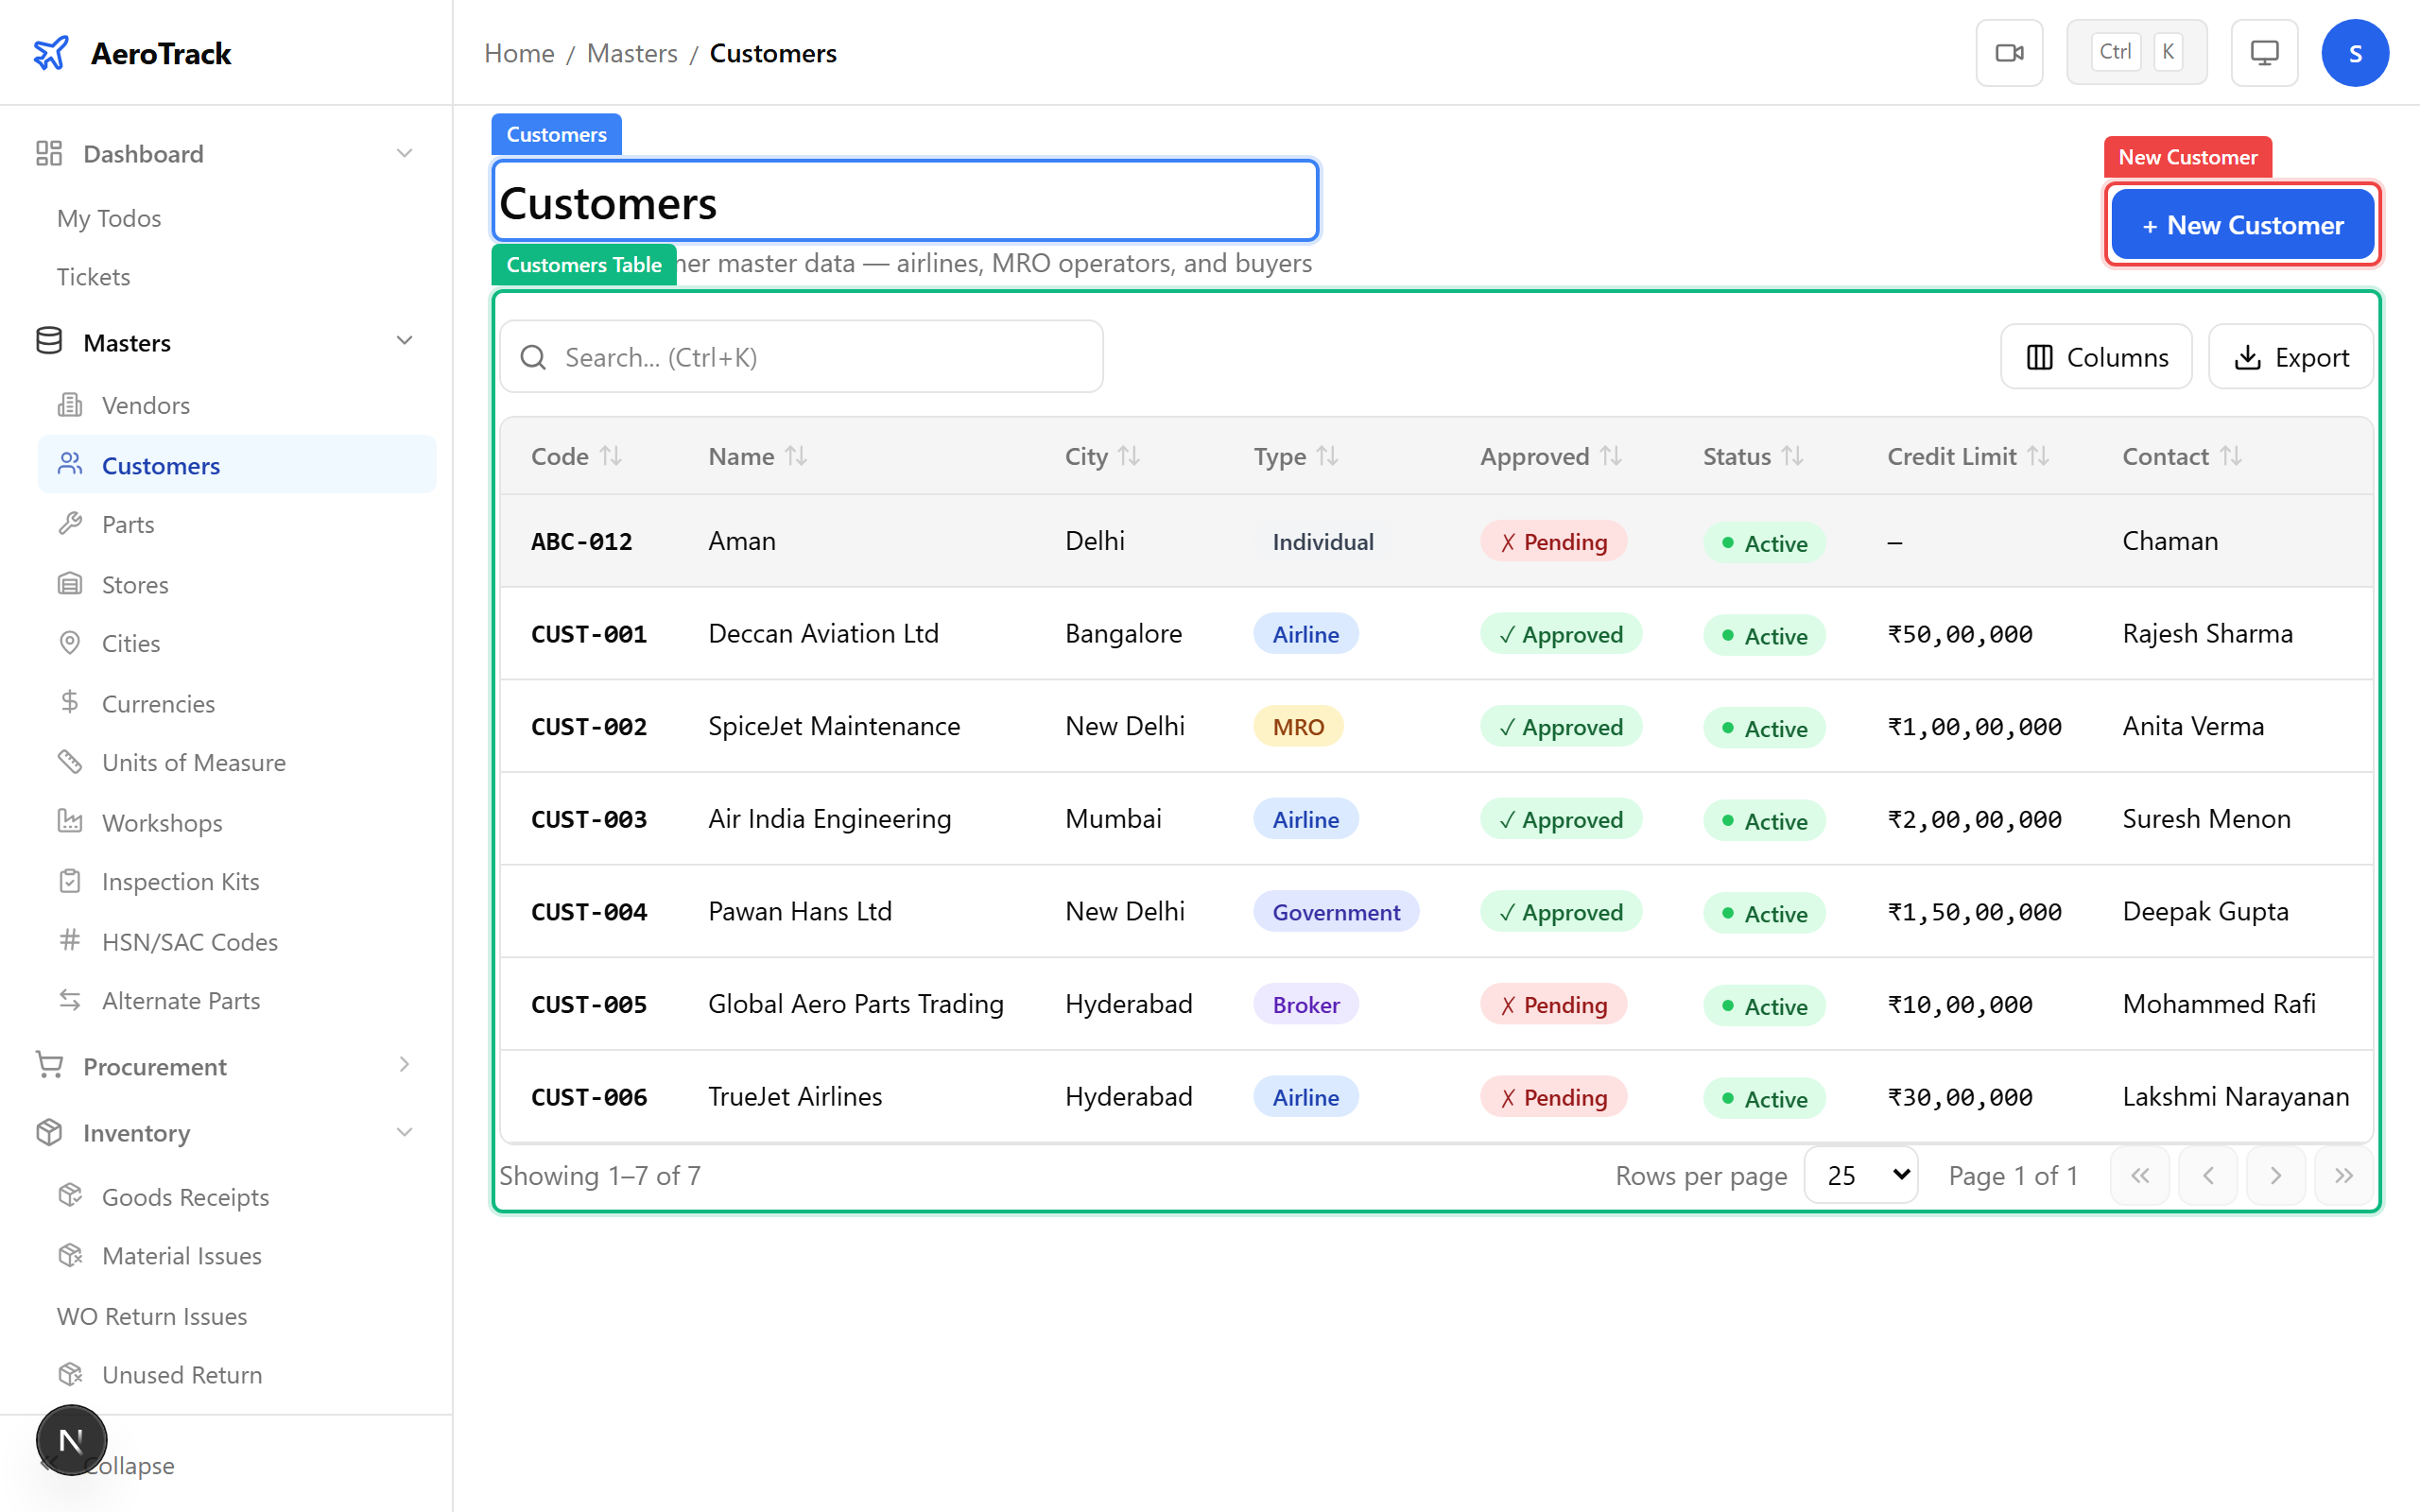
Open the Customers List
Navigate to Masters → Customers in the sidebar.
The list at /masters/customers shows all registered
customers with their code, name, type, city, and contact details.
Click any row to open the customer detail page. Click + New Customer to register a new one.
Register a Customer
2
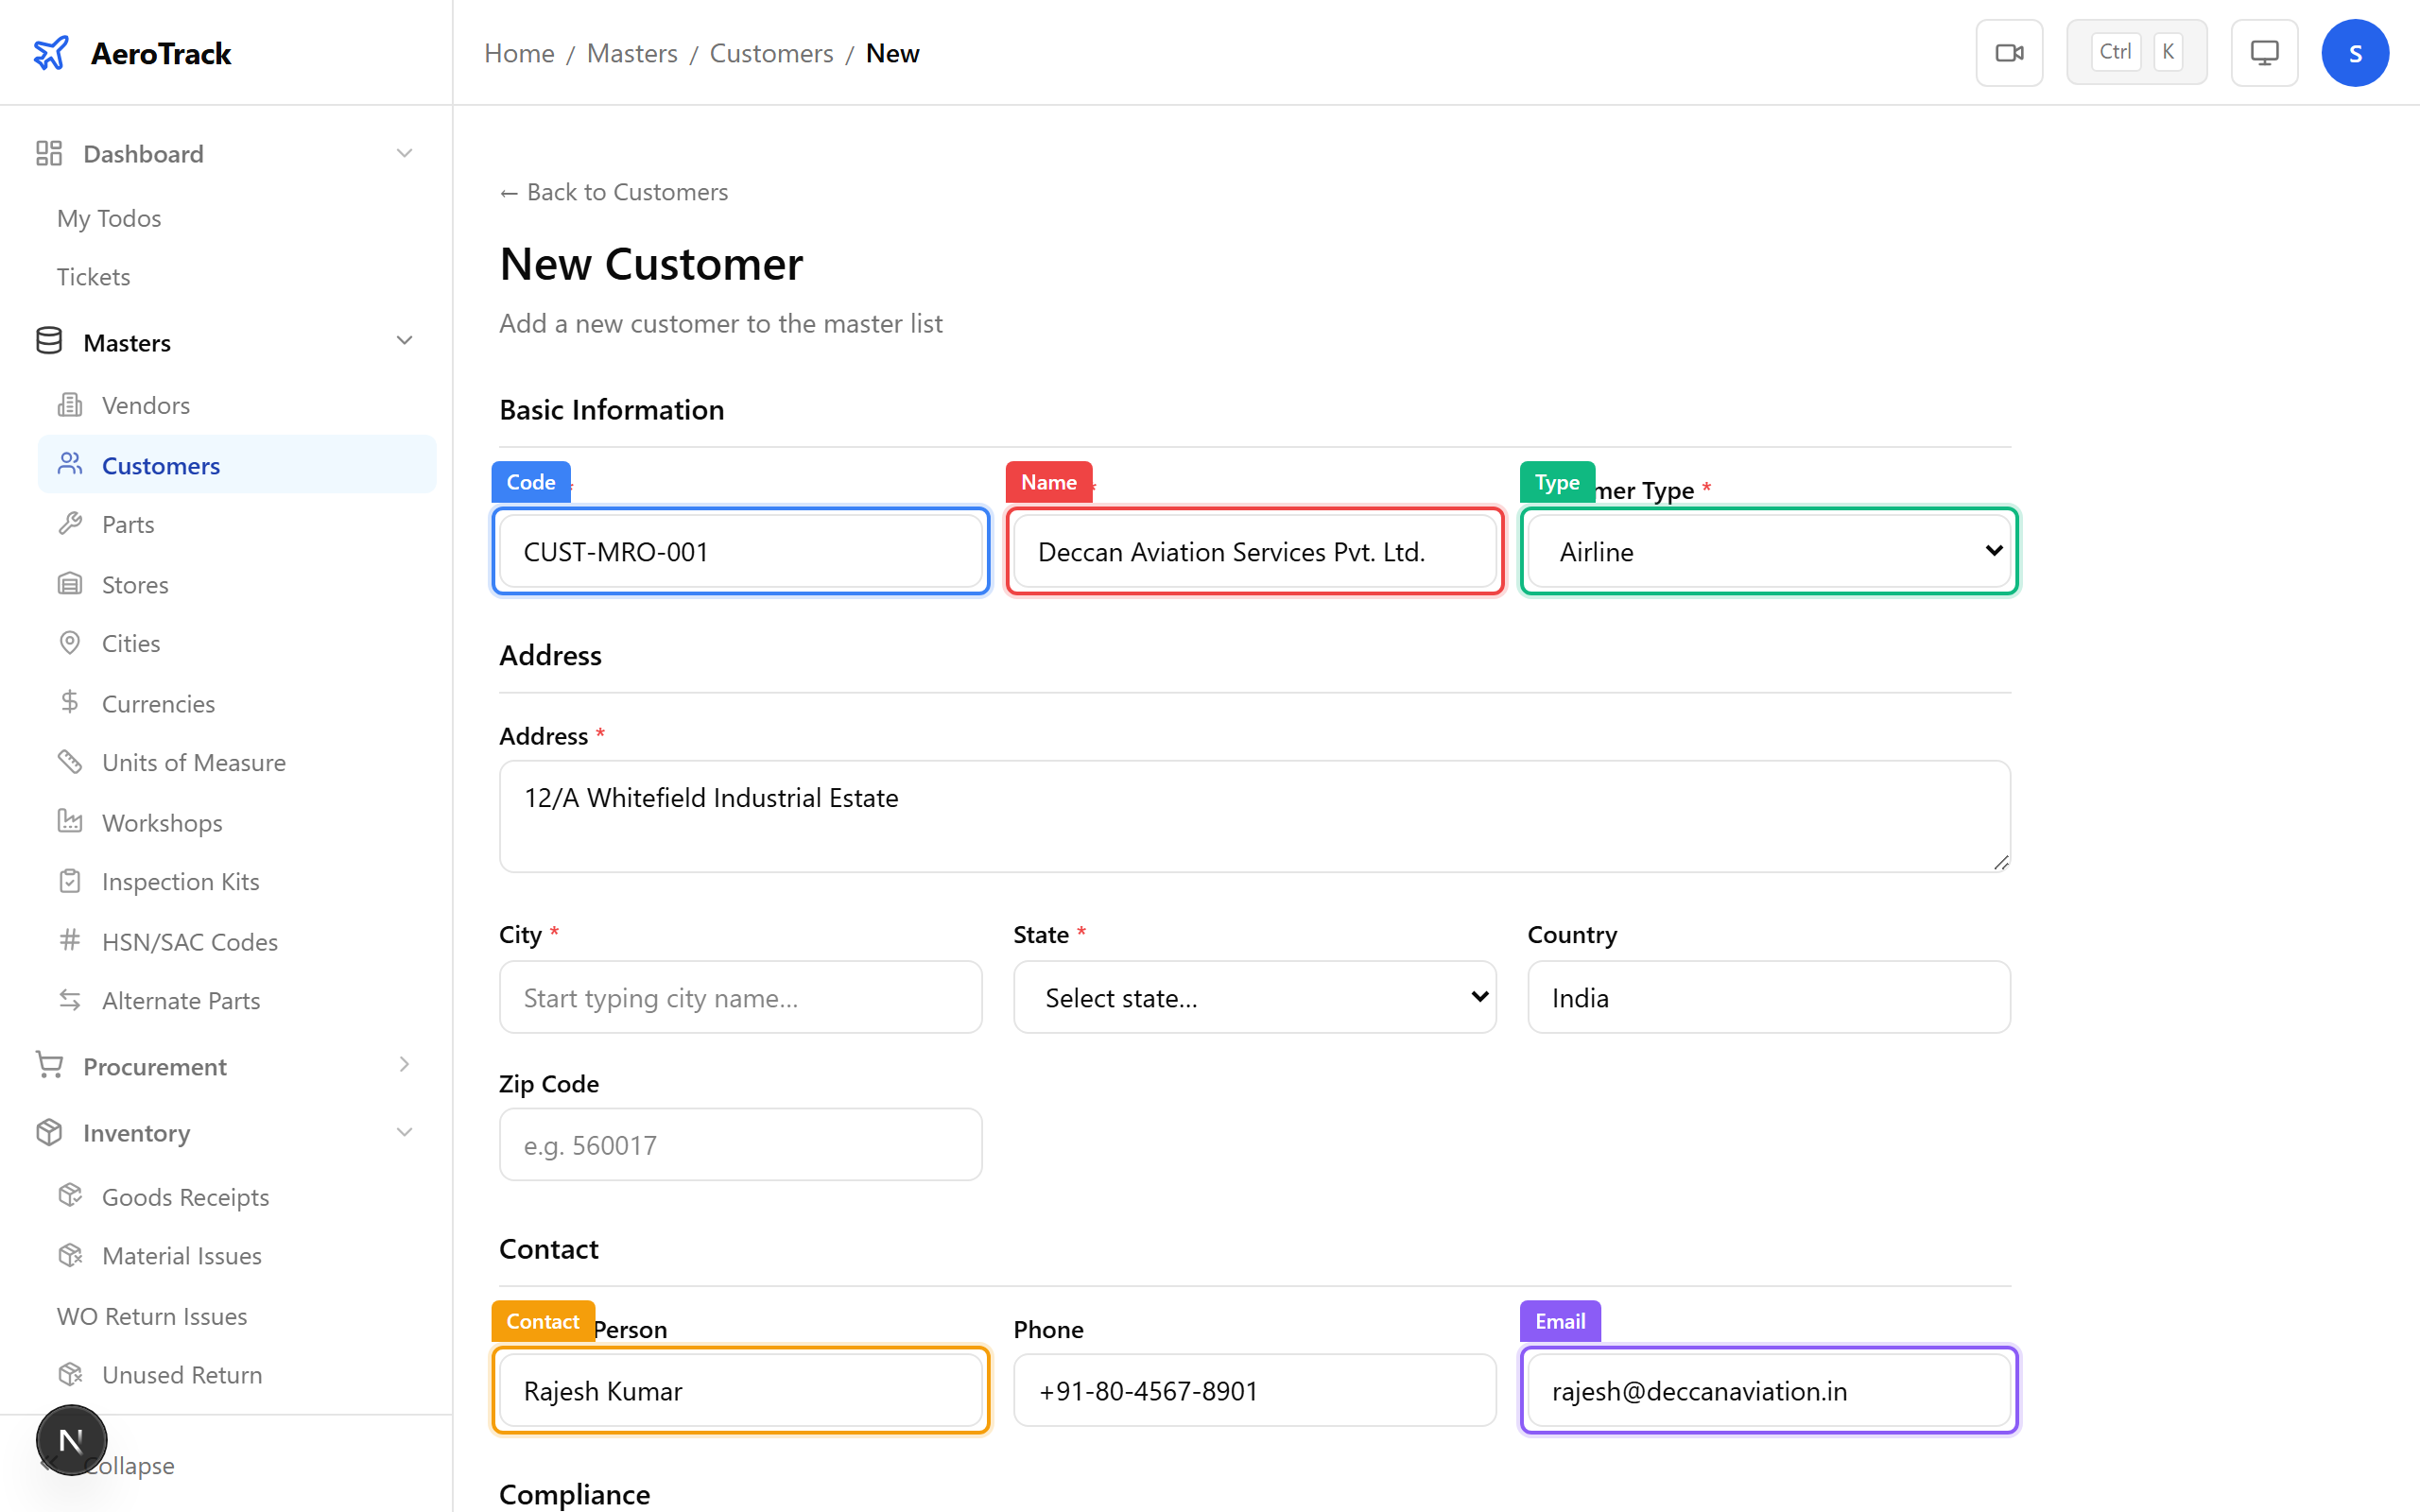
Open the New Customer Form
Click + New Customer or navigate to
/masters/customers/new.
3
Identity & Contact
| Field | Required | Notes |
|---|---|---|
| Code * | Yes | Unique customer code (e.g. CUST-001). |
| Name * | Yes | Full legal name of the customer or company. |
| Customer Type * | Yes | Individual, Company, Government, or Military. |
| Address | No | Street address. |
| City | No | City (type-ahead from cities master). |
| State / Country | No | Auto-filled from city selection. |
| ZIP Code | No | Postal code. |
| Contact Person | No | Primary contact name. |
| Phone | No | Contact phone number. |
| No | Contact email address. |
4
Financial & Tax Details
| Field | Notes |
|---|---|
| GST Number | Customer’s GSTIN for tax invoicing. |
| PAN Number | PAN for TDS deduction and compliance. |
| Payment Terms | Default payment terms (Net 30, Net 60, Advance, etc.). |
| Credit Limit | Maximum outstanding balance allowed for this customer. |
| Approved | Whether this customer is approved for transactions. |
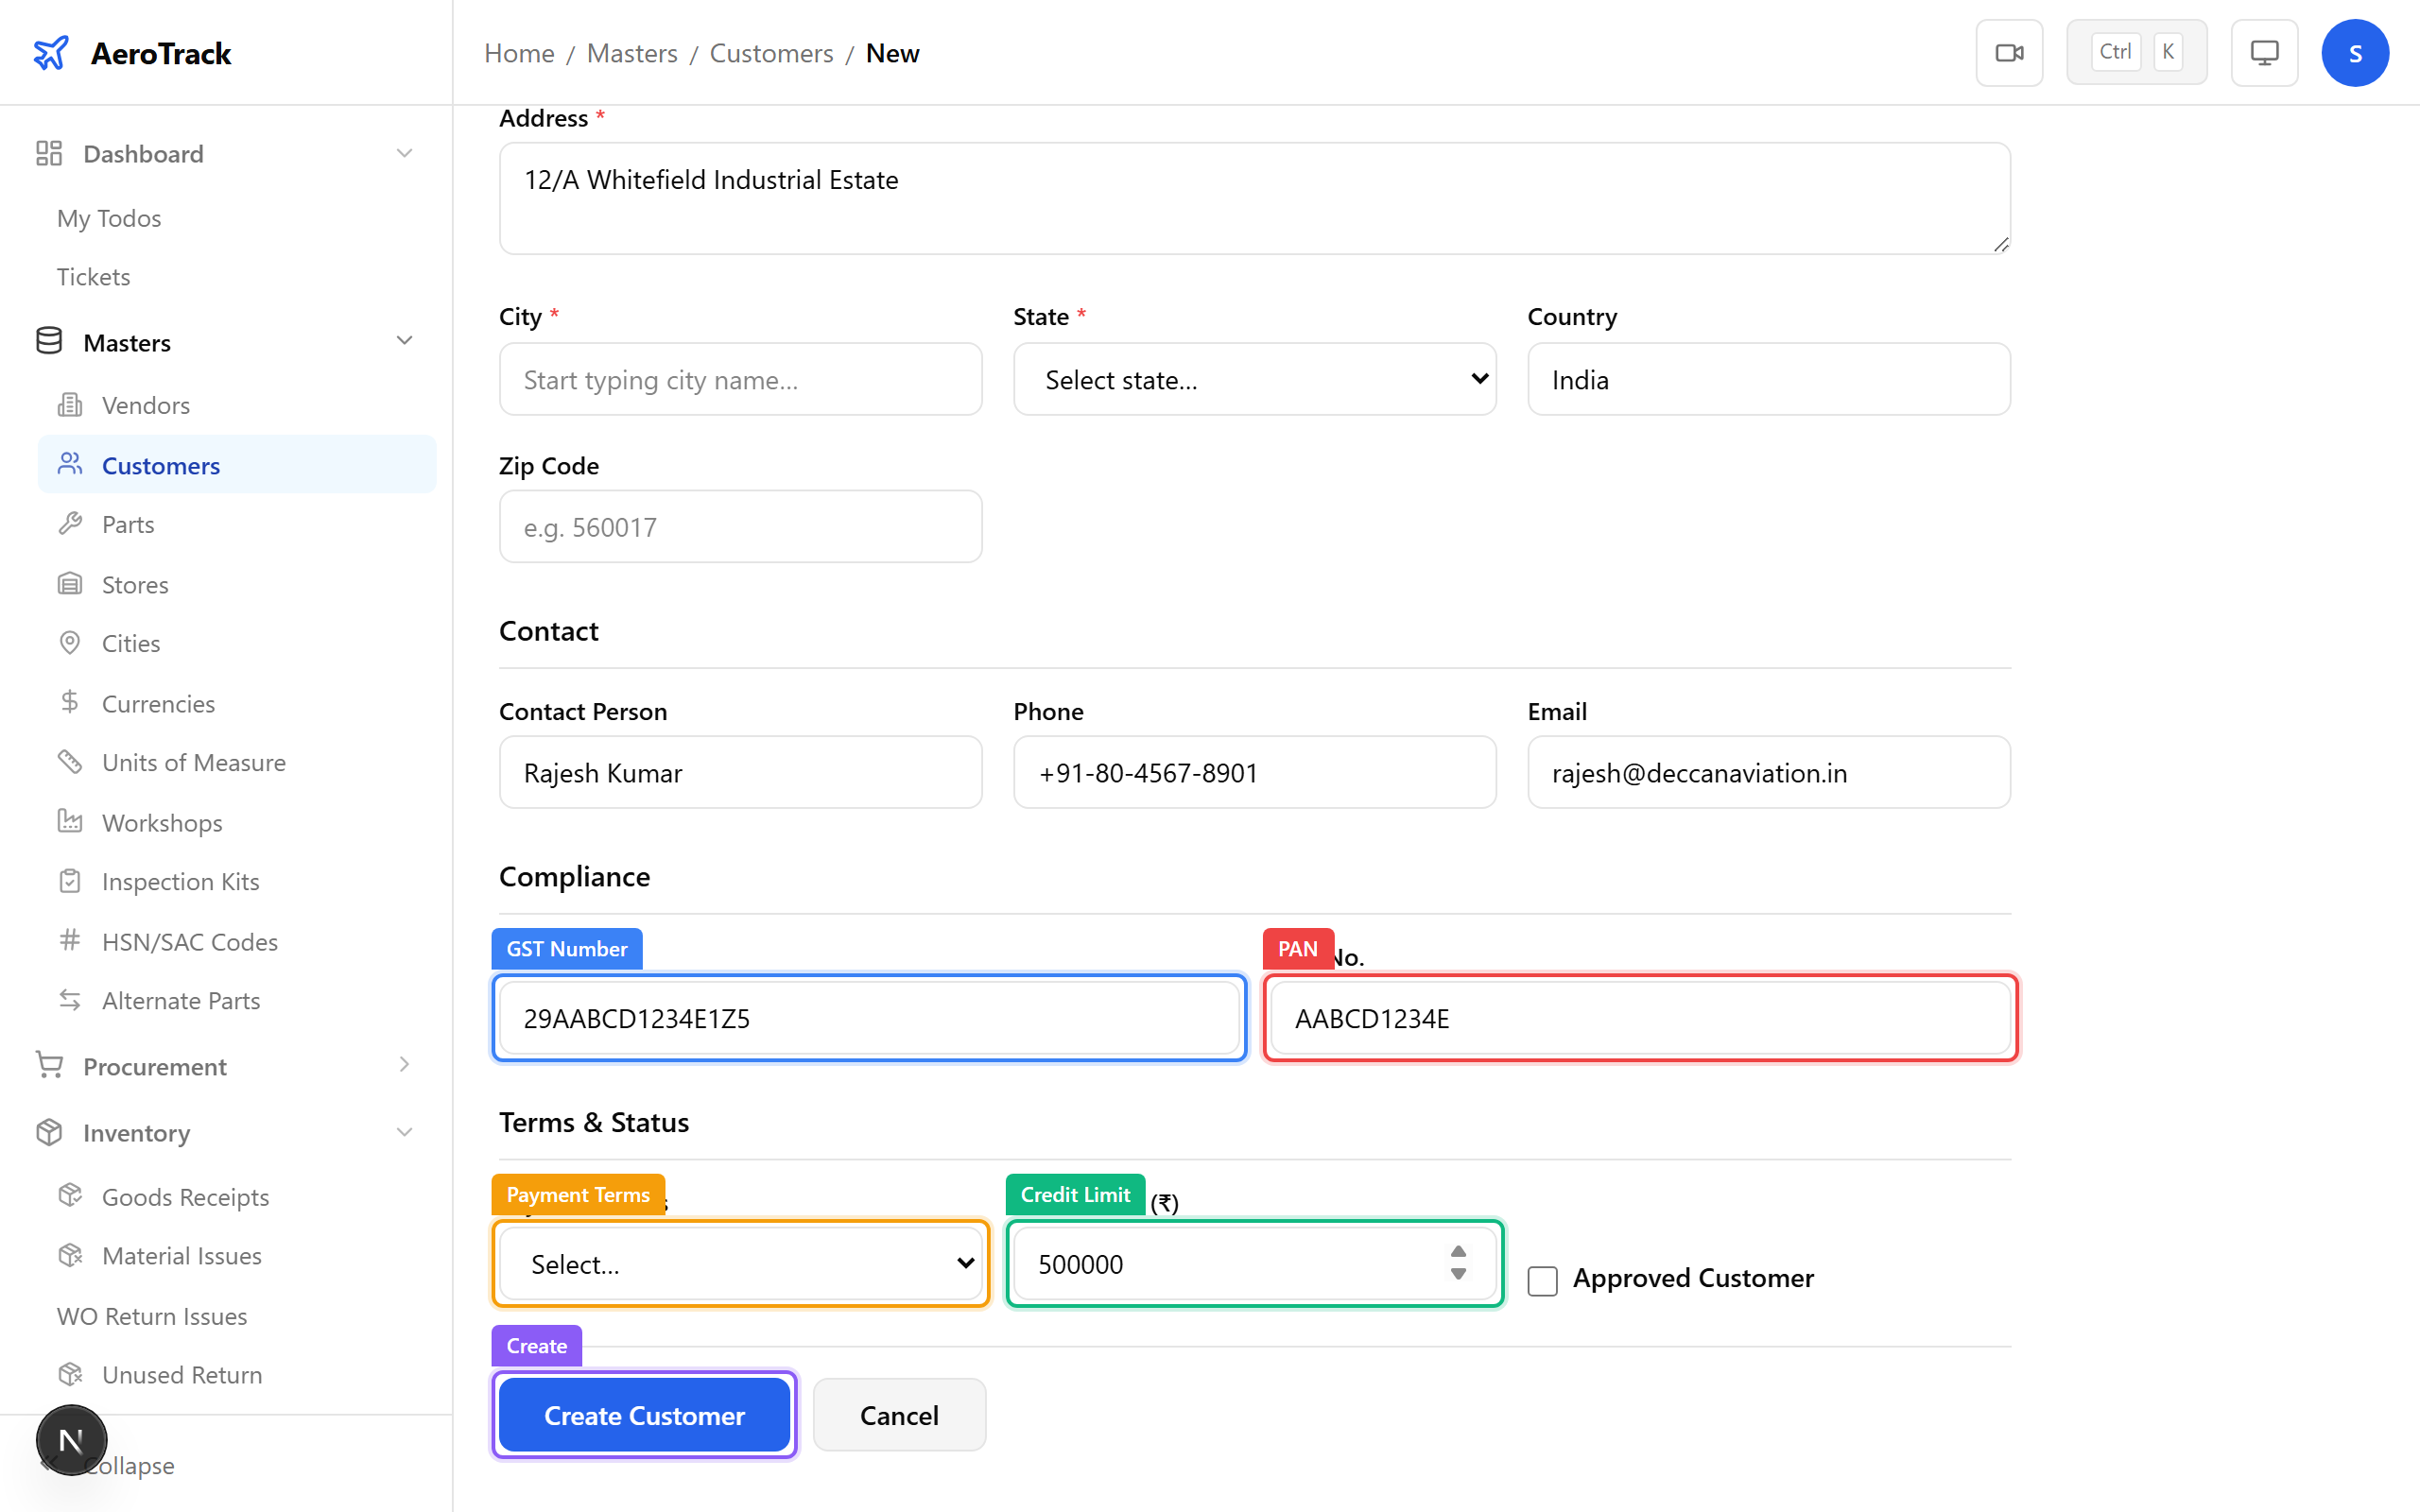
The GST number determines whether CGST+SGST (intra-state) or IGST (inter-state) is applied on sales invoices. Ensure it is accurate to avoid incorrect tax calculations.
5
Submit
Click Create to register the customer. Once created, the customer is available in Sales Order and Sales Invoice forms.
Customers with the Approved flag unchecked cannot be selected in sales transactions. Use this to control which customers are active for ordering.