Navigate to Settings → Company Information. Fill in your company name, registration number, GST/PAN numbers, phone, email, and full address. This information appears on printed documents like purchase orders and invoices.
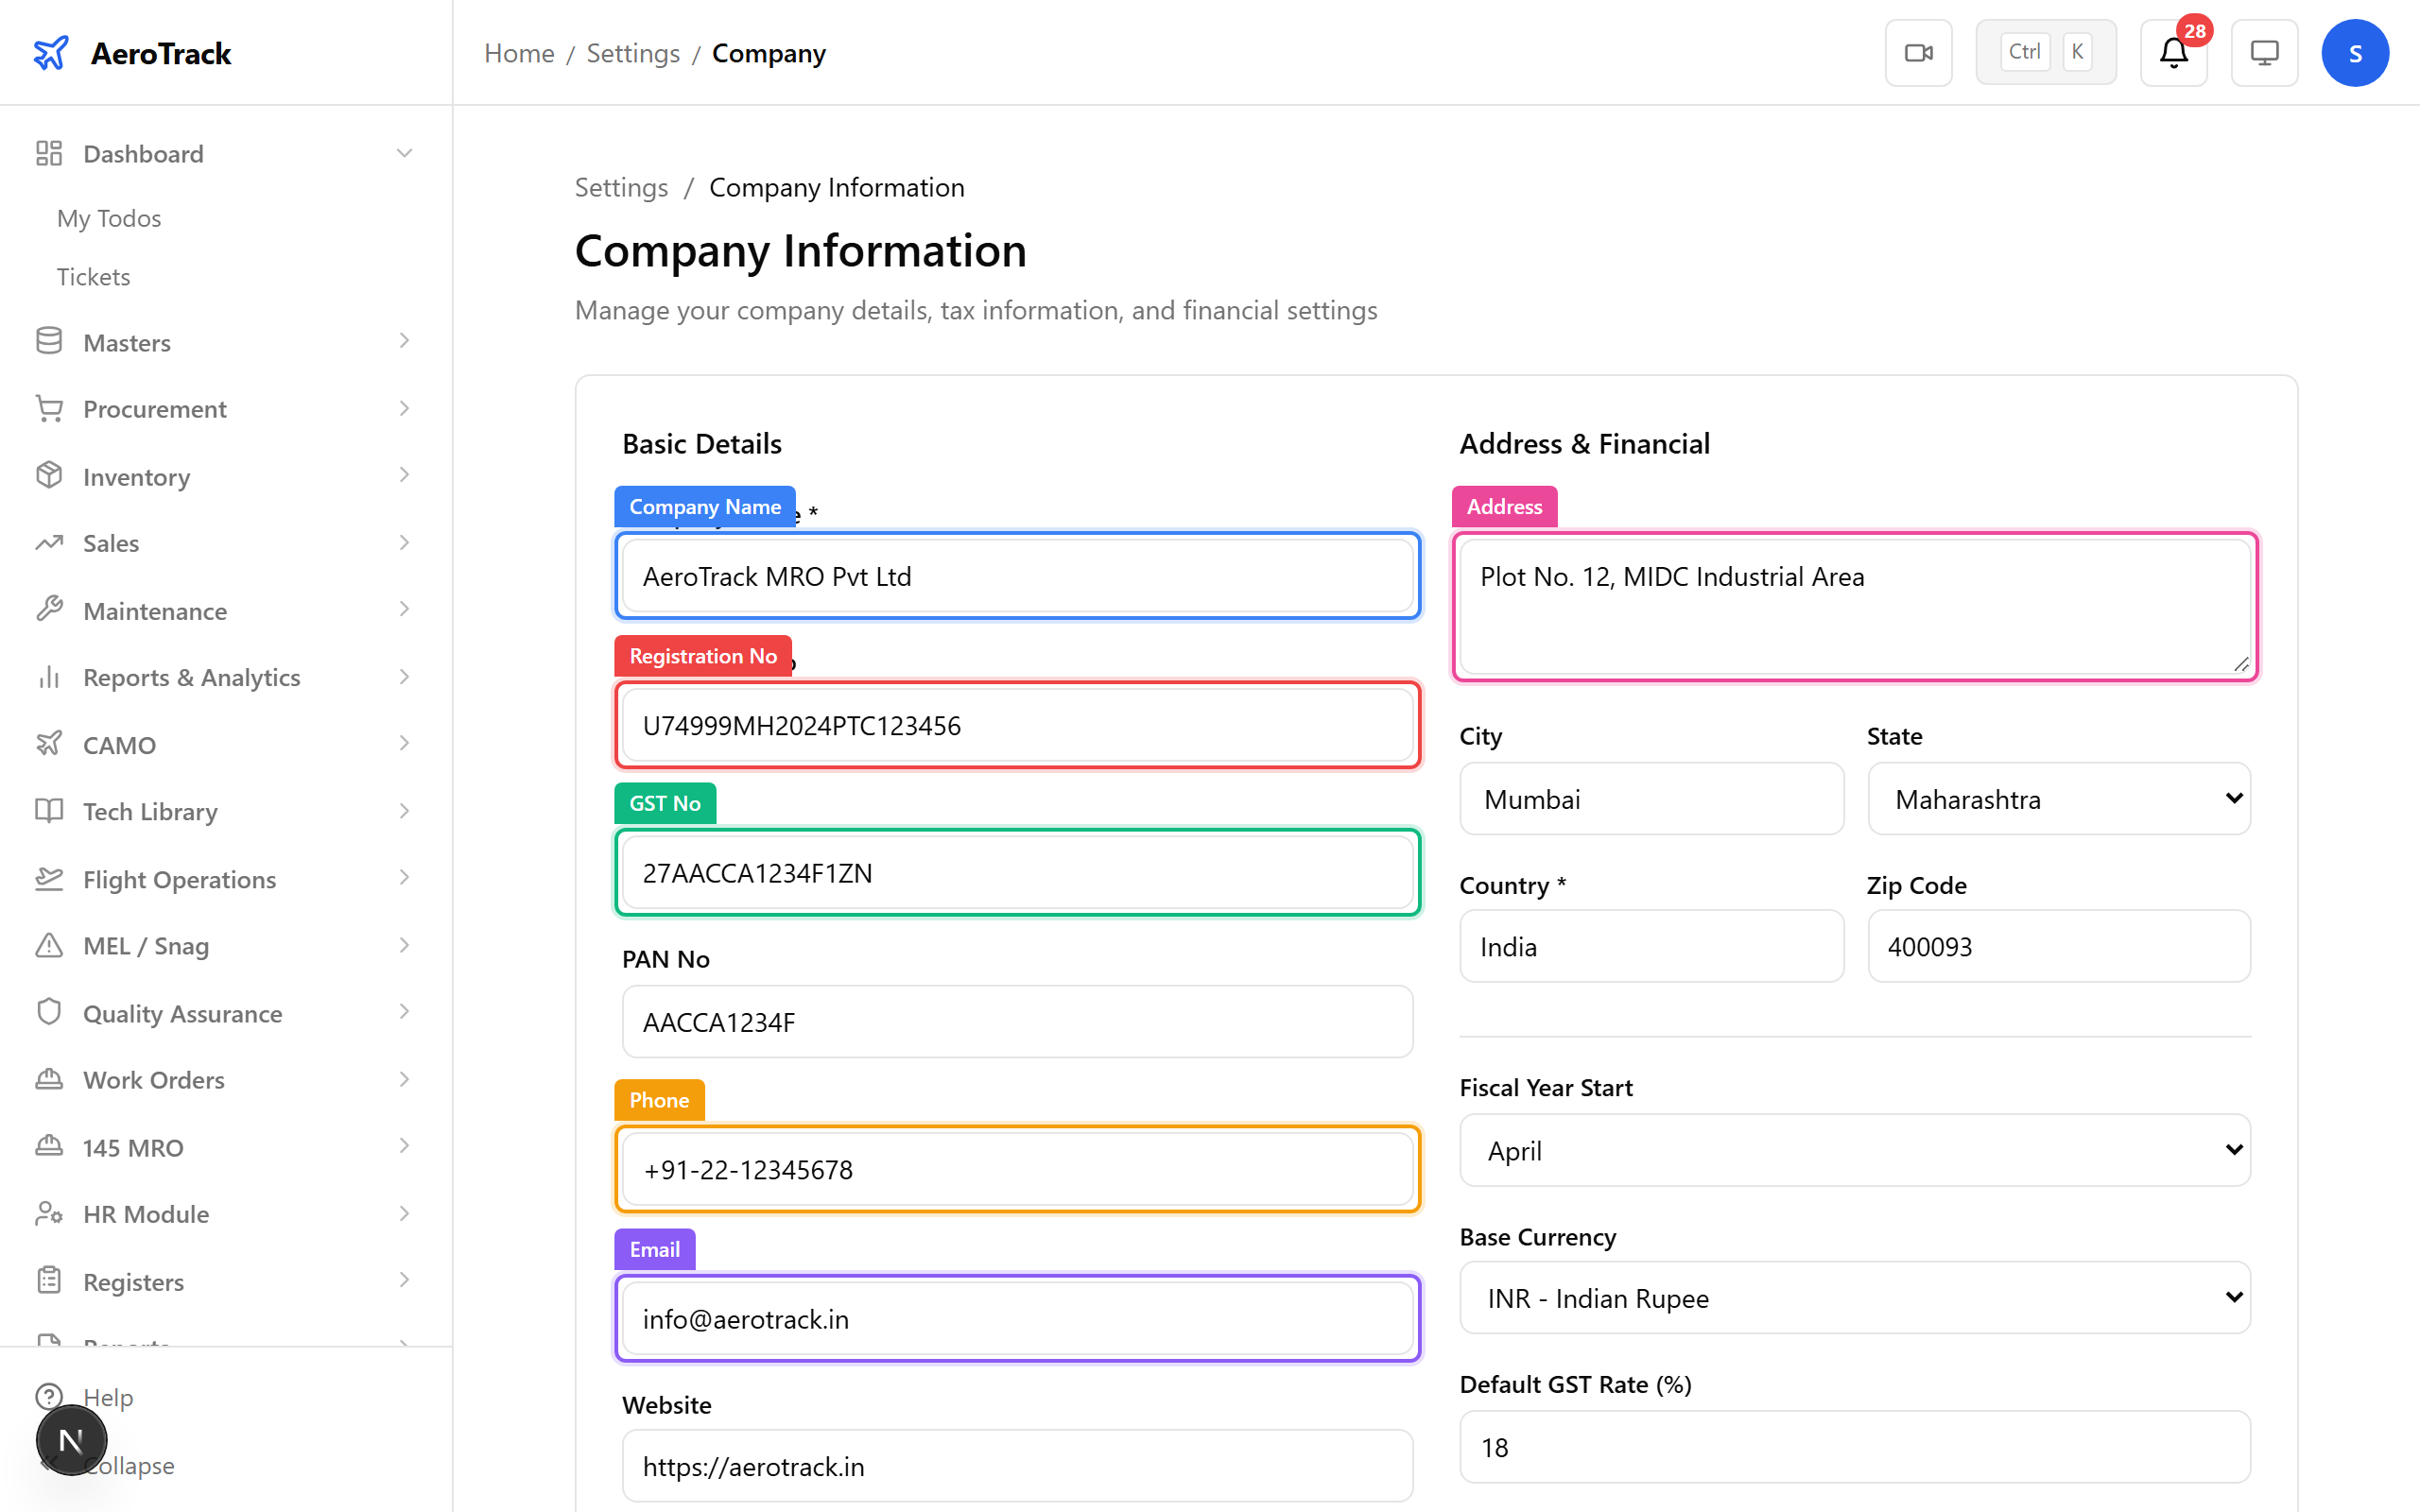
▲ The company identity section — every field here flows into PDF headers, email footers, and regulatory documents. Get the registration and GST numbers right the first time.
Scroll down to configure financial defaults — fiscal year start month, base currency (INR, USD, EUR, GBP), default GST rate, and inventory valuation method (FIFO, LIFO, or Weighted Average). These affect every transaction in the system.
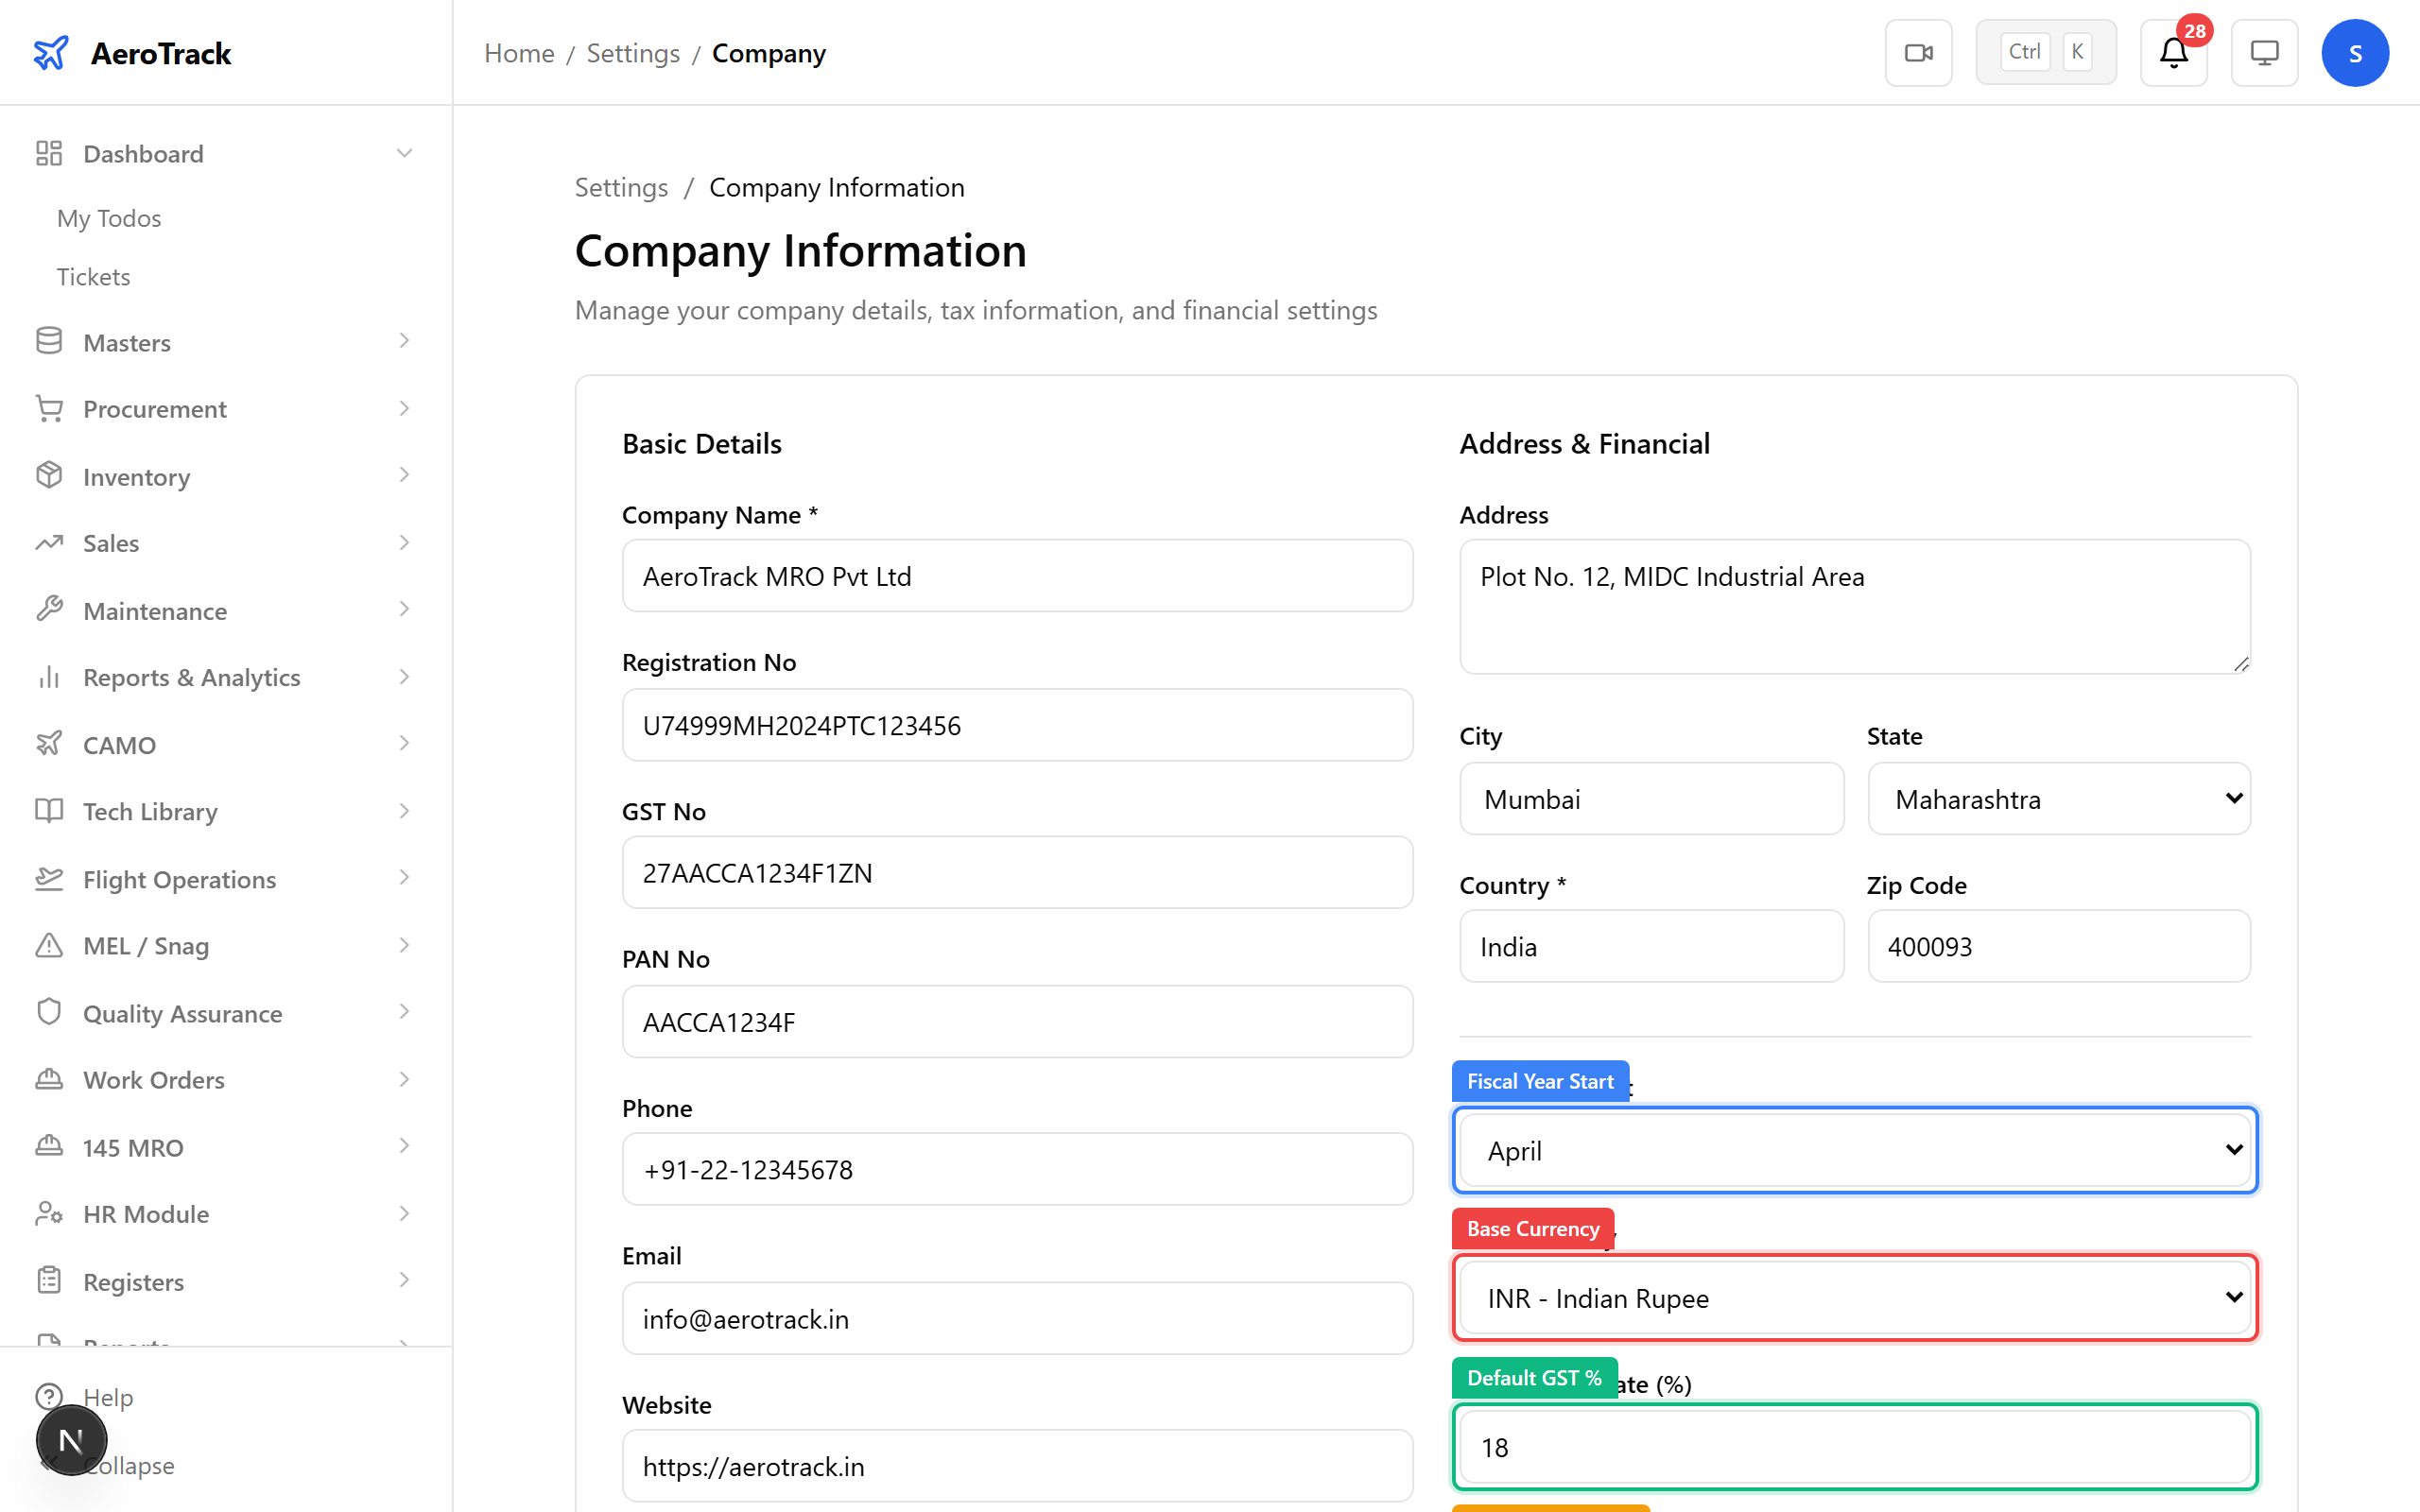
▲ Financial defaults — the valuation method determines how inventory costs are calculated. Most aviation MROs use FIFO (first-in, first-out) for traceability.
Navigate to Settings → Users. The user table shows every account — name, email, role, active status, and creation date. The "Add User" button opens the creation form.
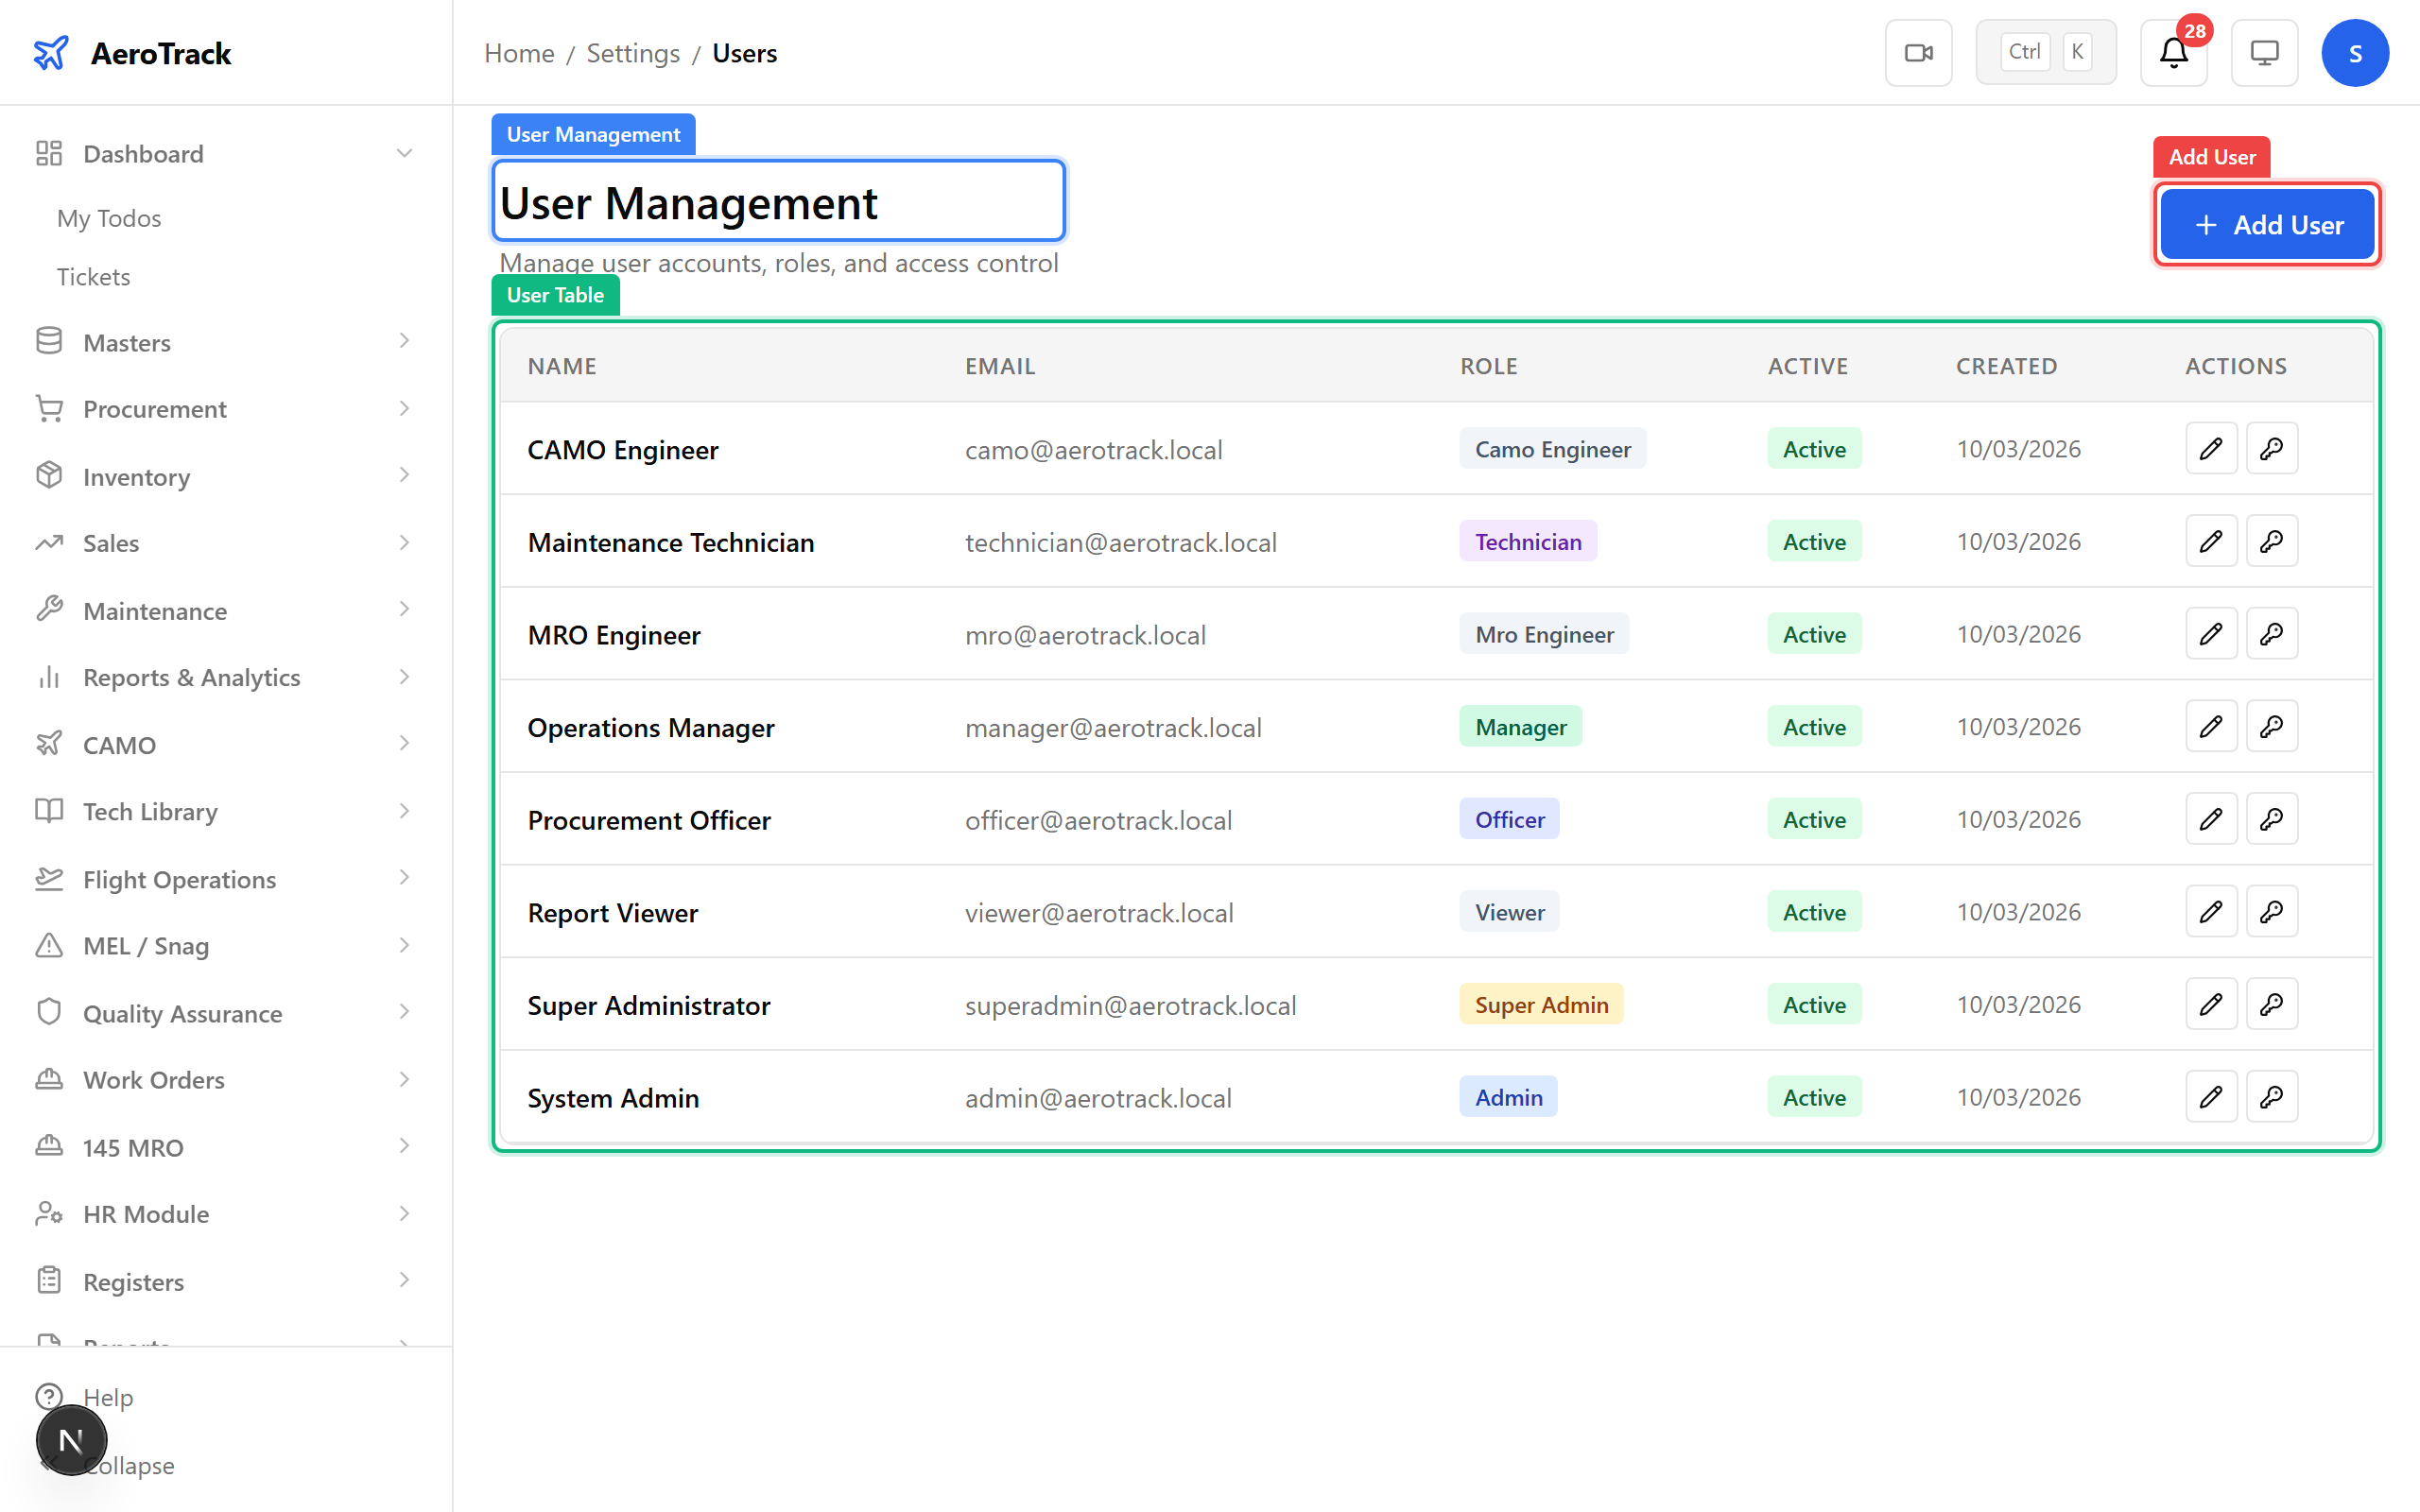
▲ The user management page — each row shows the user's role as a coloured badge. Inactive users can't log in but their audit history is preserved.
Click Add User and fill in the form — full name, email, initial password, and role. The role determines what the user sees: a camo_engineer gets CAMO + Flight Ops, an mro_engineer only sees the MRO-145 module, and a viewer gets read-only access everywhere.

▲ The role dropdown is the most important field here — it controls sidebar visibility, dashboard view, and write permissions. Choose carefully; you can always change it later.
| Role | Sees | Typical User |
|---|---|---|
super_admin |
Everything + system settings | IT / System Owner |
admin |
All modules + admin dashboard | Operations Manager |
manager |
Assigned modules + reports | Department Head |
officer |
Assigned modules | Procurement / Stores Officer |
camo_engineer |
CAMO + Flight Ops + Inspections | Airworthiness Engineer |
mro_engineer |
MRO-145 module only | Licensed Aircraft Engineer |
technician |
Assigned tasks + work orders | Mechanic / AME |
viewer |
Read-only across all modules | Auditor / External Inspector |
Click the Edit button on any user row to modify their name, role, or active status inline. The role dropdown lets you promote or reassign without recreating the account. Click Save to apply or Cancel to discard.
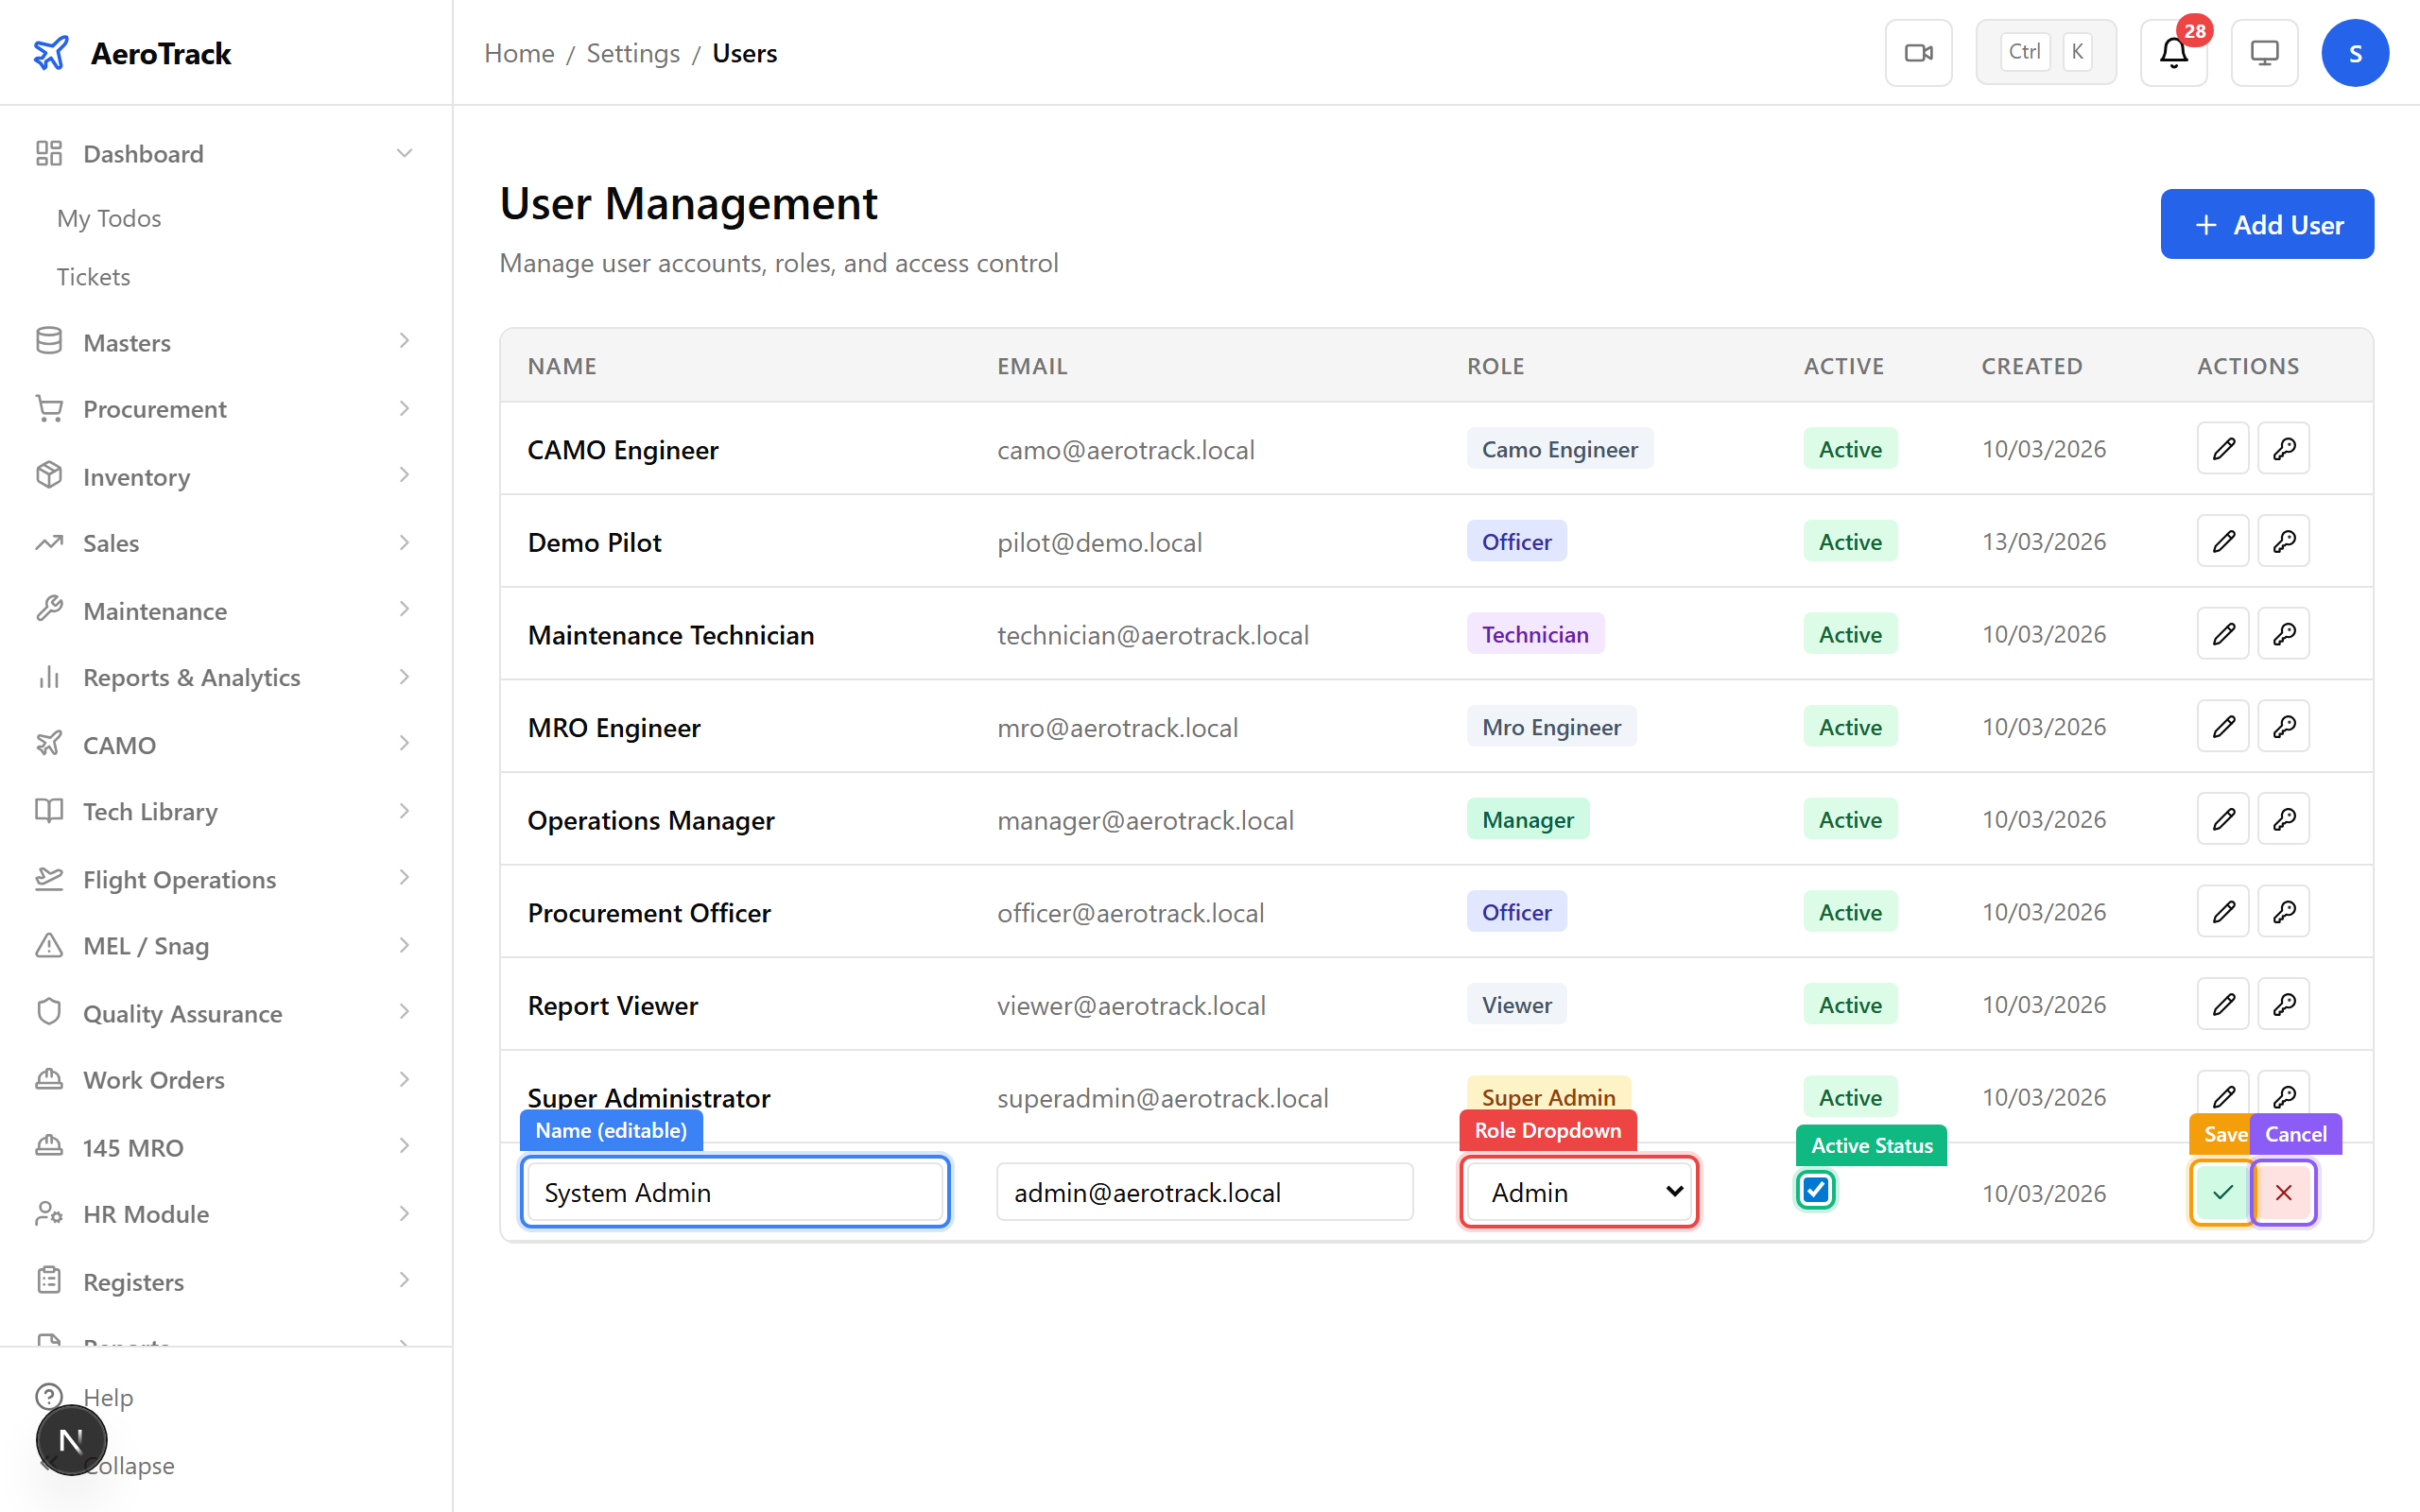
▲ Inline editing — change a user's role and it takes effect on their next login. Their audit trail stays intact regardless of role changes.
Navigate to Settings → Text Series. Each transaction type (PO, INV, GRN, JC, REQ, MR, MI, MO) has its own auto-numbering series with a configurable prefix, suffix, and padding length. The system increments the counter automatically so you never assign numbers manually.
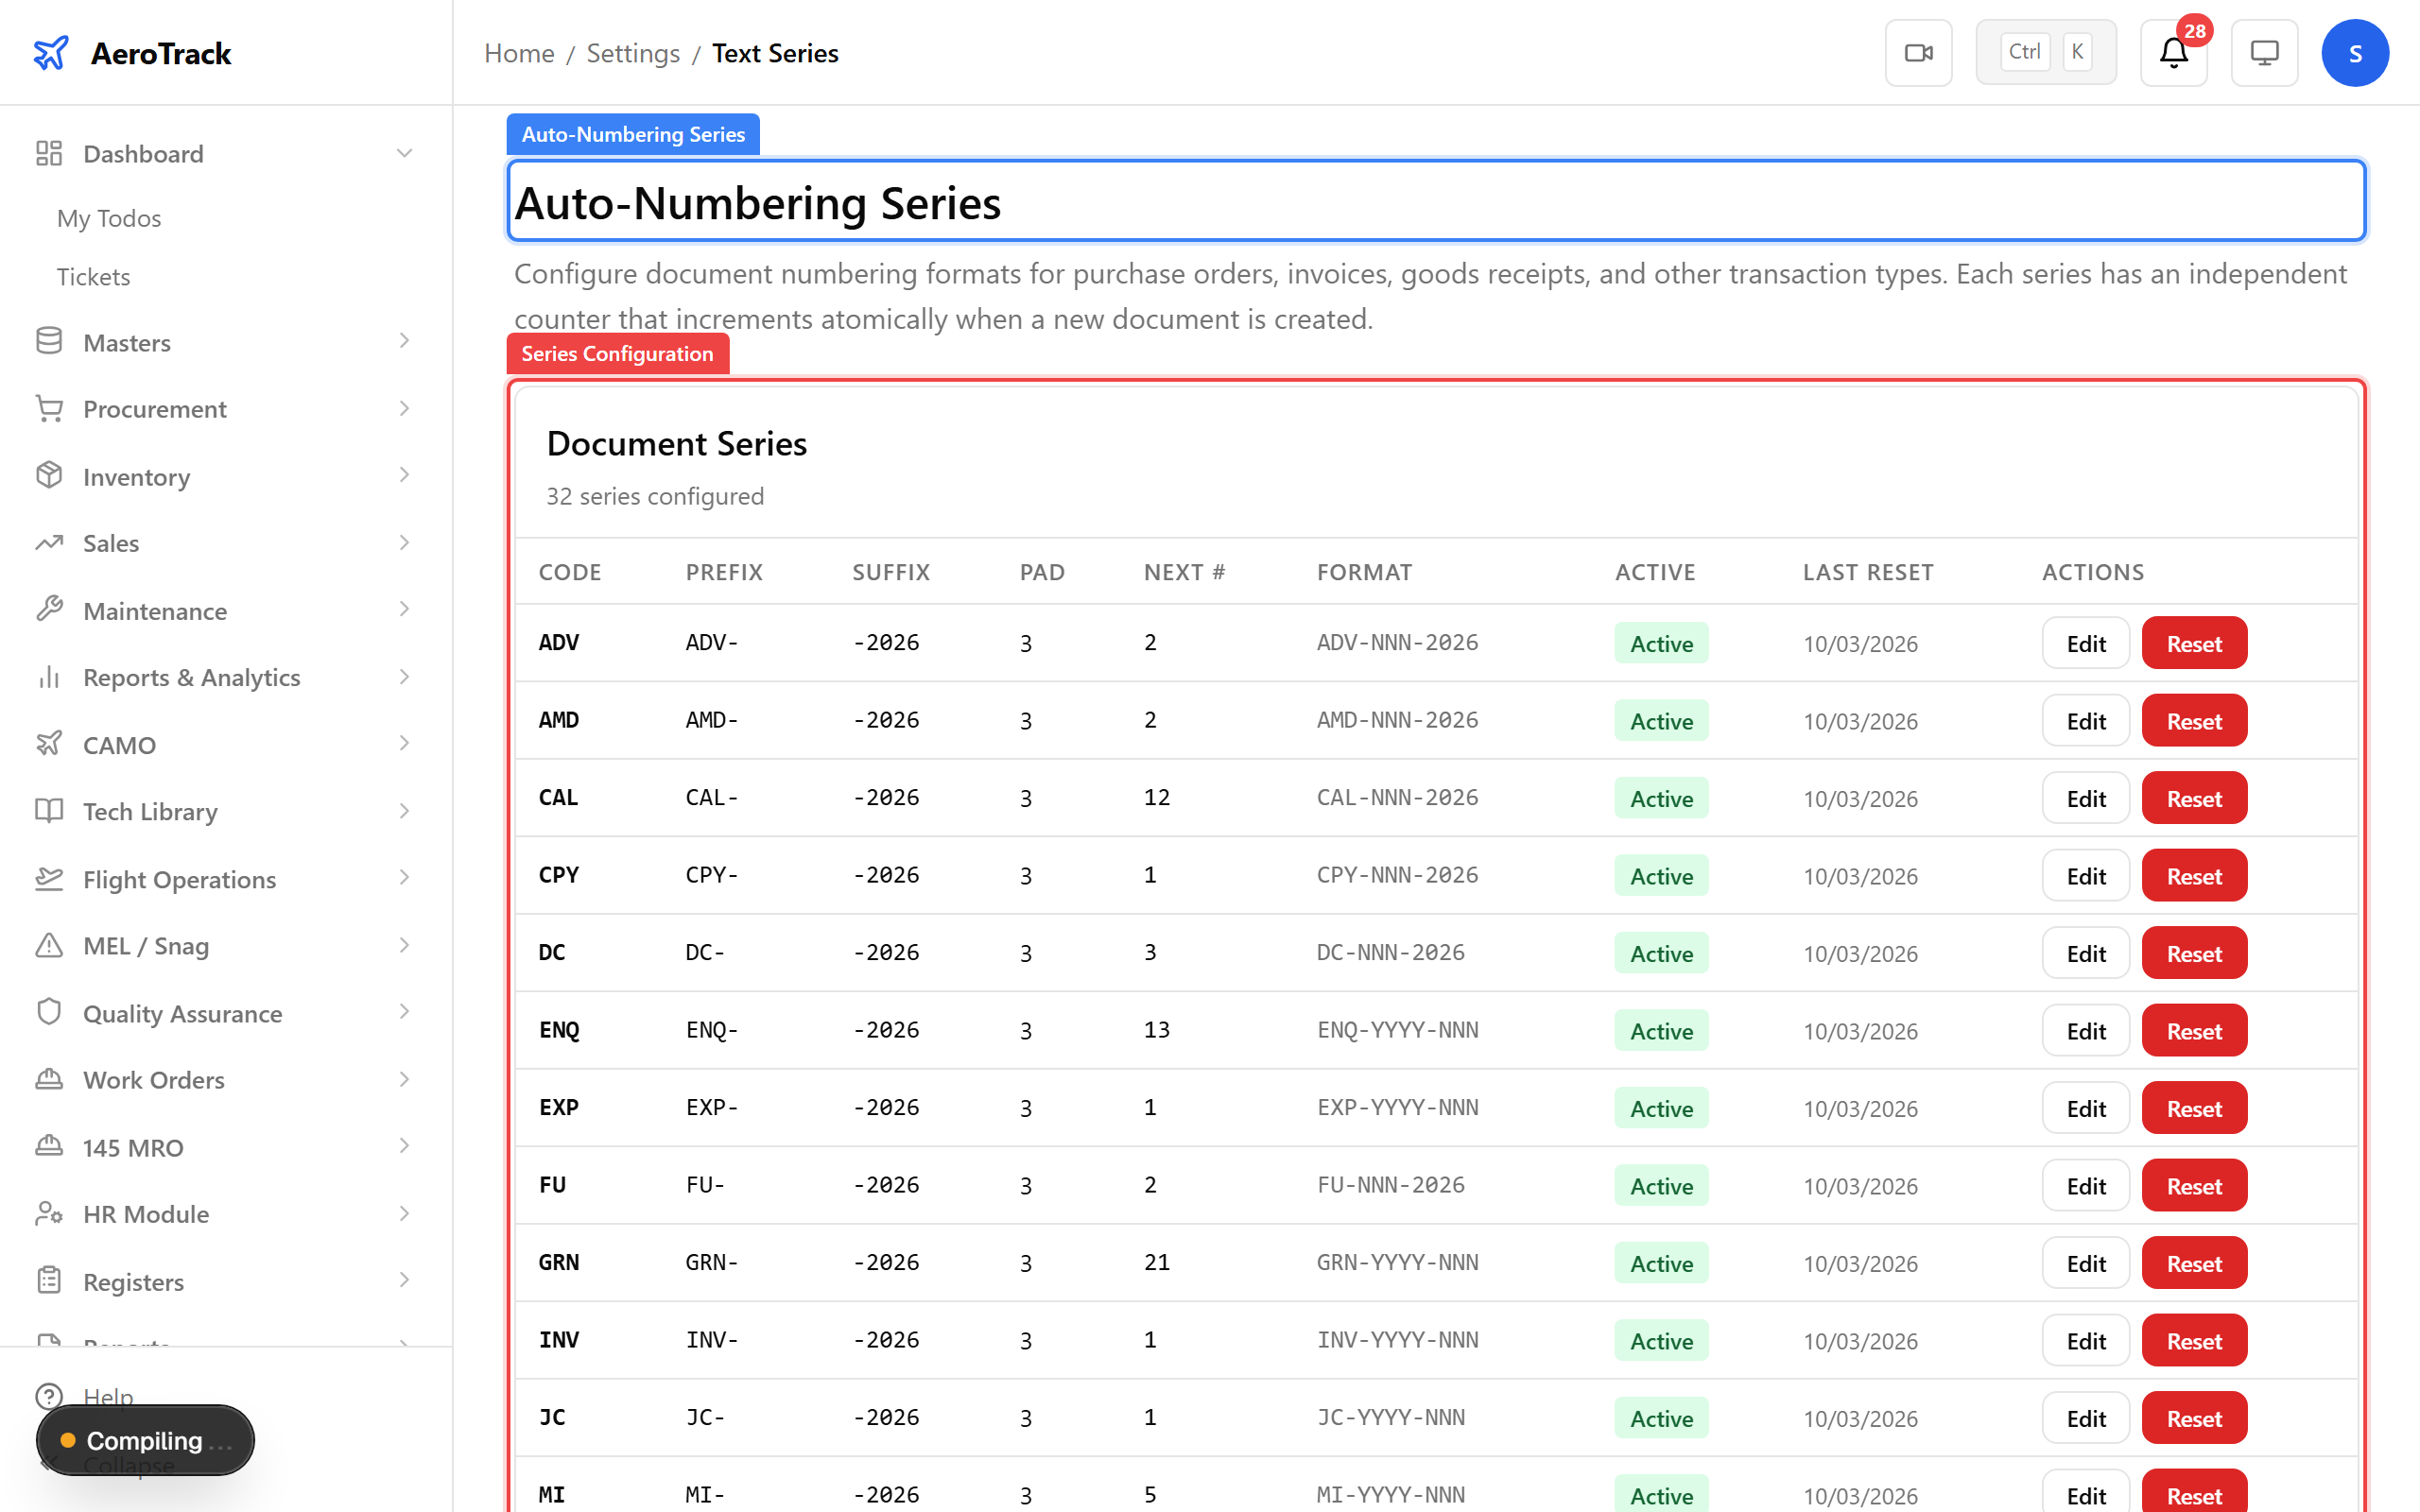
▲ Each transaction type has its own series — PO-001, PO-002... means numbers are always sequential, unique, and auditable. The "Next #" column shows what the next document will be numbered.
Click Edit on any series to change the prefix, suffix, or padding. For example, change "PO-" to "PO-2026-" to include the year. You can also reset the counter (use with caution) or deactivate a series entirely.
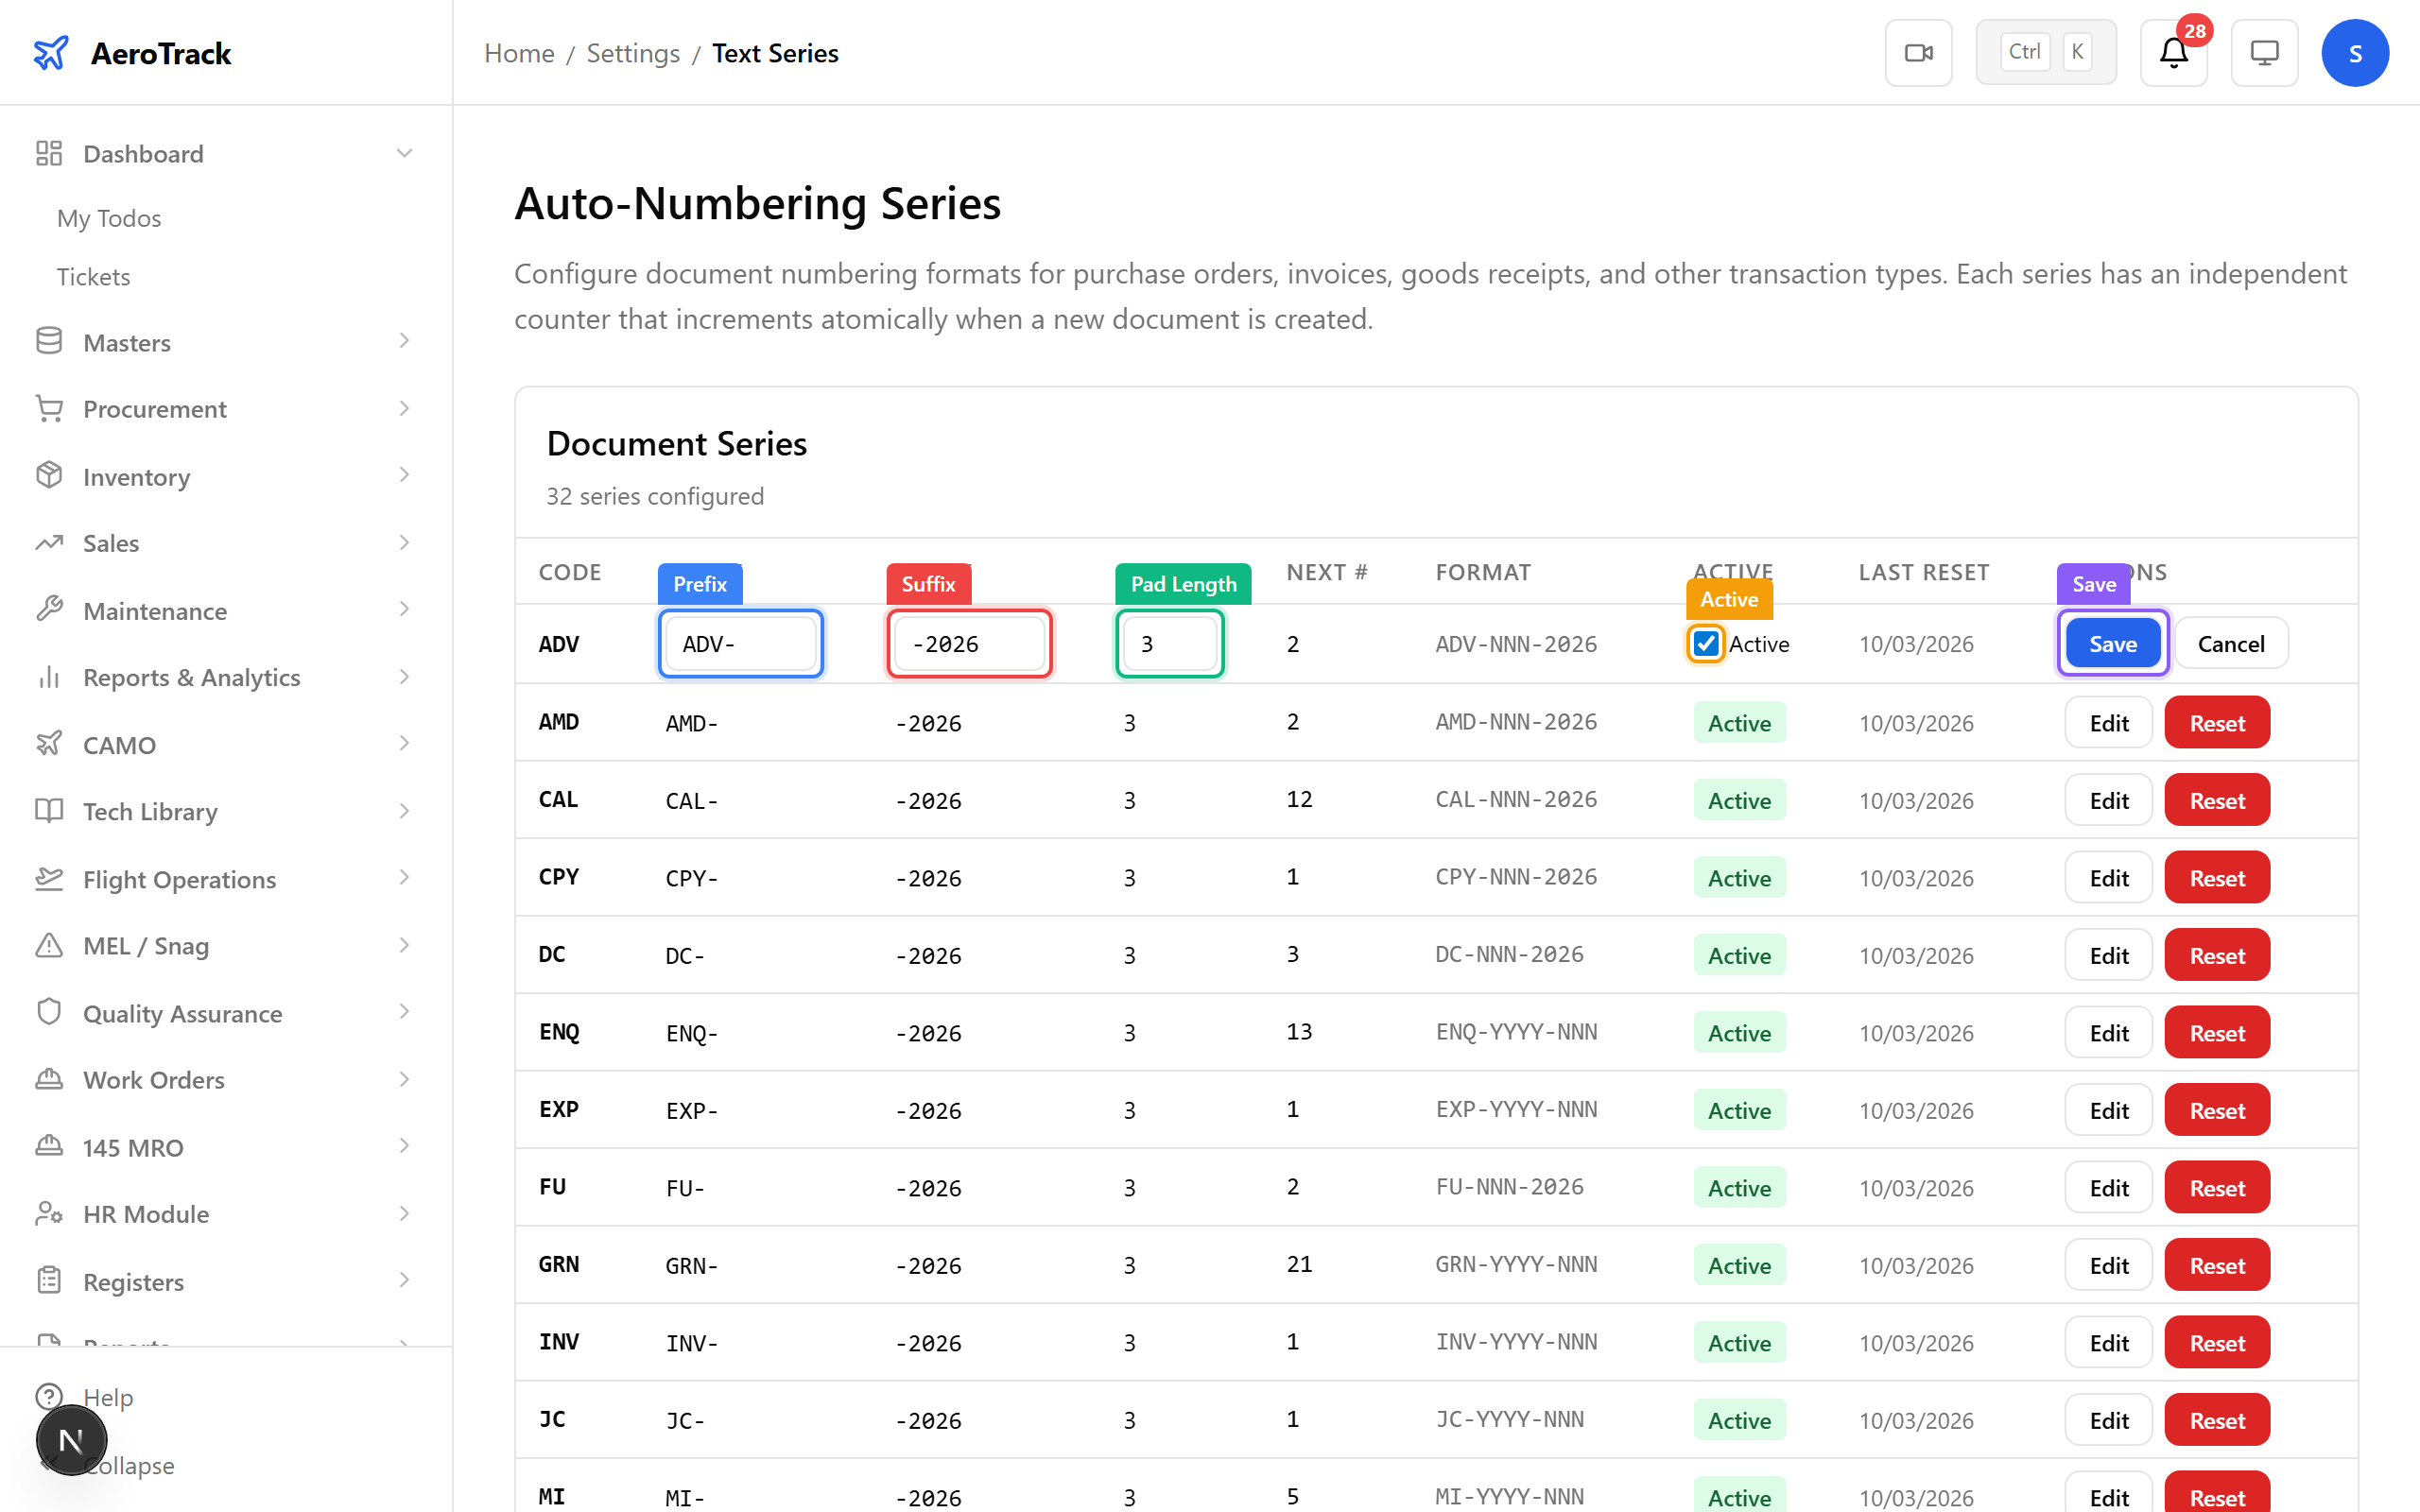
▲ Editing a series — the pad length determines zero-padding. A pad of 3 gives "001", "002"; a pad of 5 gives "00001", "00002".
Navigate to Settings → Audit Log. Every create, update, delete, and status change in AeroTrack is recorded here with the user, timestamp, entity, and action type. Use the filters to narrow by entity type, action, or date range. Export to CSV or PDF for compliance reporting.
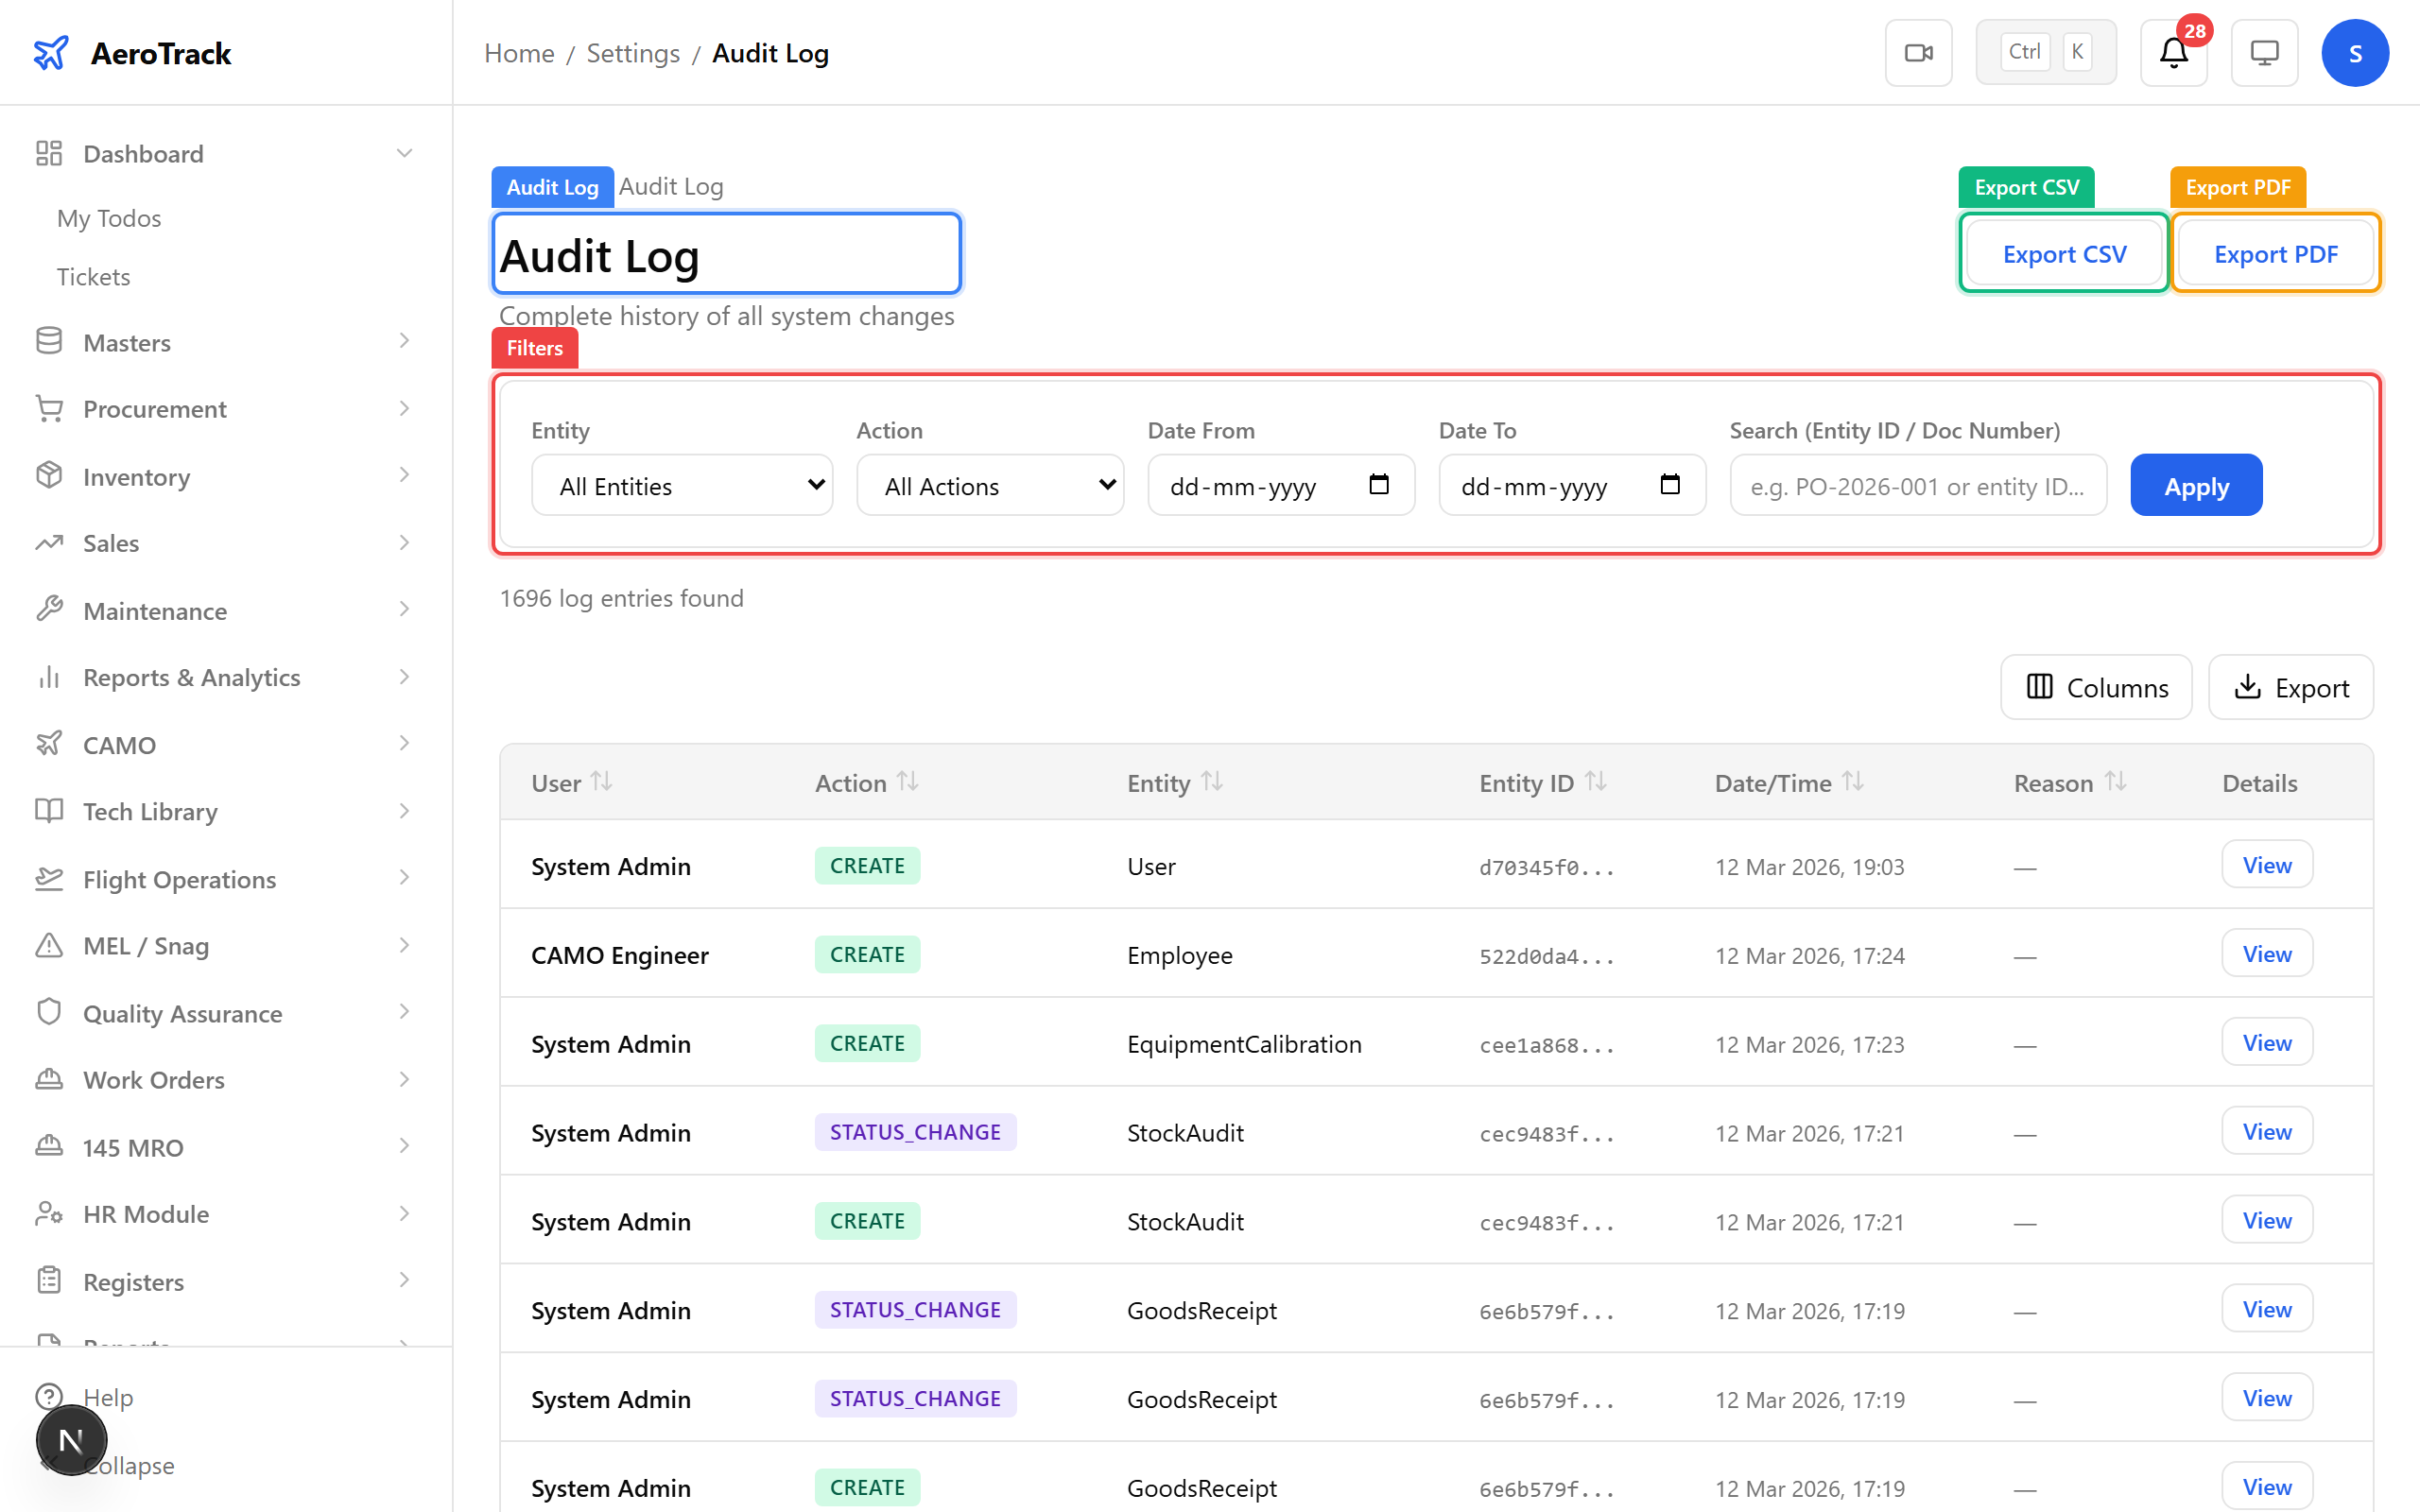
▲ The audit log — essential for regulatory compliance. Every action is immutable and attributable. We'll deep-dive into advanced filtering in Guide 20 (Admin Deep Dive).
Click View on any audit entry to see the full before/after snapshot. The detail modal shows exactly what changed, who changed it, and when — down to the field level.
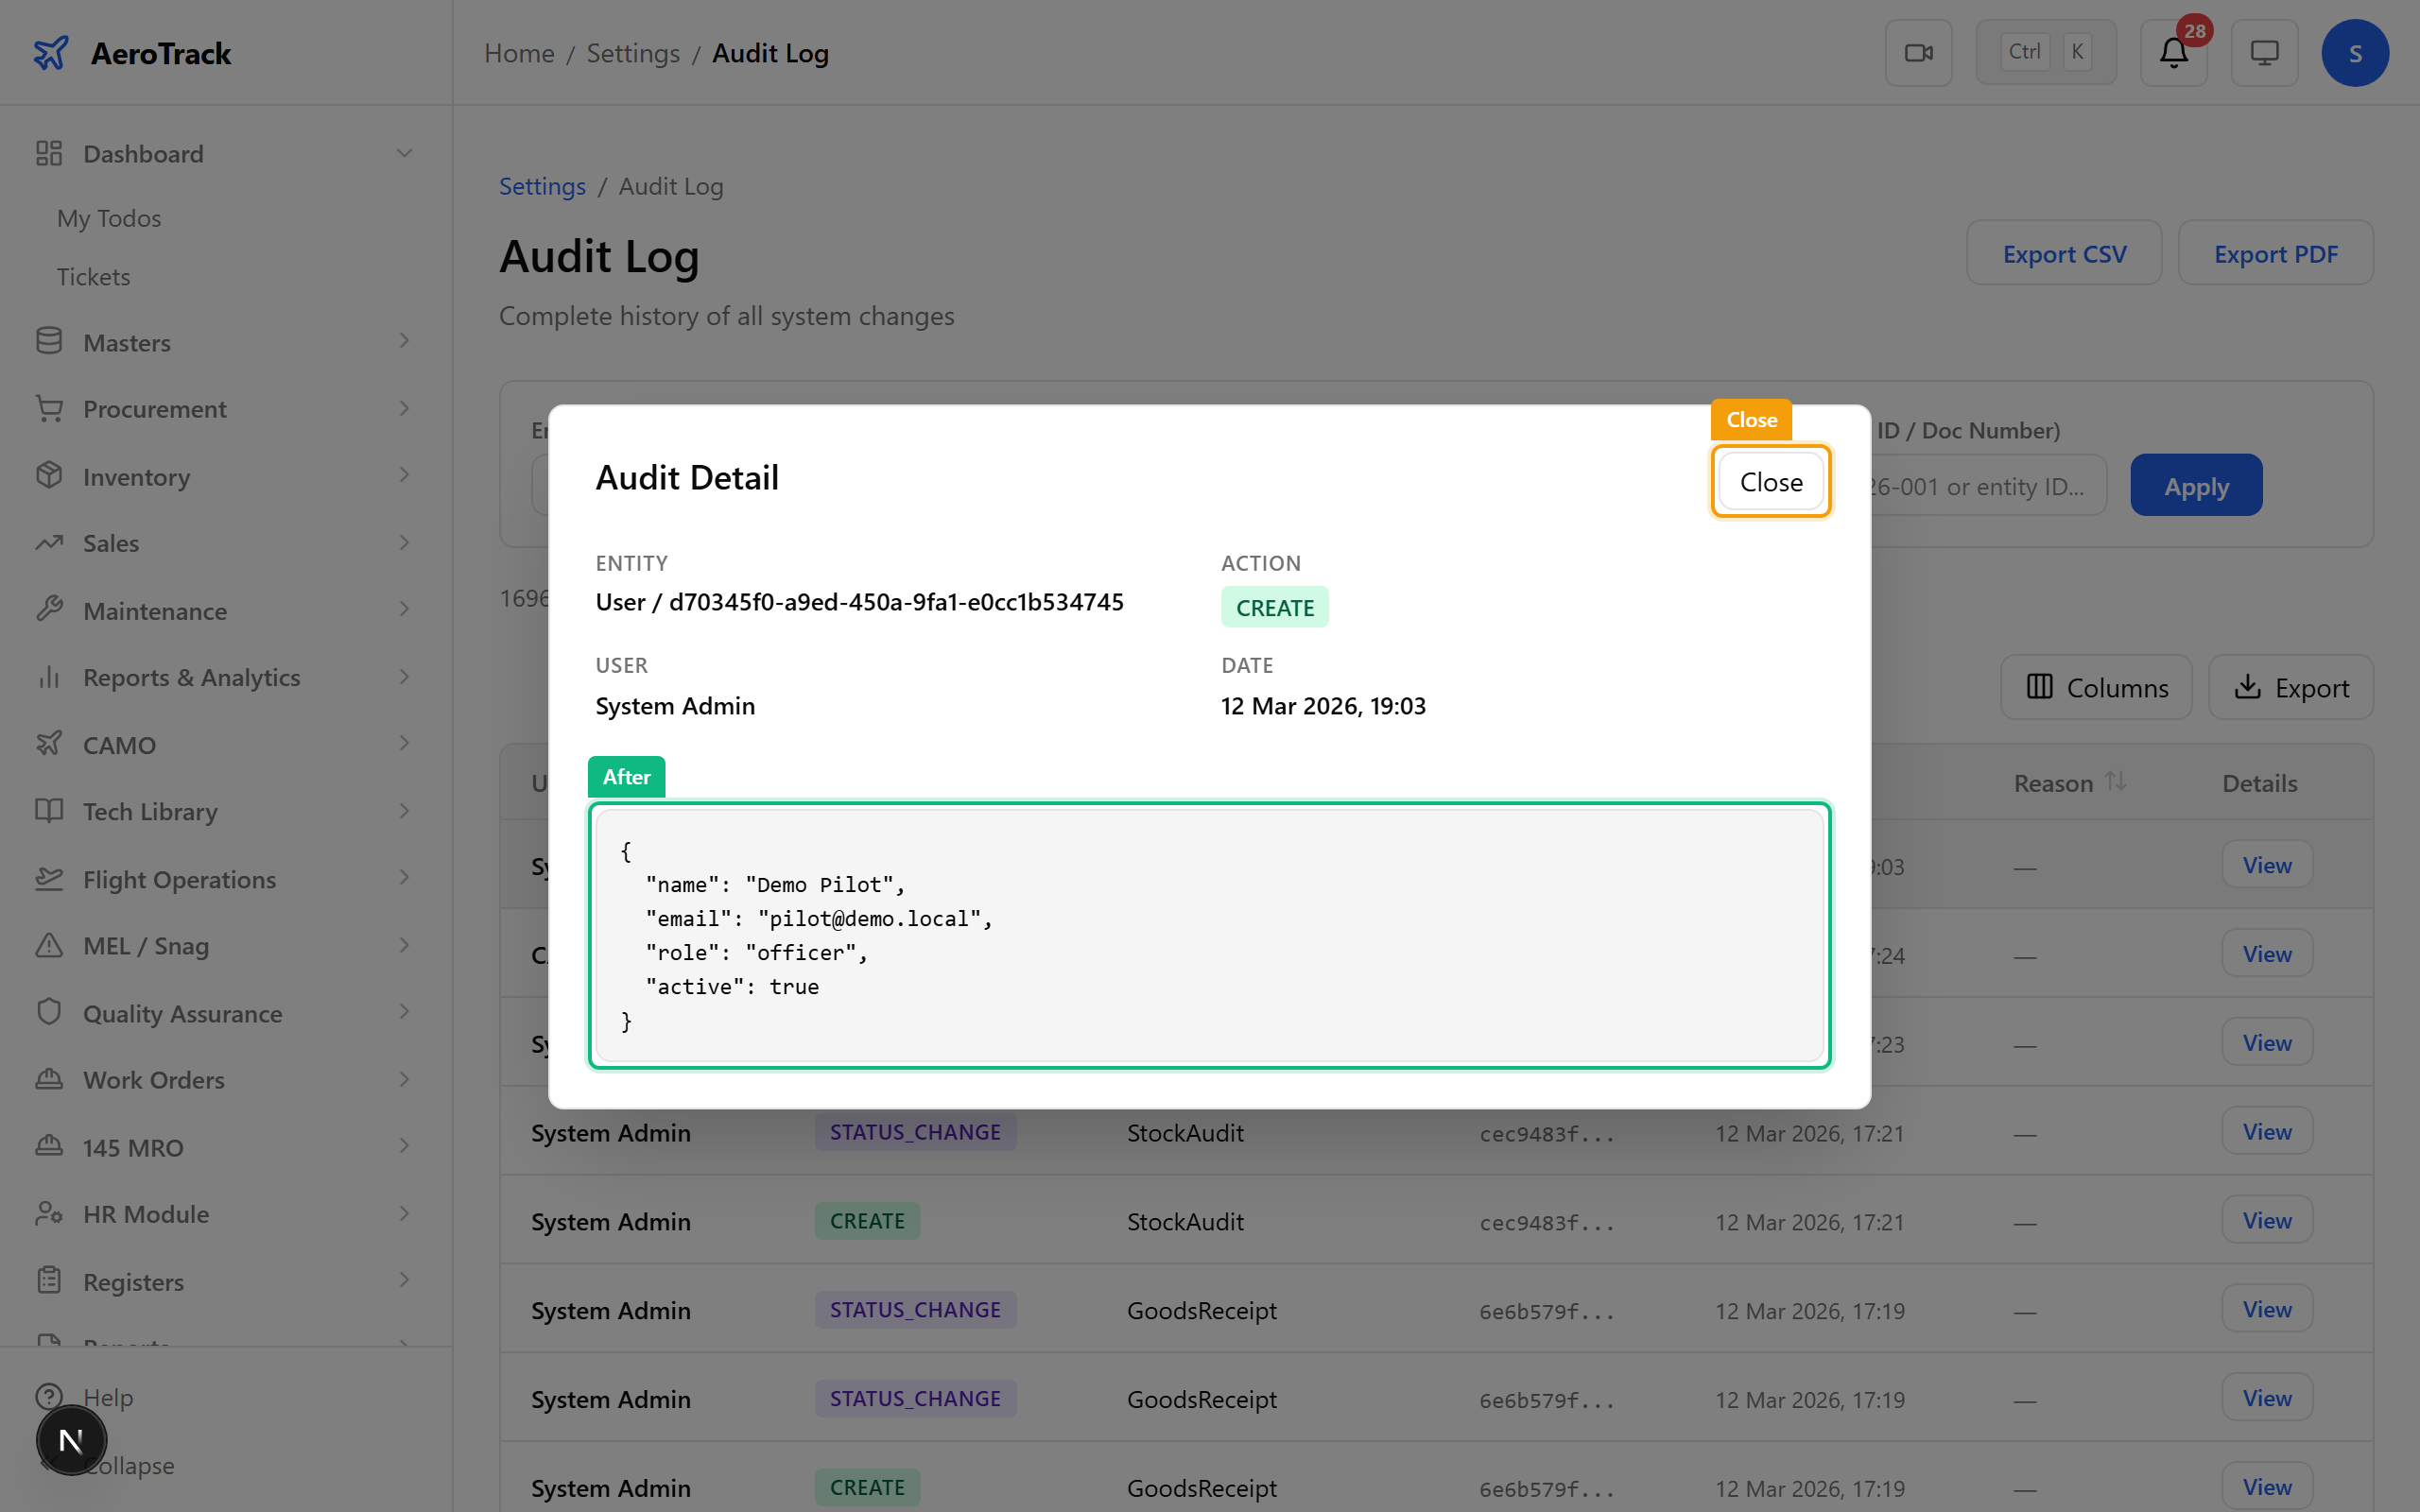
▲ The detail modal — "Before" shows the record's state before the change, "After" shows the new state. This is your evidence trail for any regulatory audit.
Navigate to Settings → Utilities. This is the admin's toolbox — 13 specialised utilities for bulk data operations. Each card links to a dedicated page. You'll rarely use these day-to-day, but they're essential during initial setup or data migration.
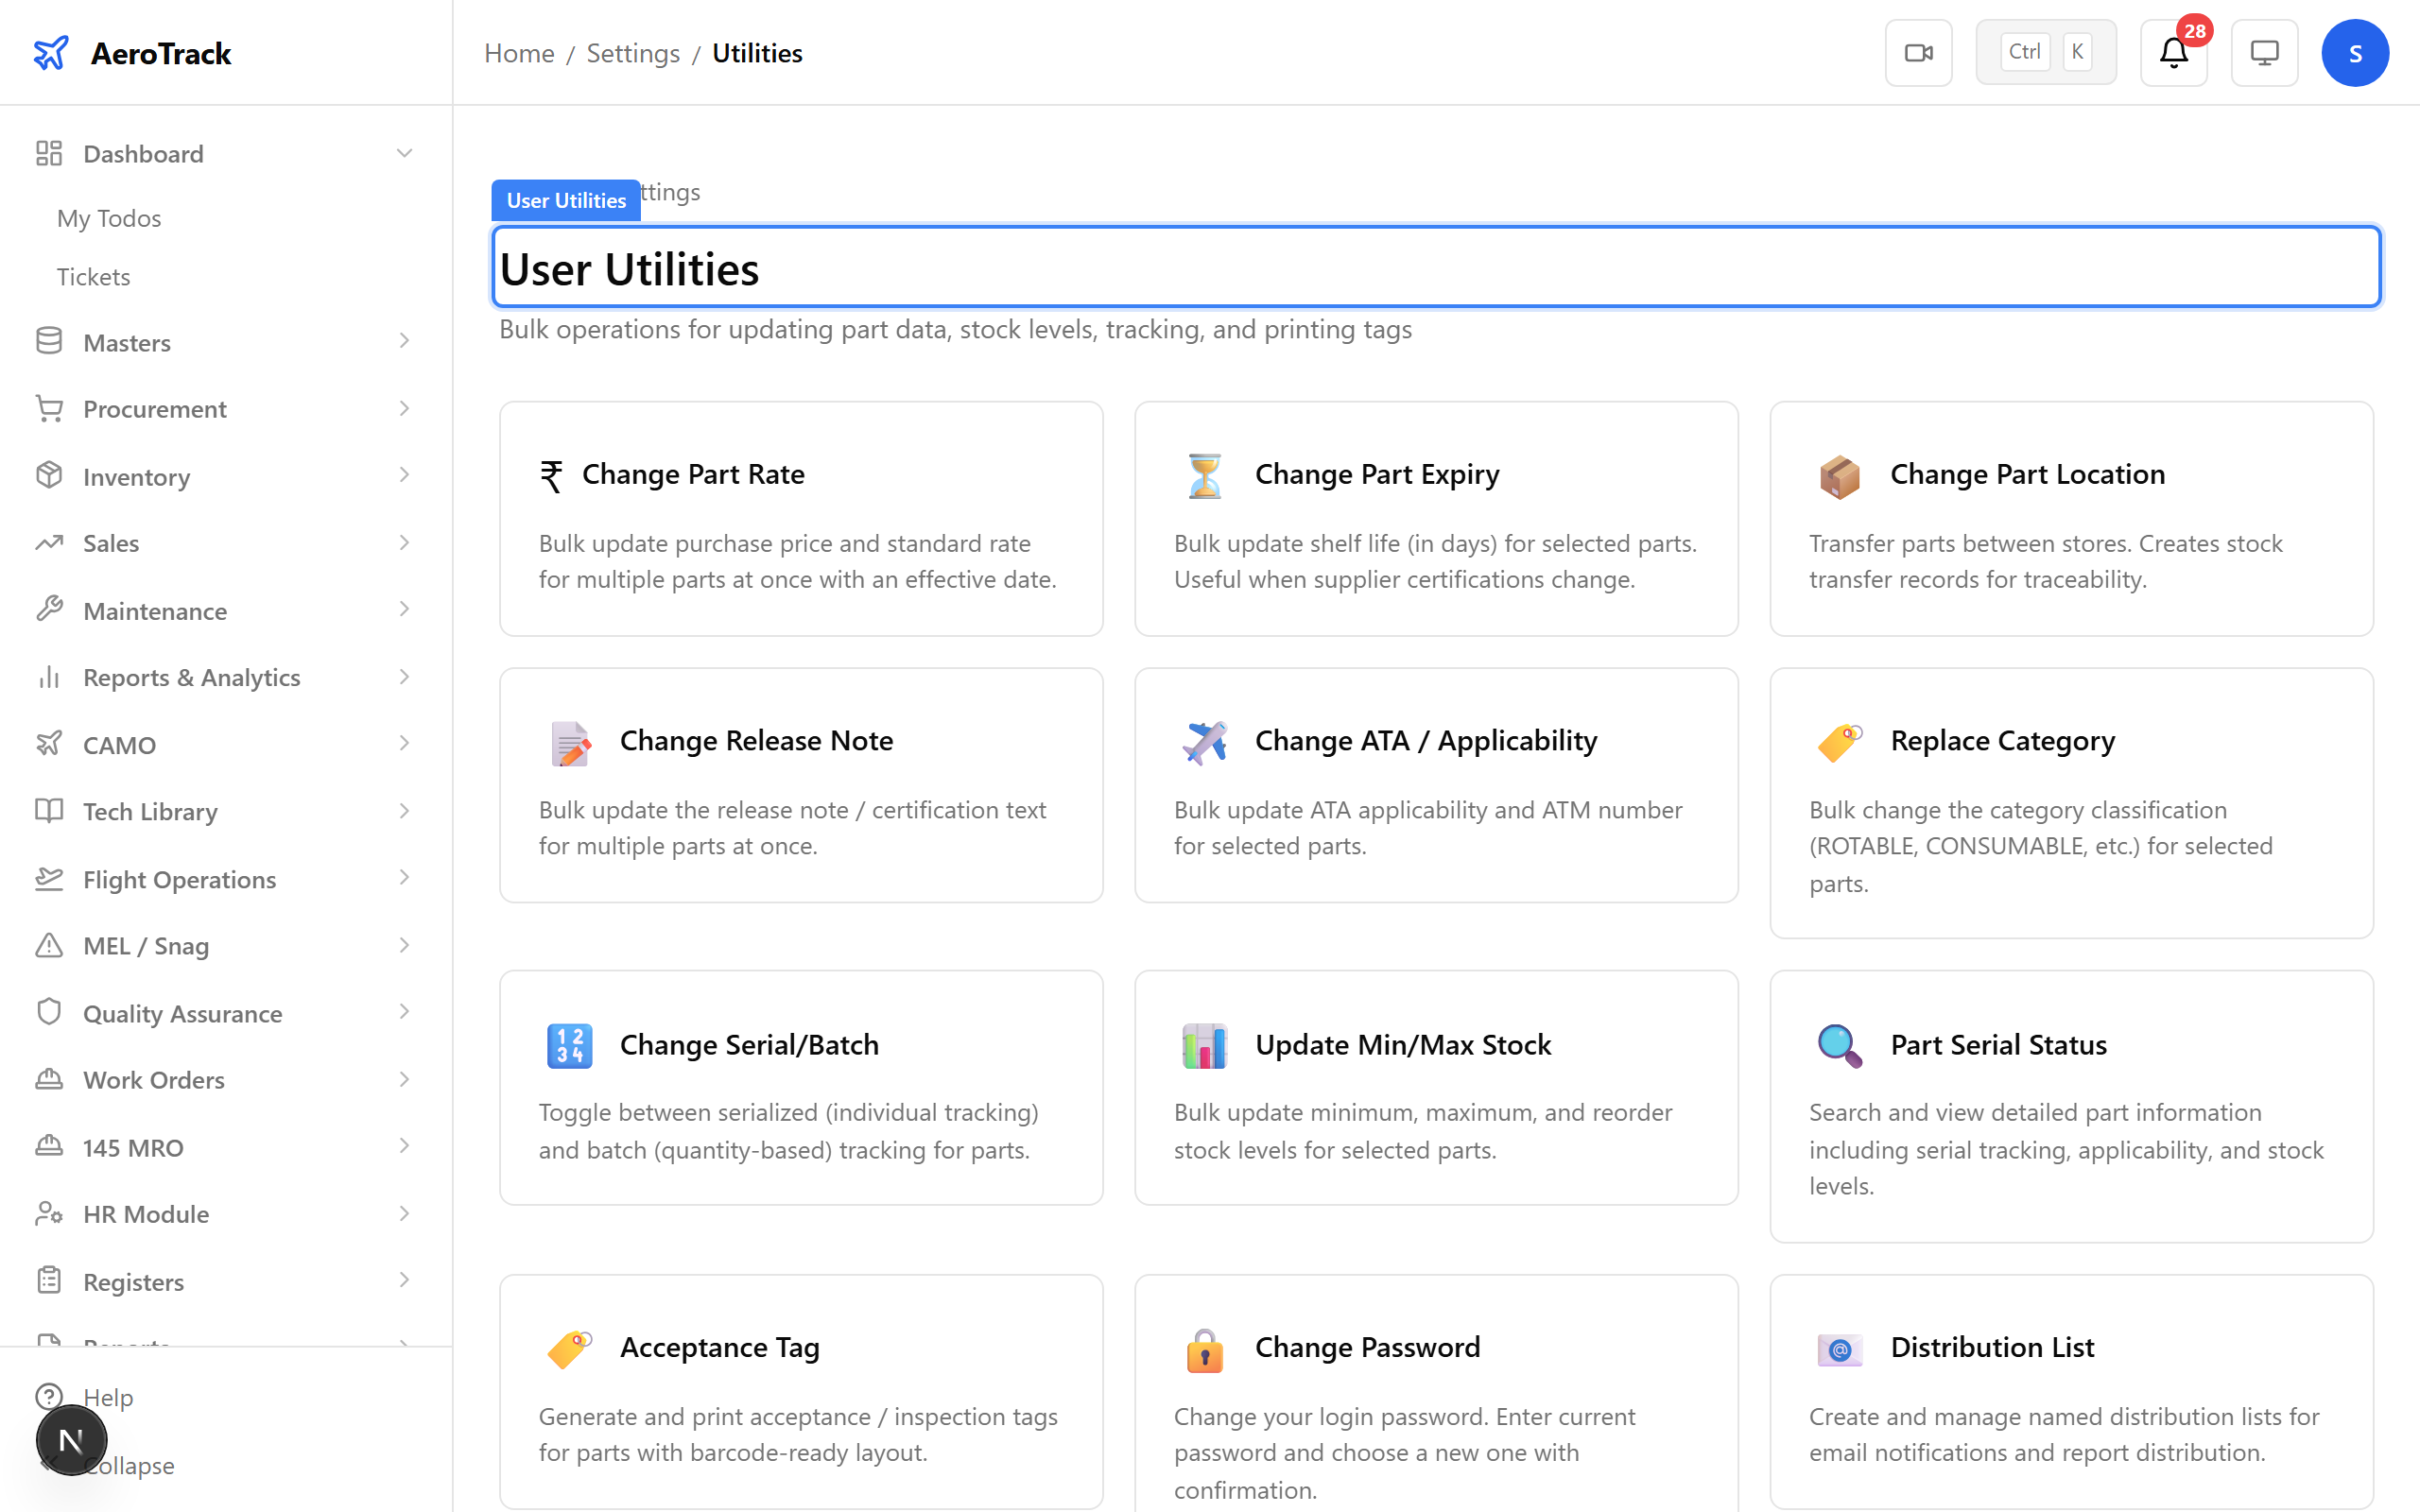
▲ The utilities hub — each card is a specialised tool. Change Rate, Change Expiry, and Update Min/Max are the ones you'll use most during initial parts catalogue setup.
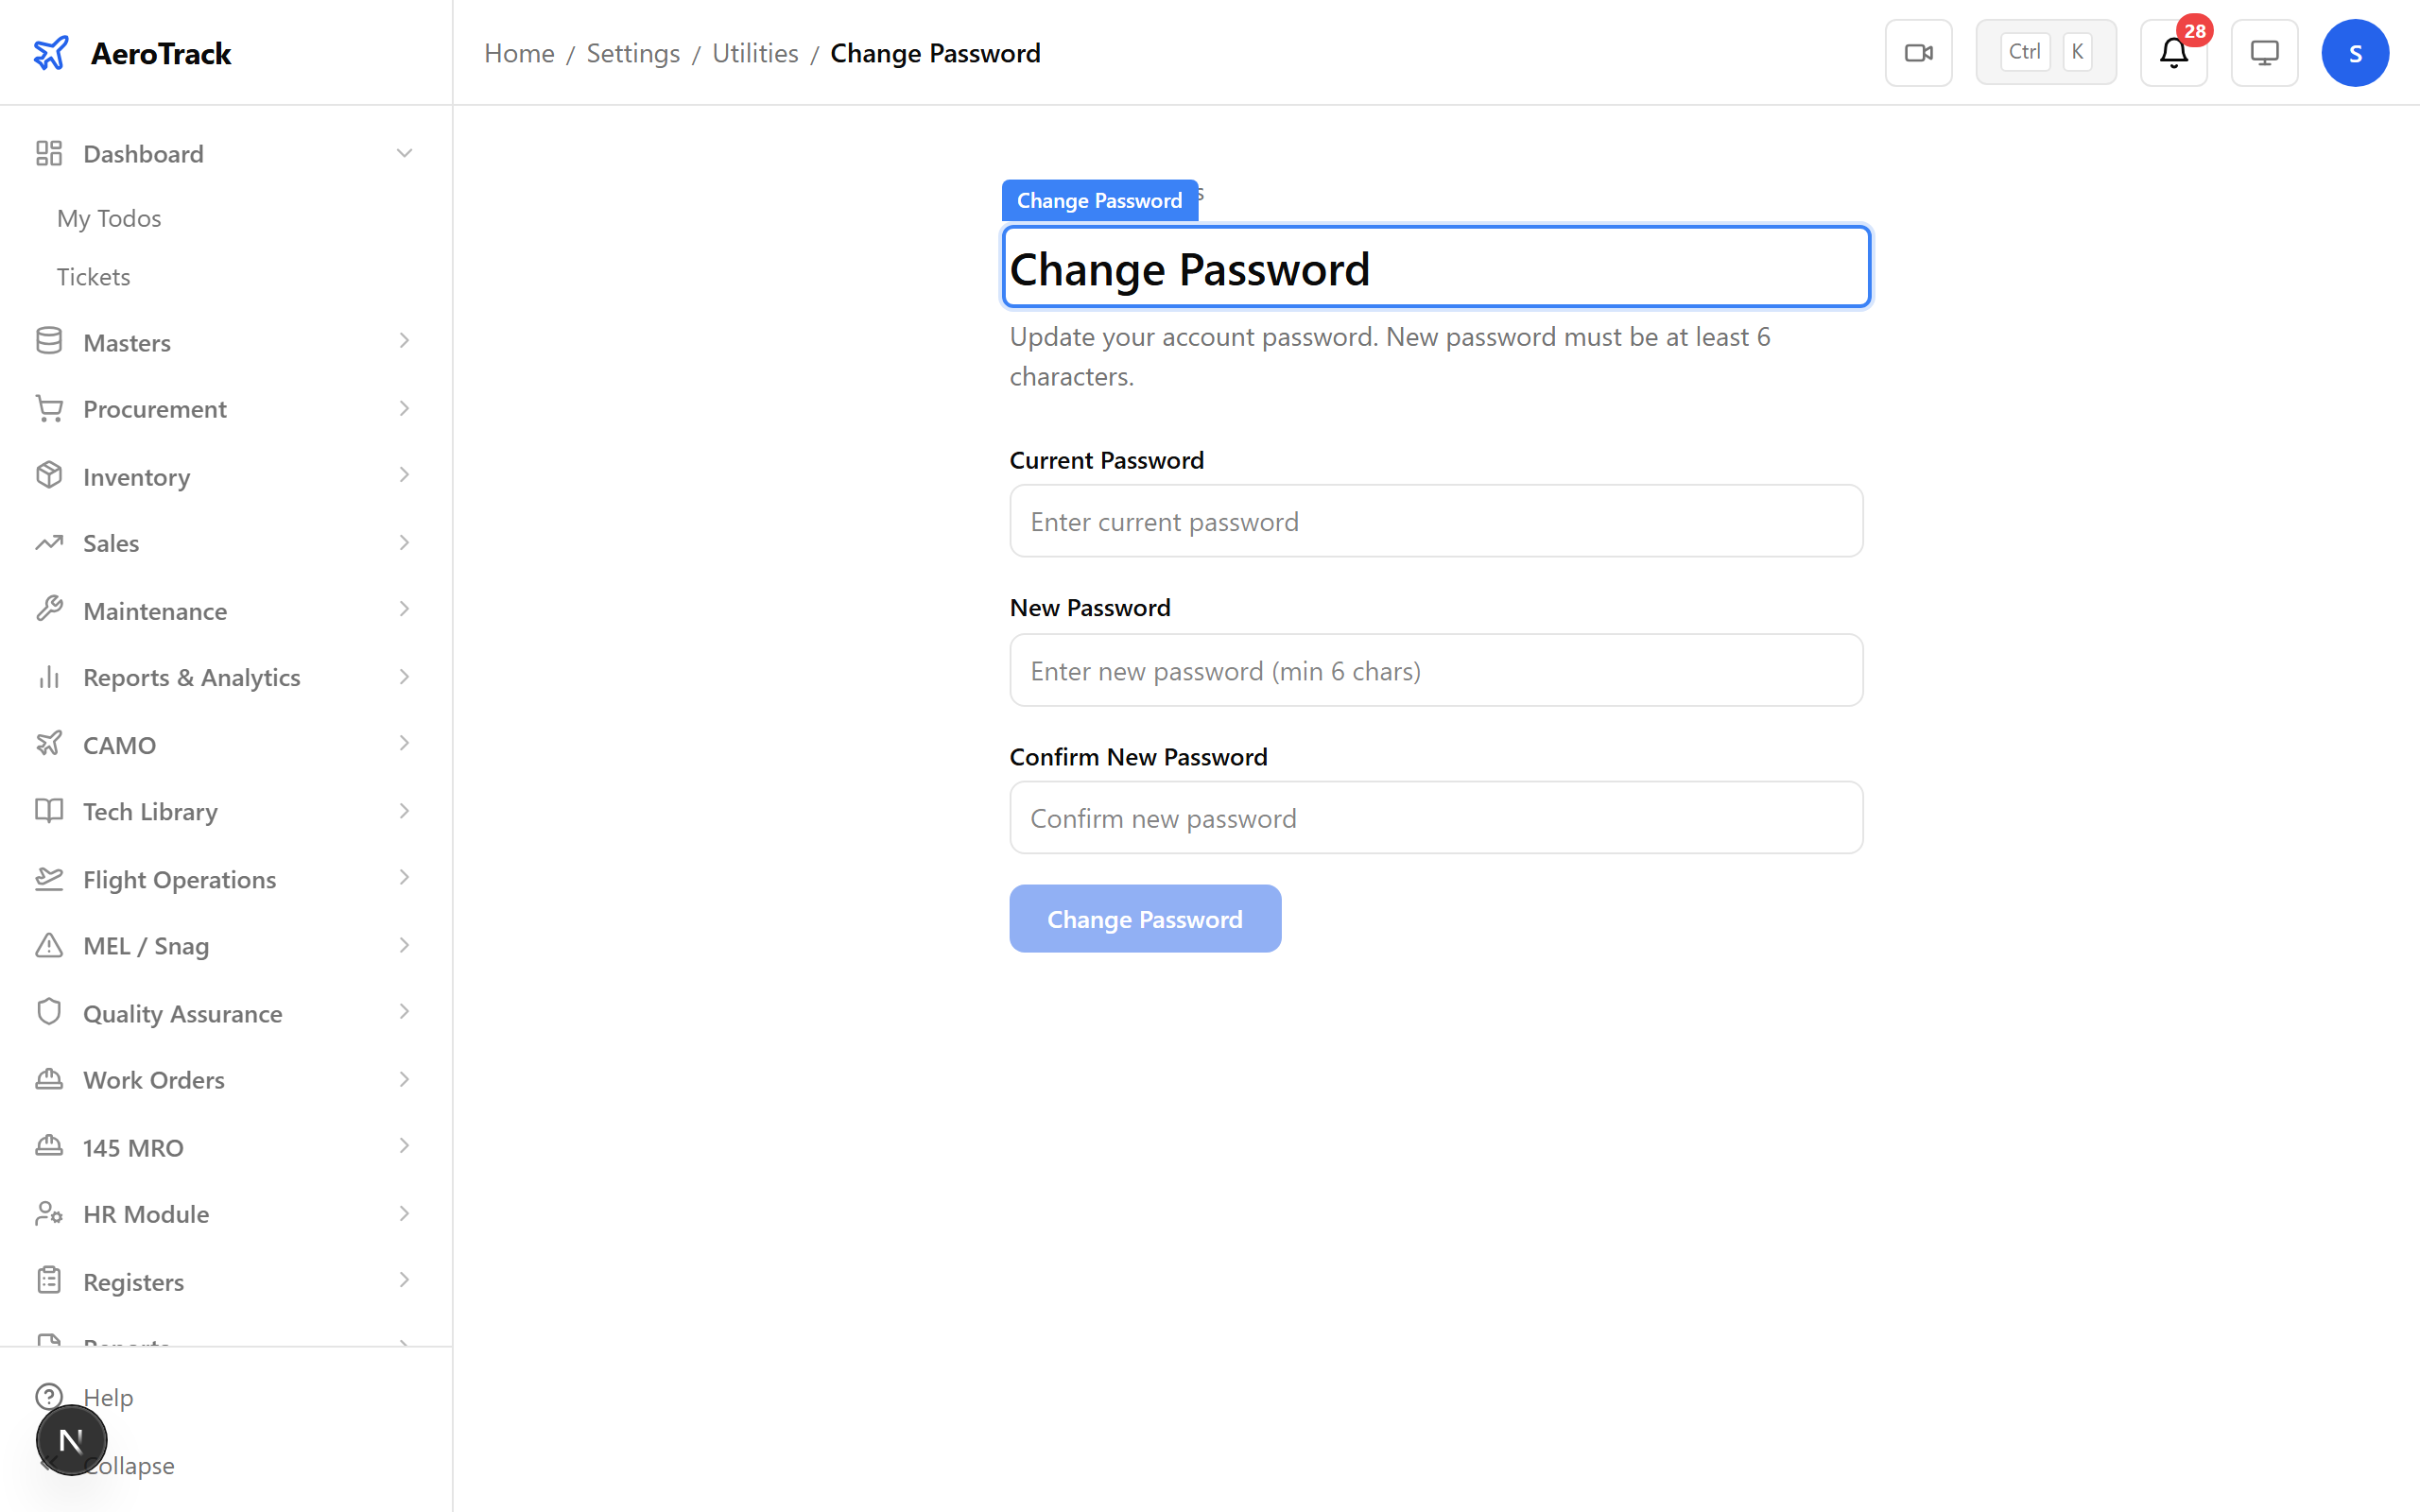
Any user can change their own password at Utilities → Change Password. Enter the current password, then the new one twice to confirm.
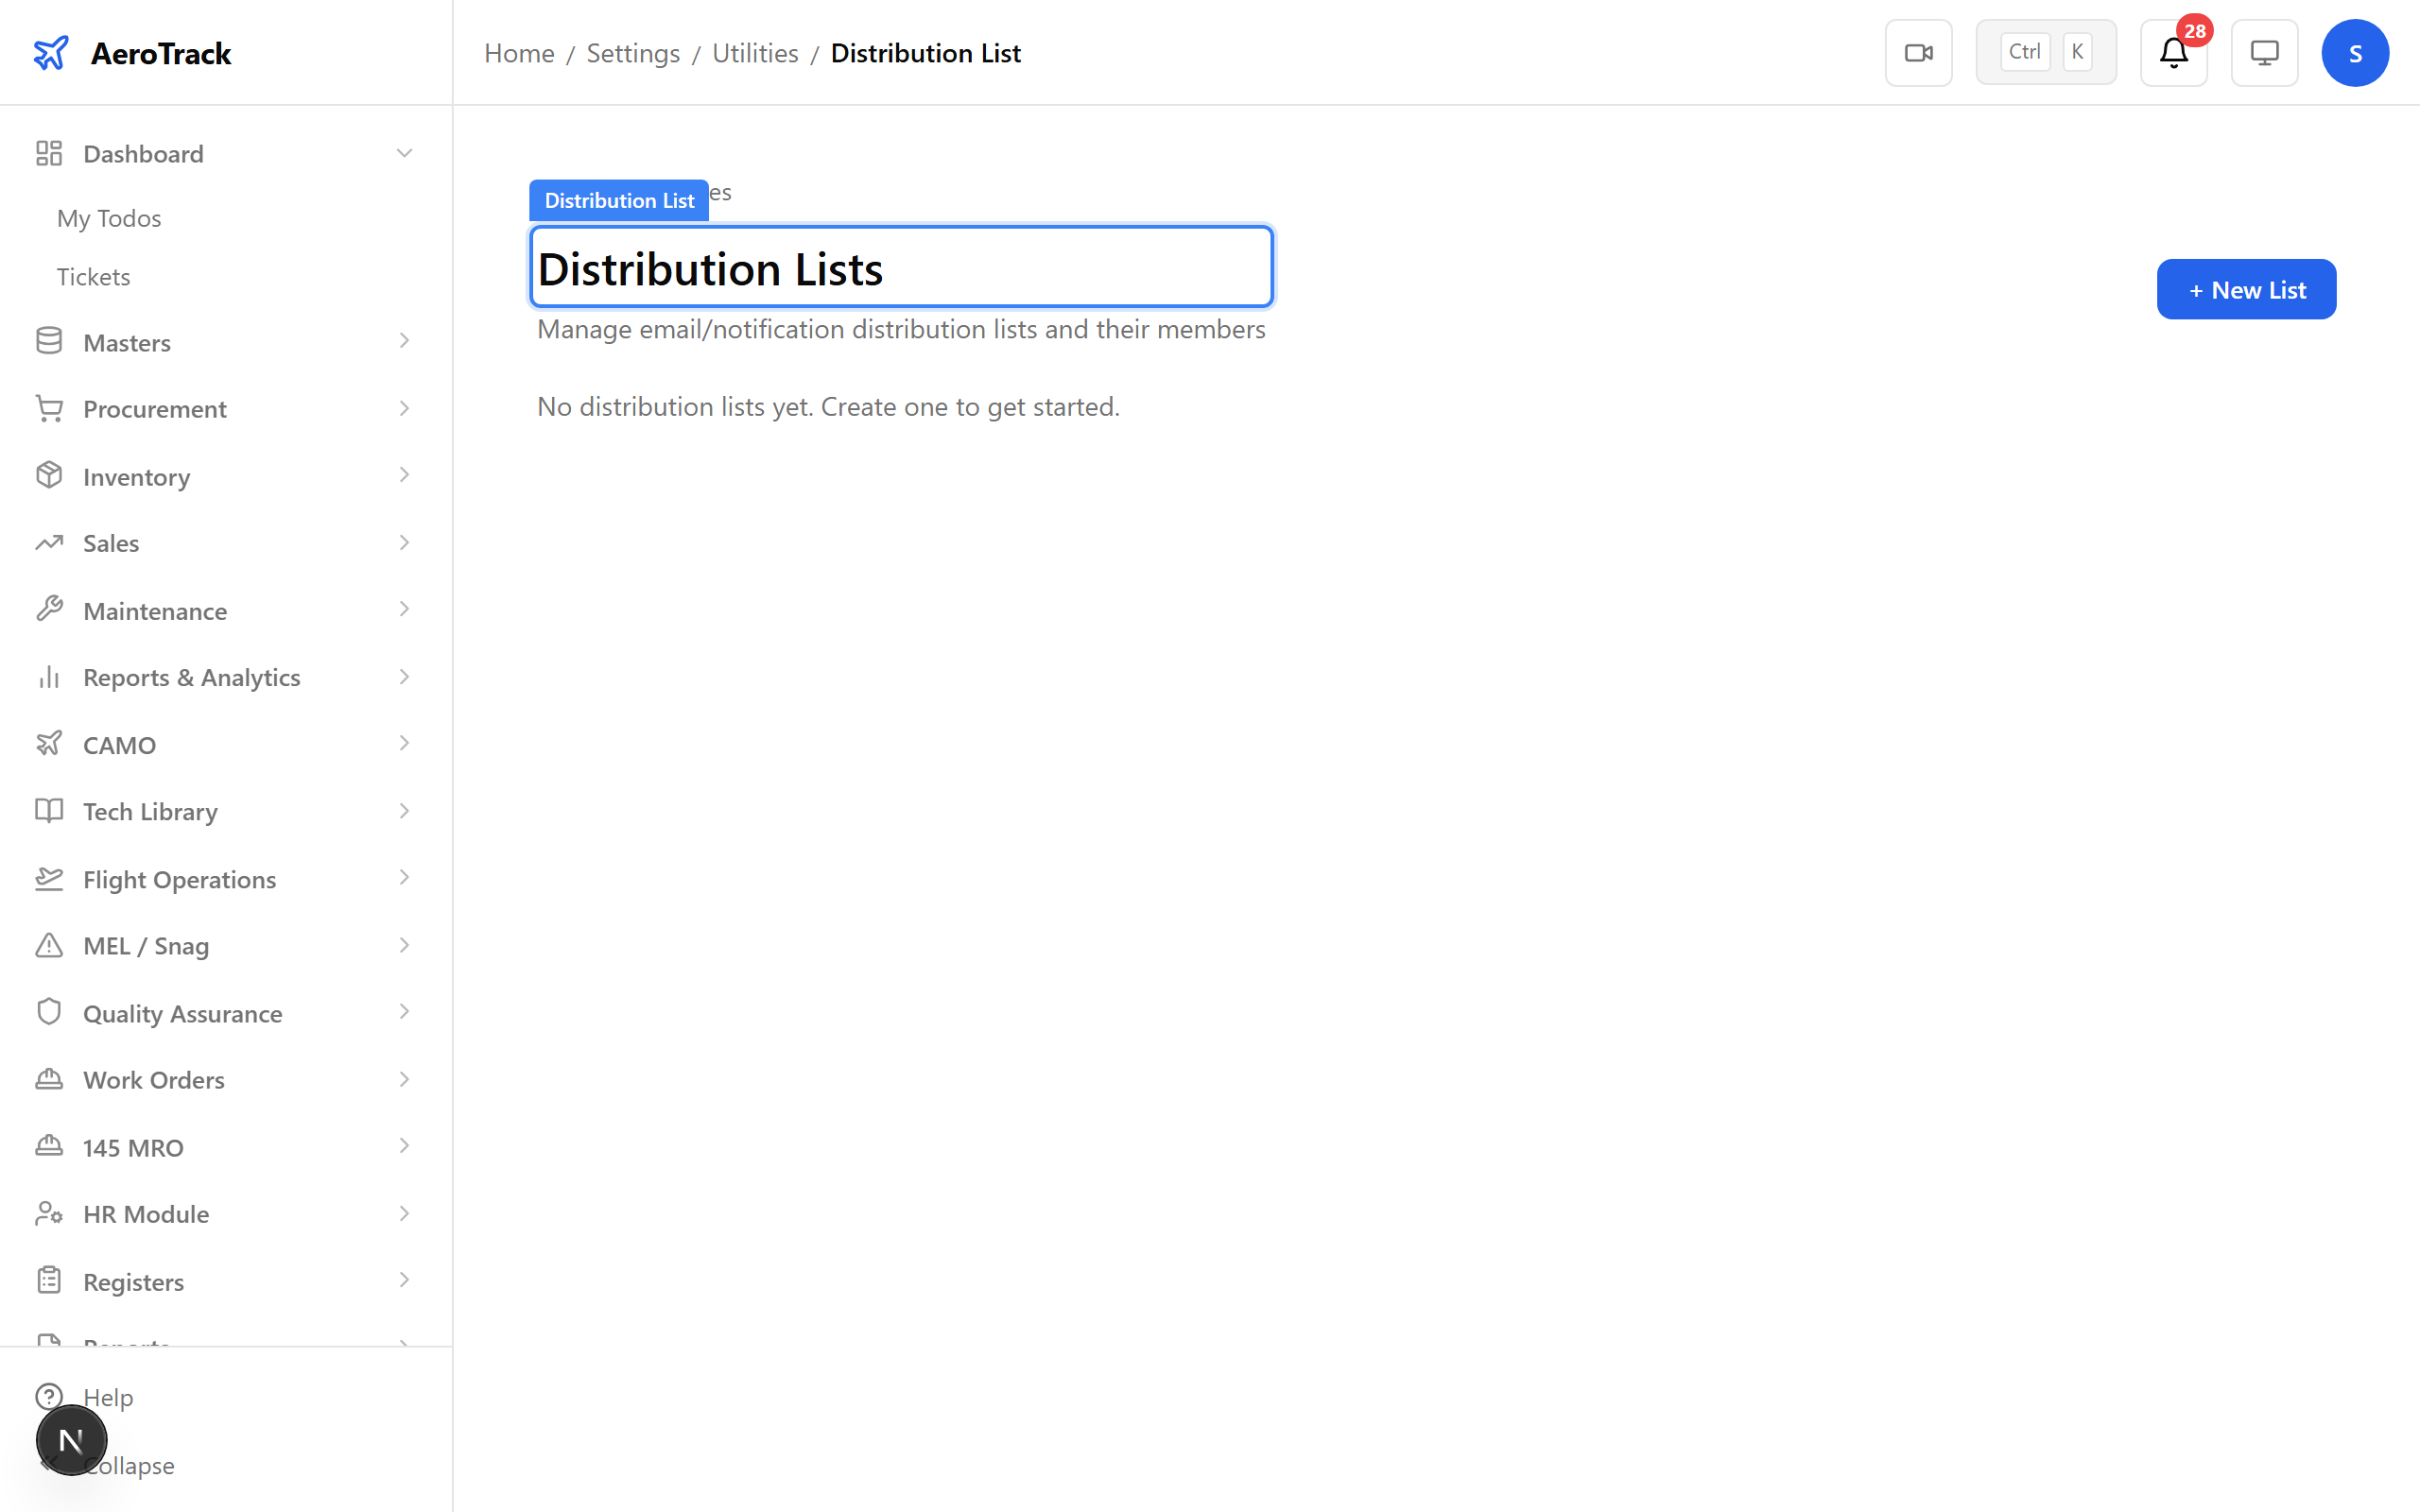
Configure email notification recipients at Utilities → Distribution List. Group users into lists for specific alert types — AD/SB notifications, inspection reminders, or critical severity alerts.
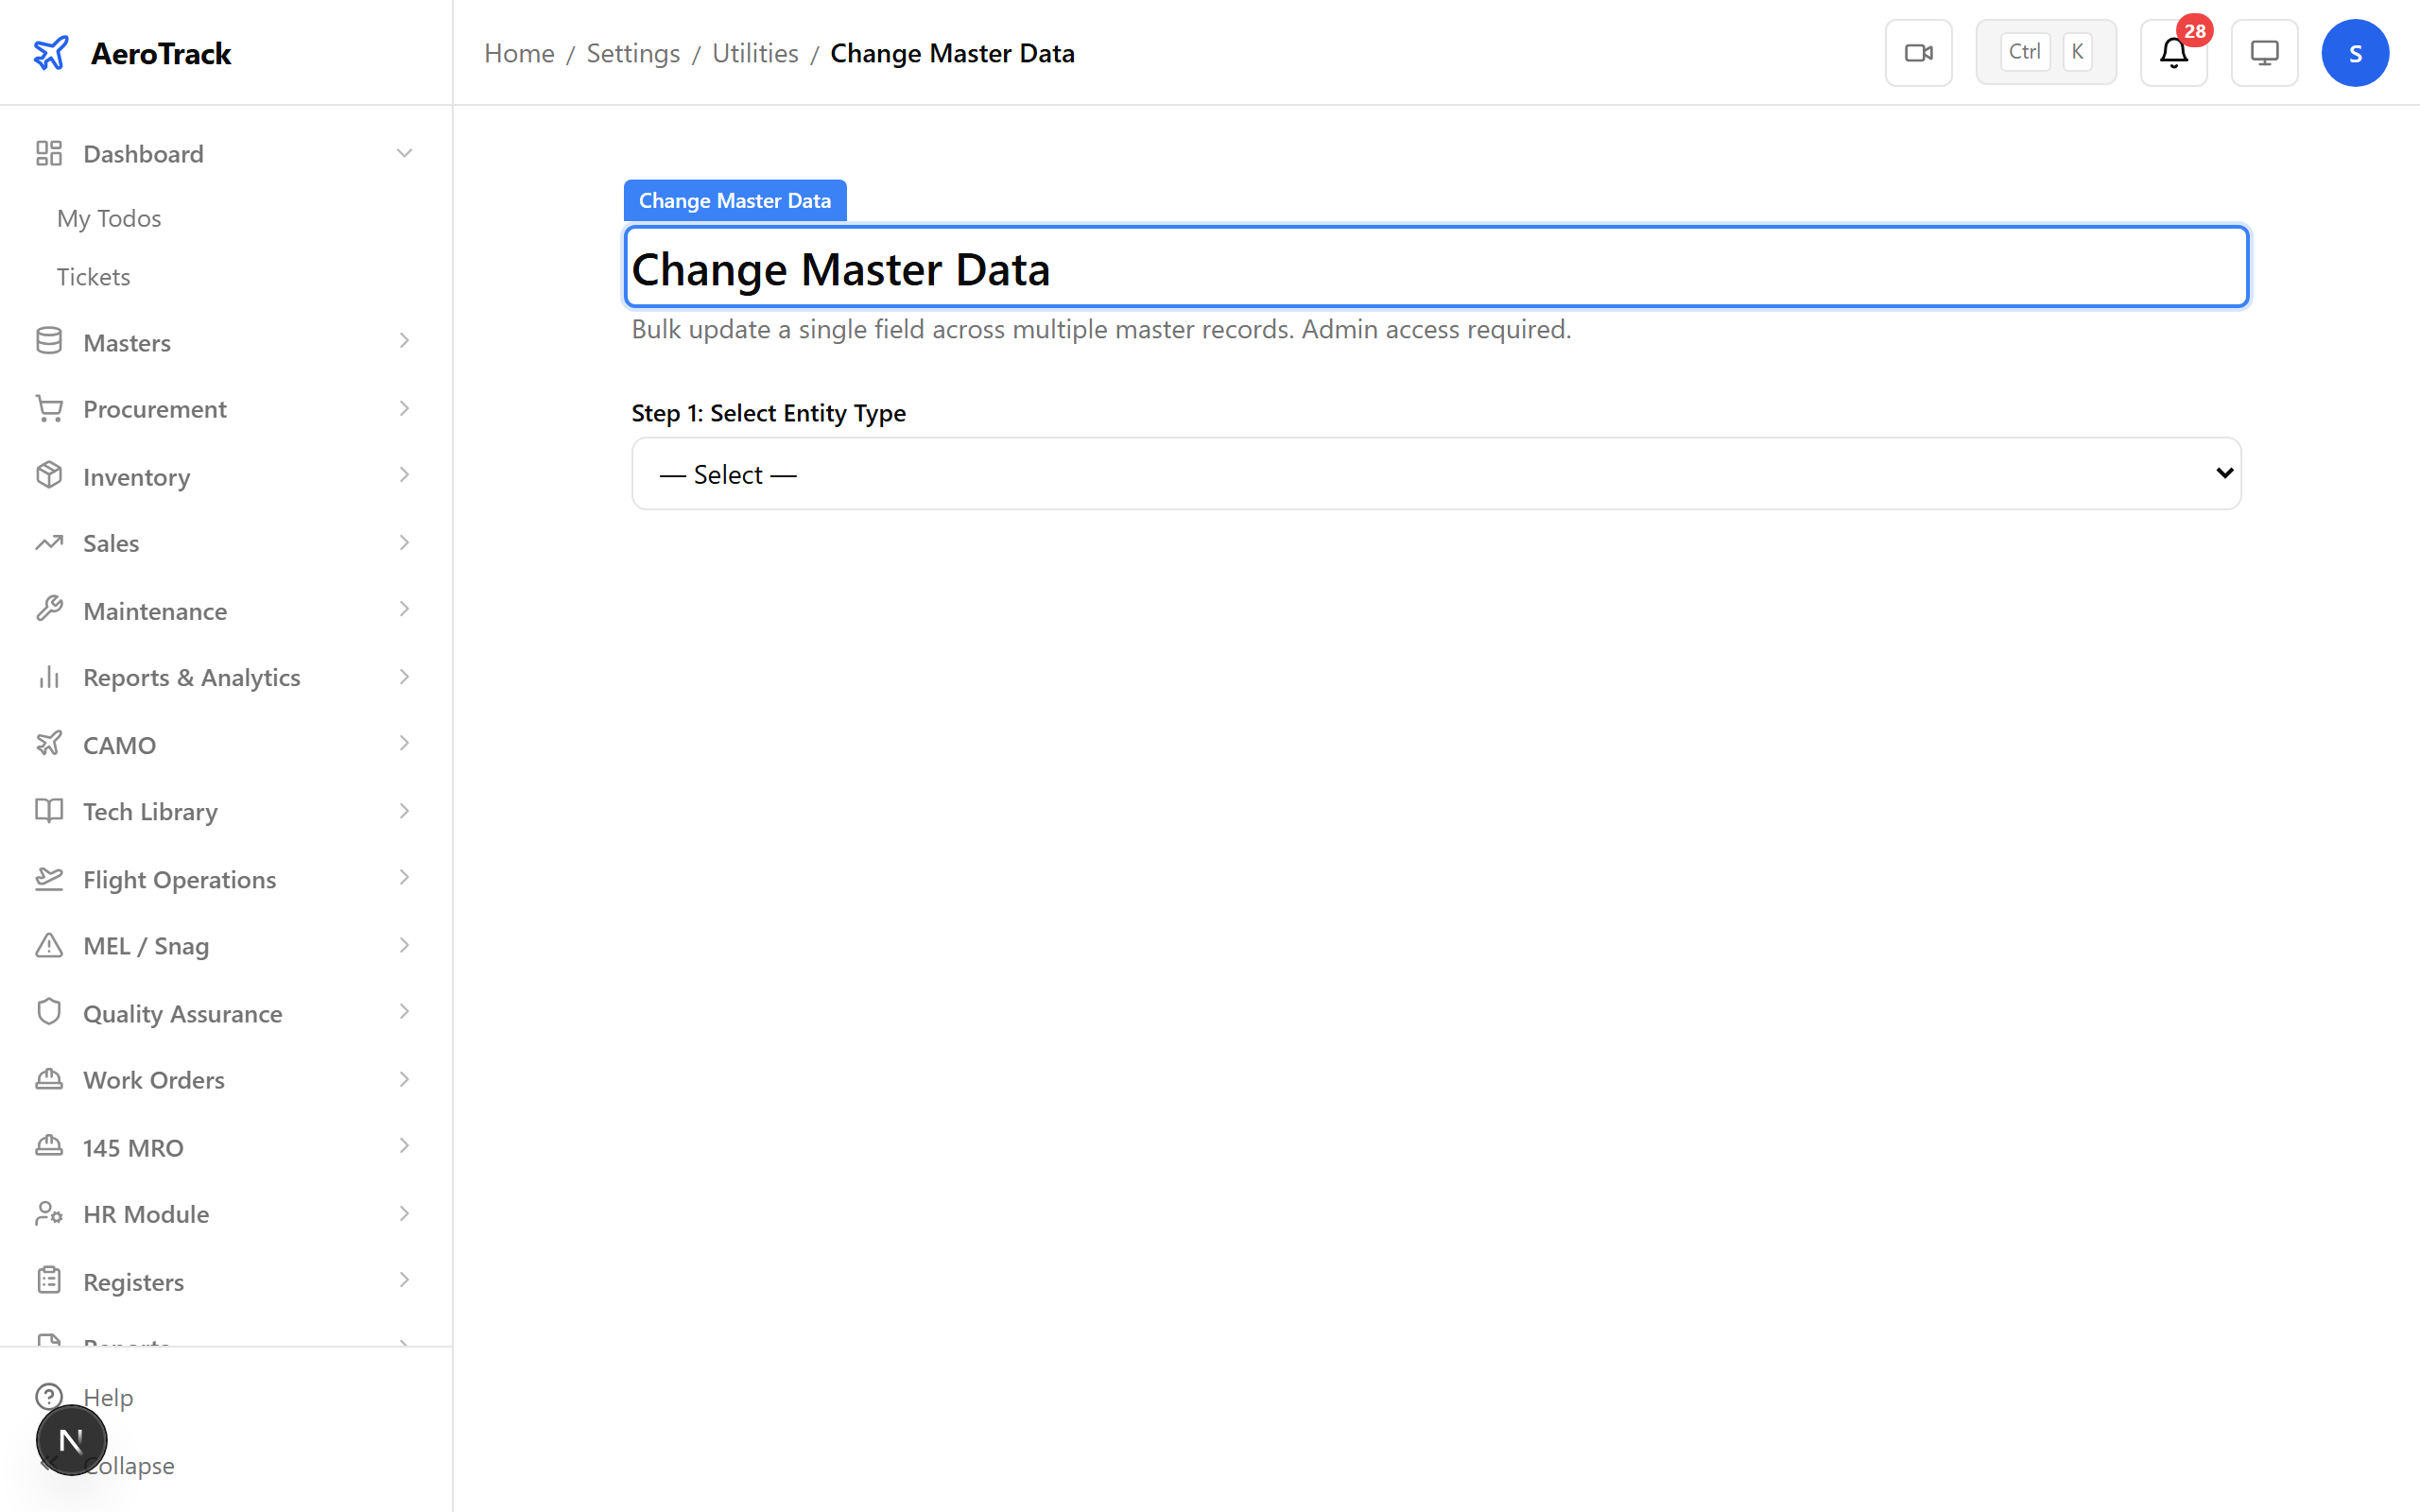
The Change Master Data utility lets admins make bulk corrections to part records, vendor data, or other master tables. Use it during data migration or when correcting import errors.
The remaining utilities handle specific bulk operations. Here's a quick reference:
| Utility | Purpose |
|---|---|
| Change ATA / Applicability | Update ATA chapter assignments and applicability matrix |
| Change Expiry | Bulk update shelf life in days for parts |
| Change Location | Transfer parts between stores/warehouses |
| Change Rate | Bulk update purchase price and standard rate |
| Change Serial/Batch | Toggle serialisation tracking on/off for parts |
| Acceptance Tag | Generate inspection tags with barcodes |
| Change Release Note | Update certification release text |
| Part Serial Status | Search and view part serial number details |
| Replace Category | Change part classification in bulk |
| Update Min/Max Stock | Bulk update reorder levels for inventory planning |
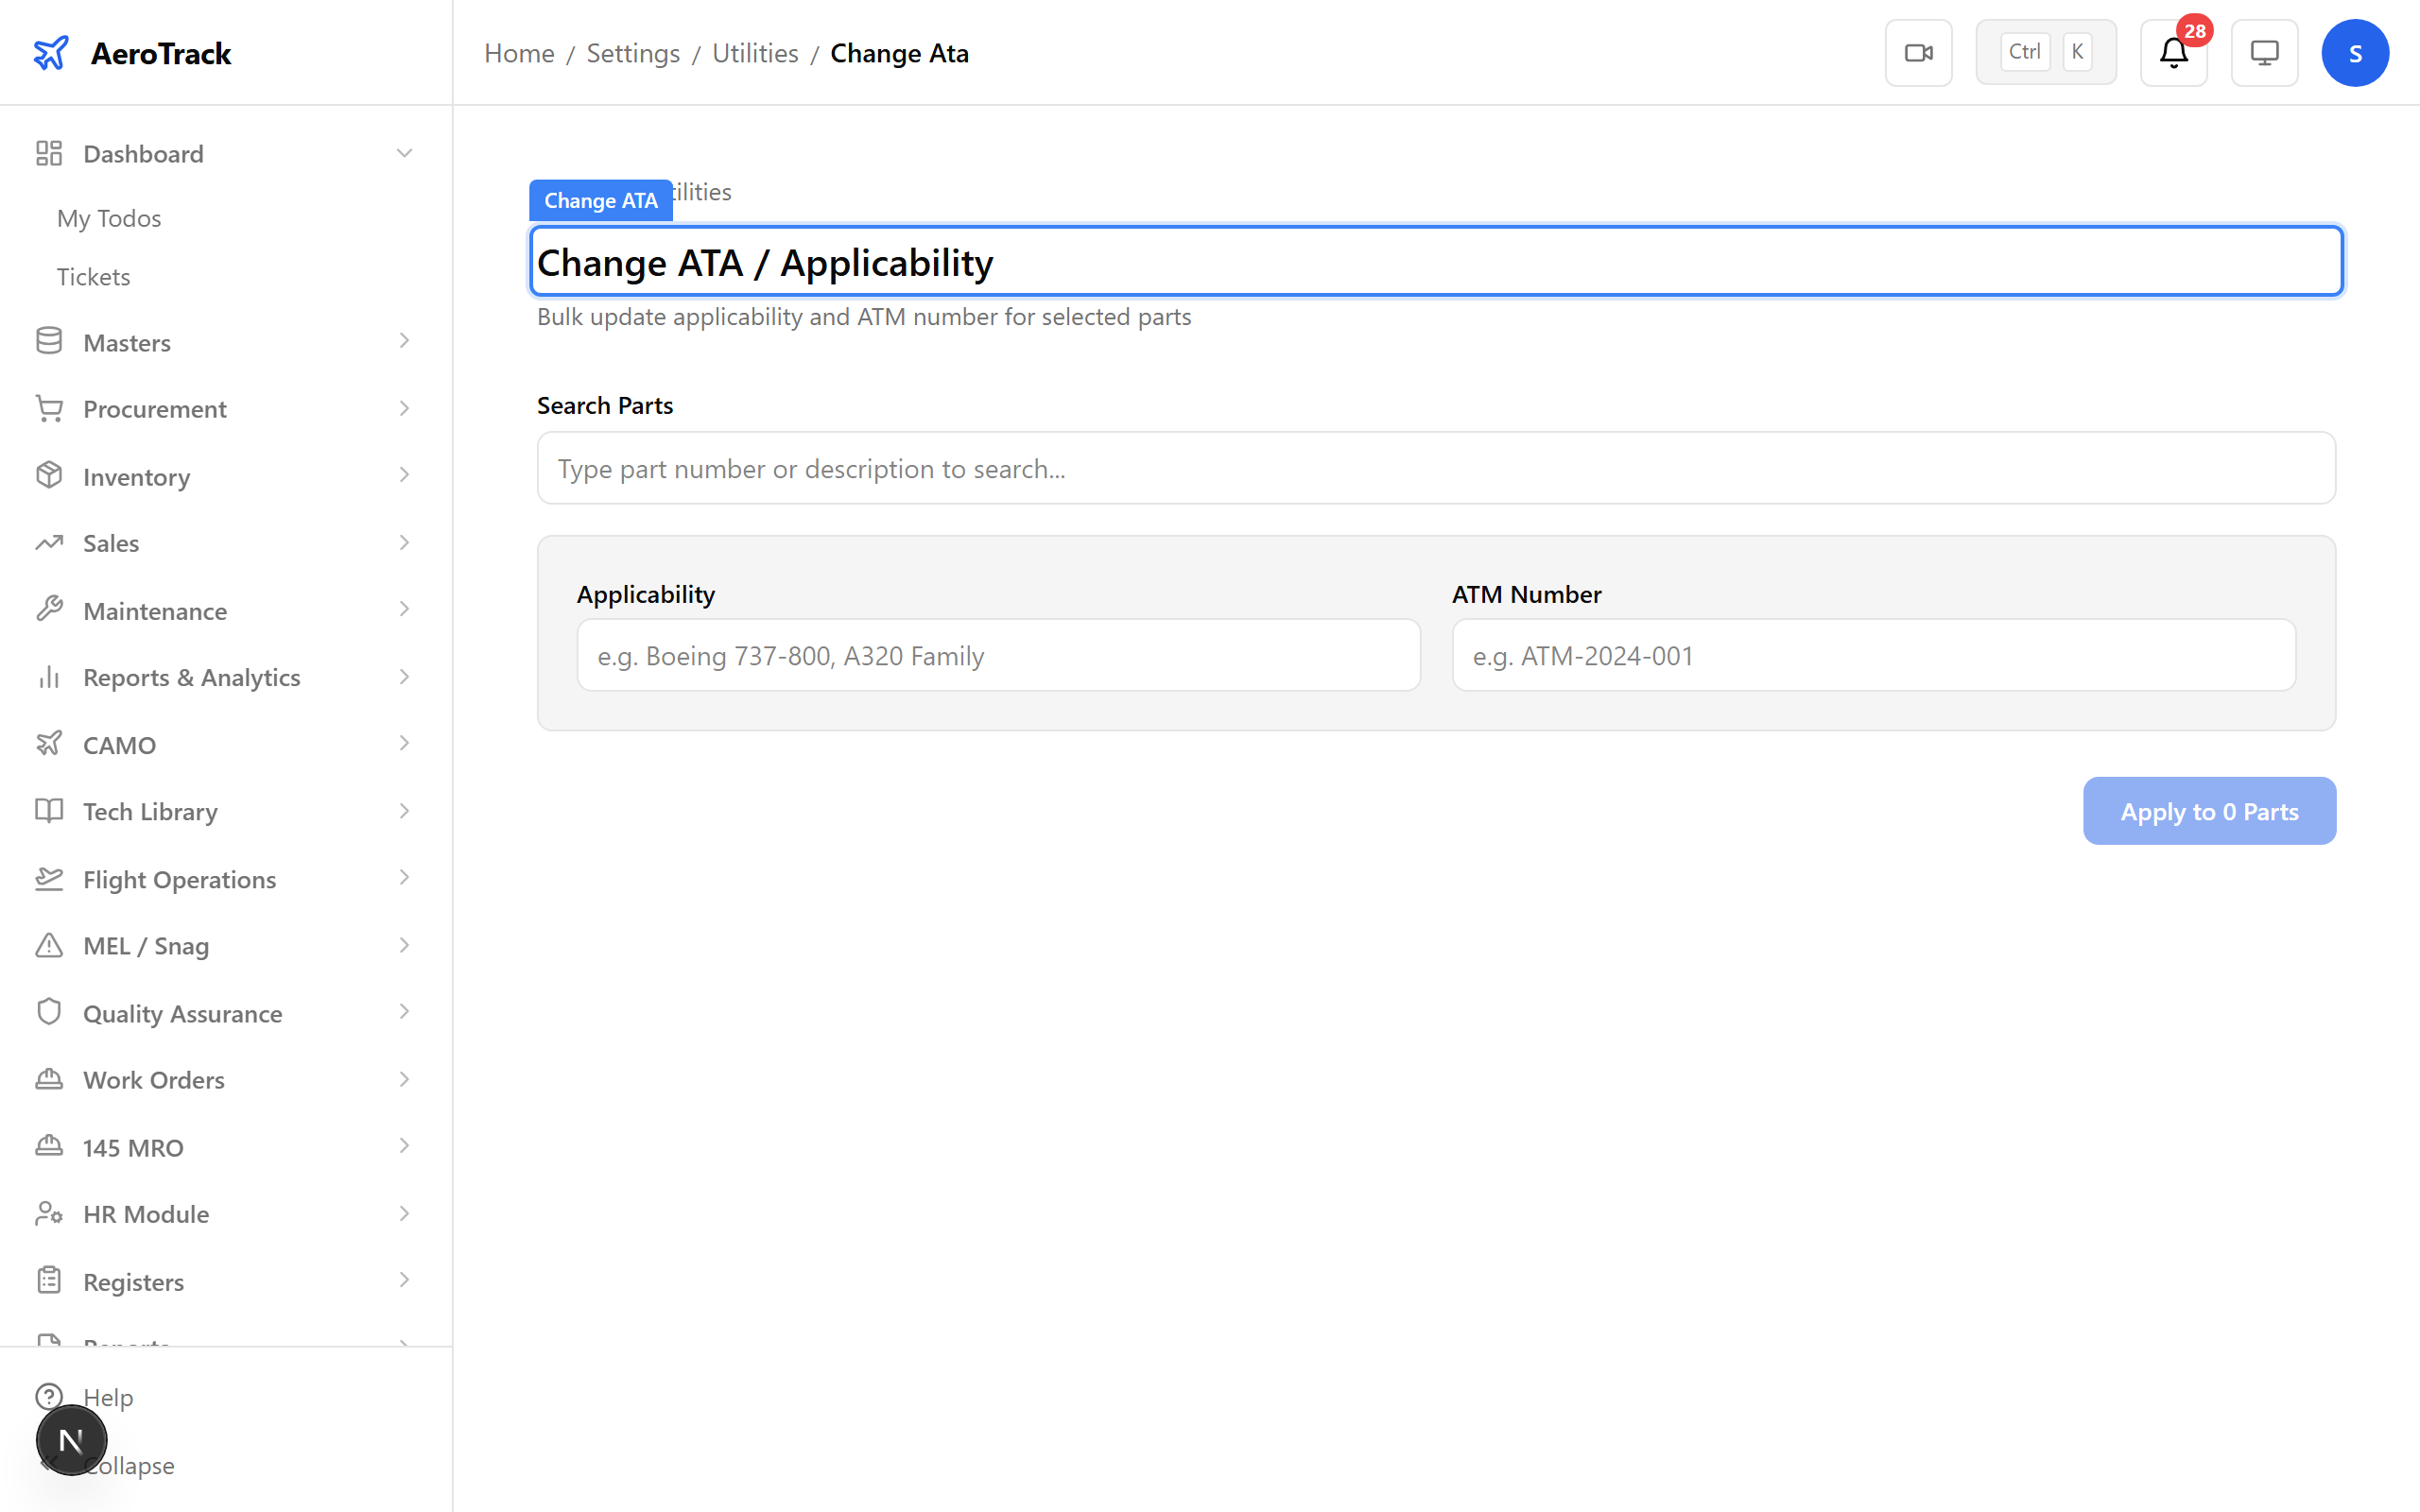
▲ The Change ATA utility — one of the more commonly used utilities during initial aircraft onboarding.
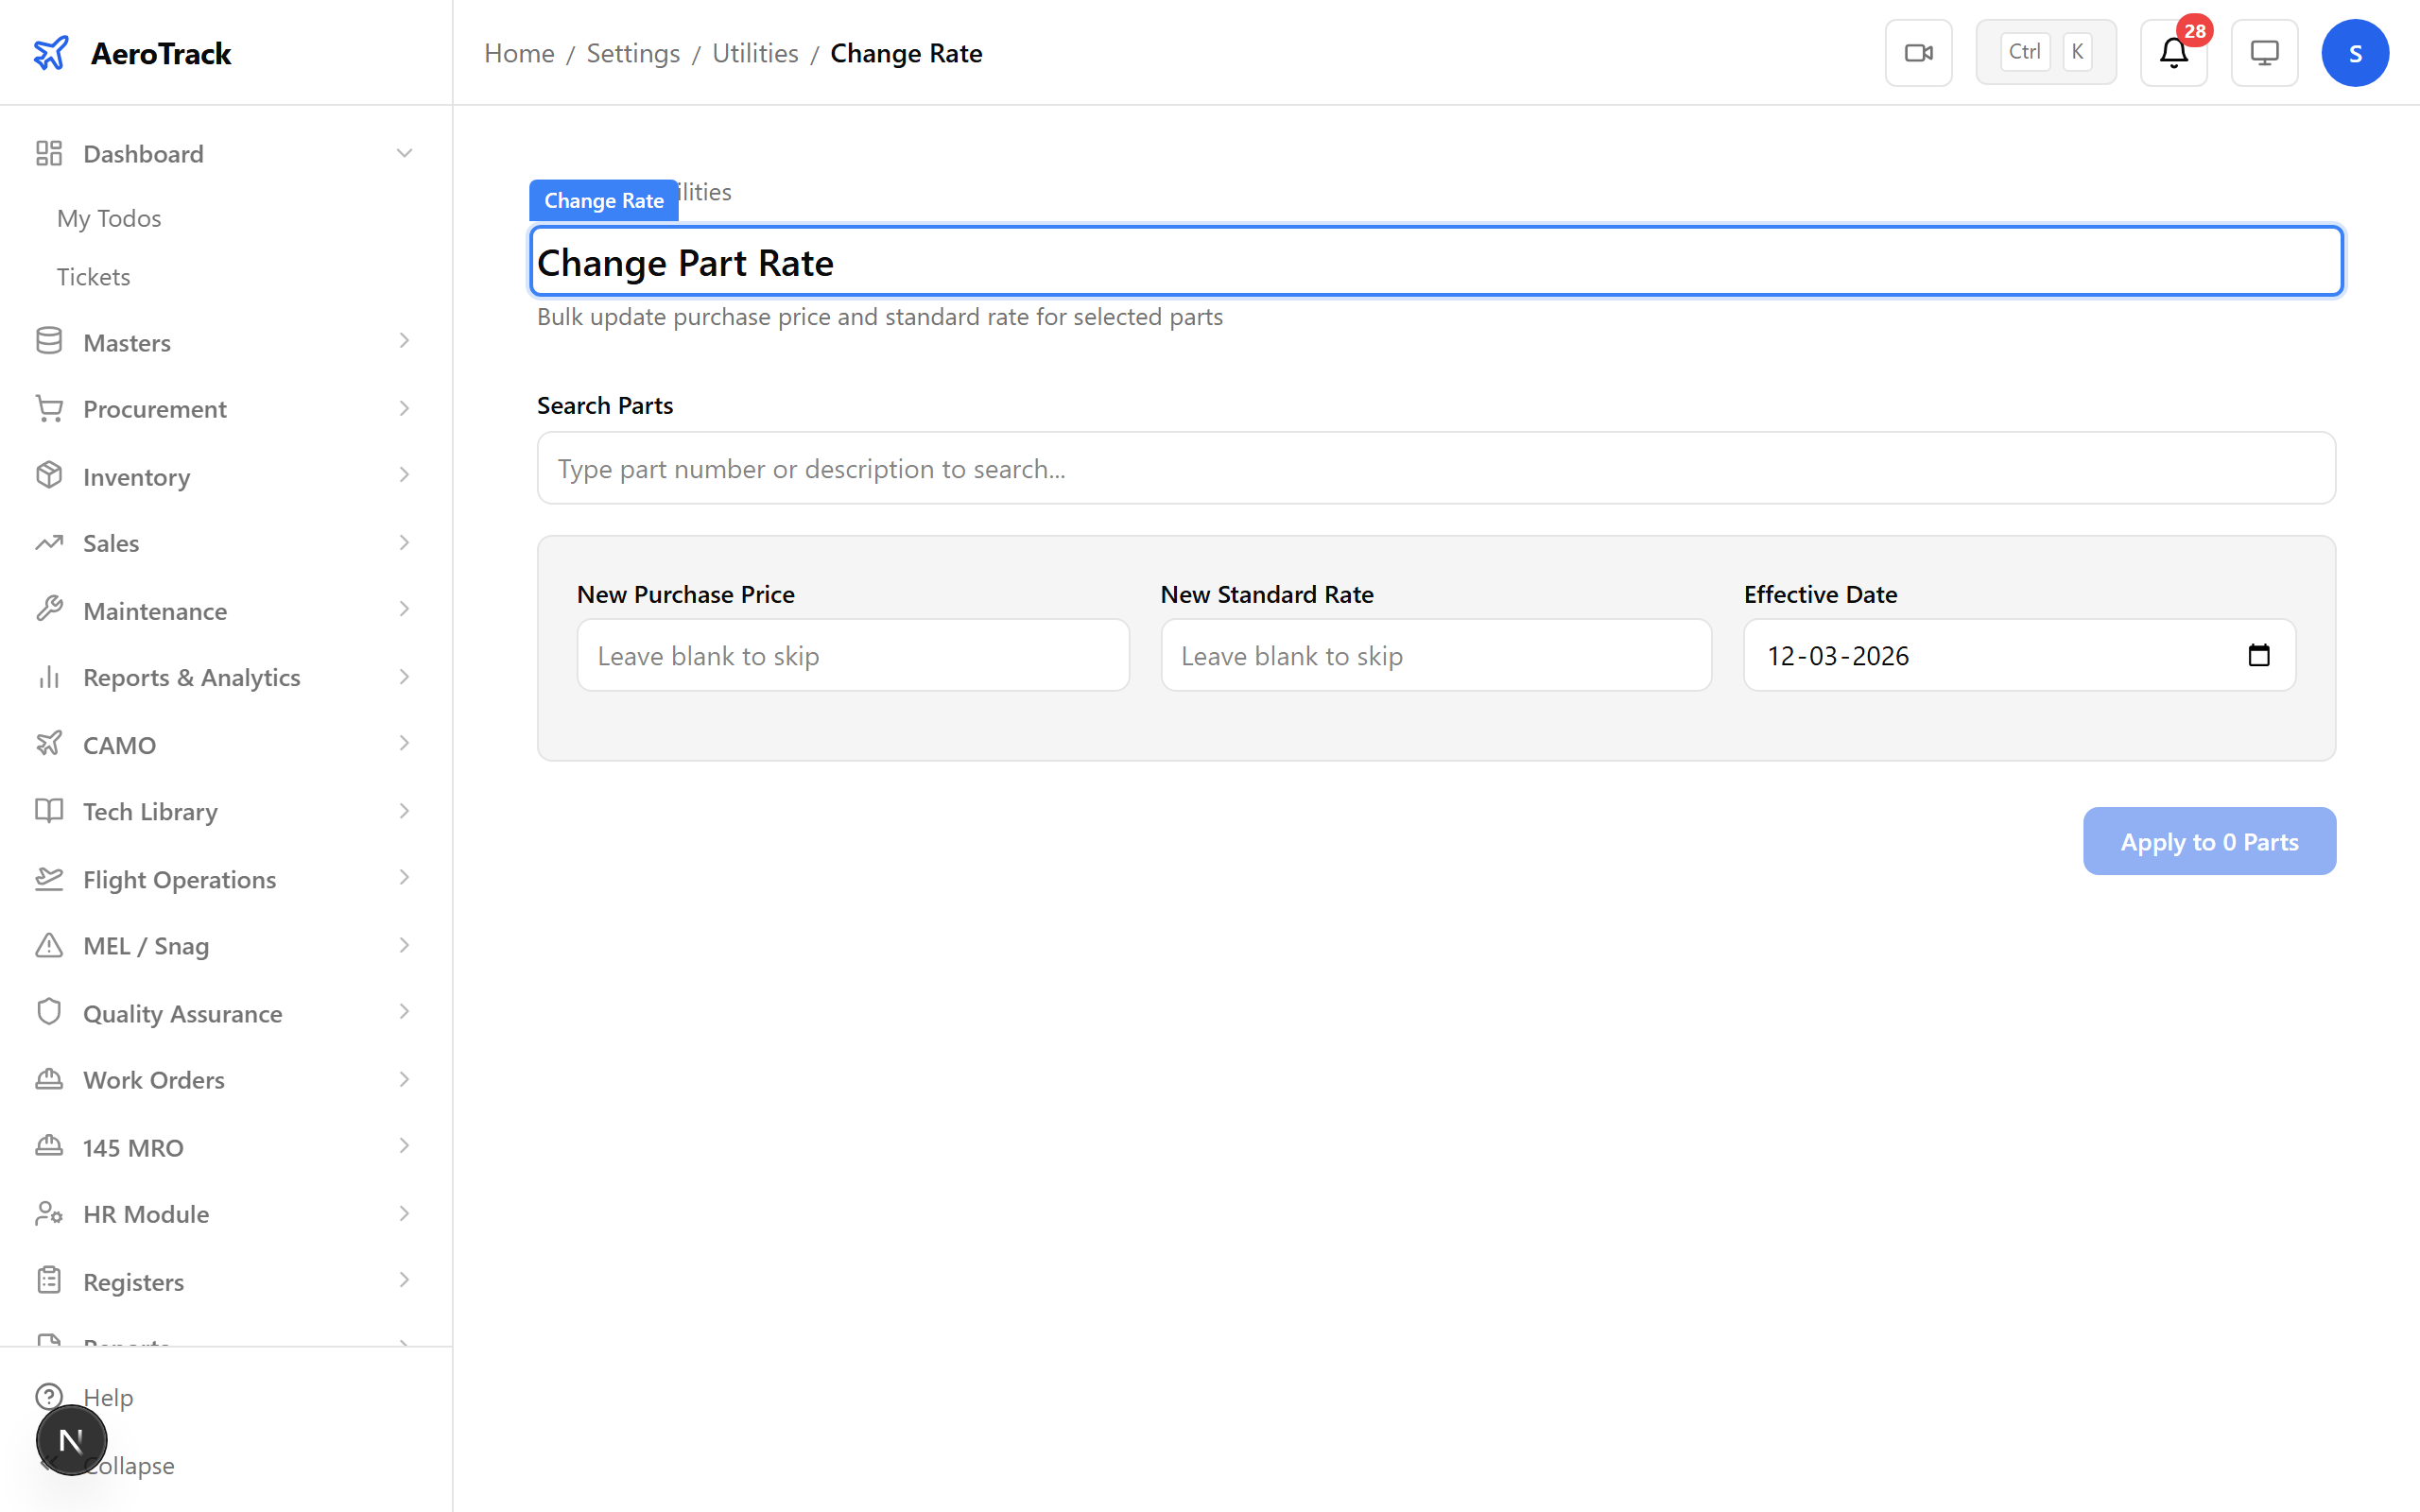
▲ The Change Rate utility — bulk-update purchase prices when a vendor revises their price list.
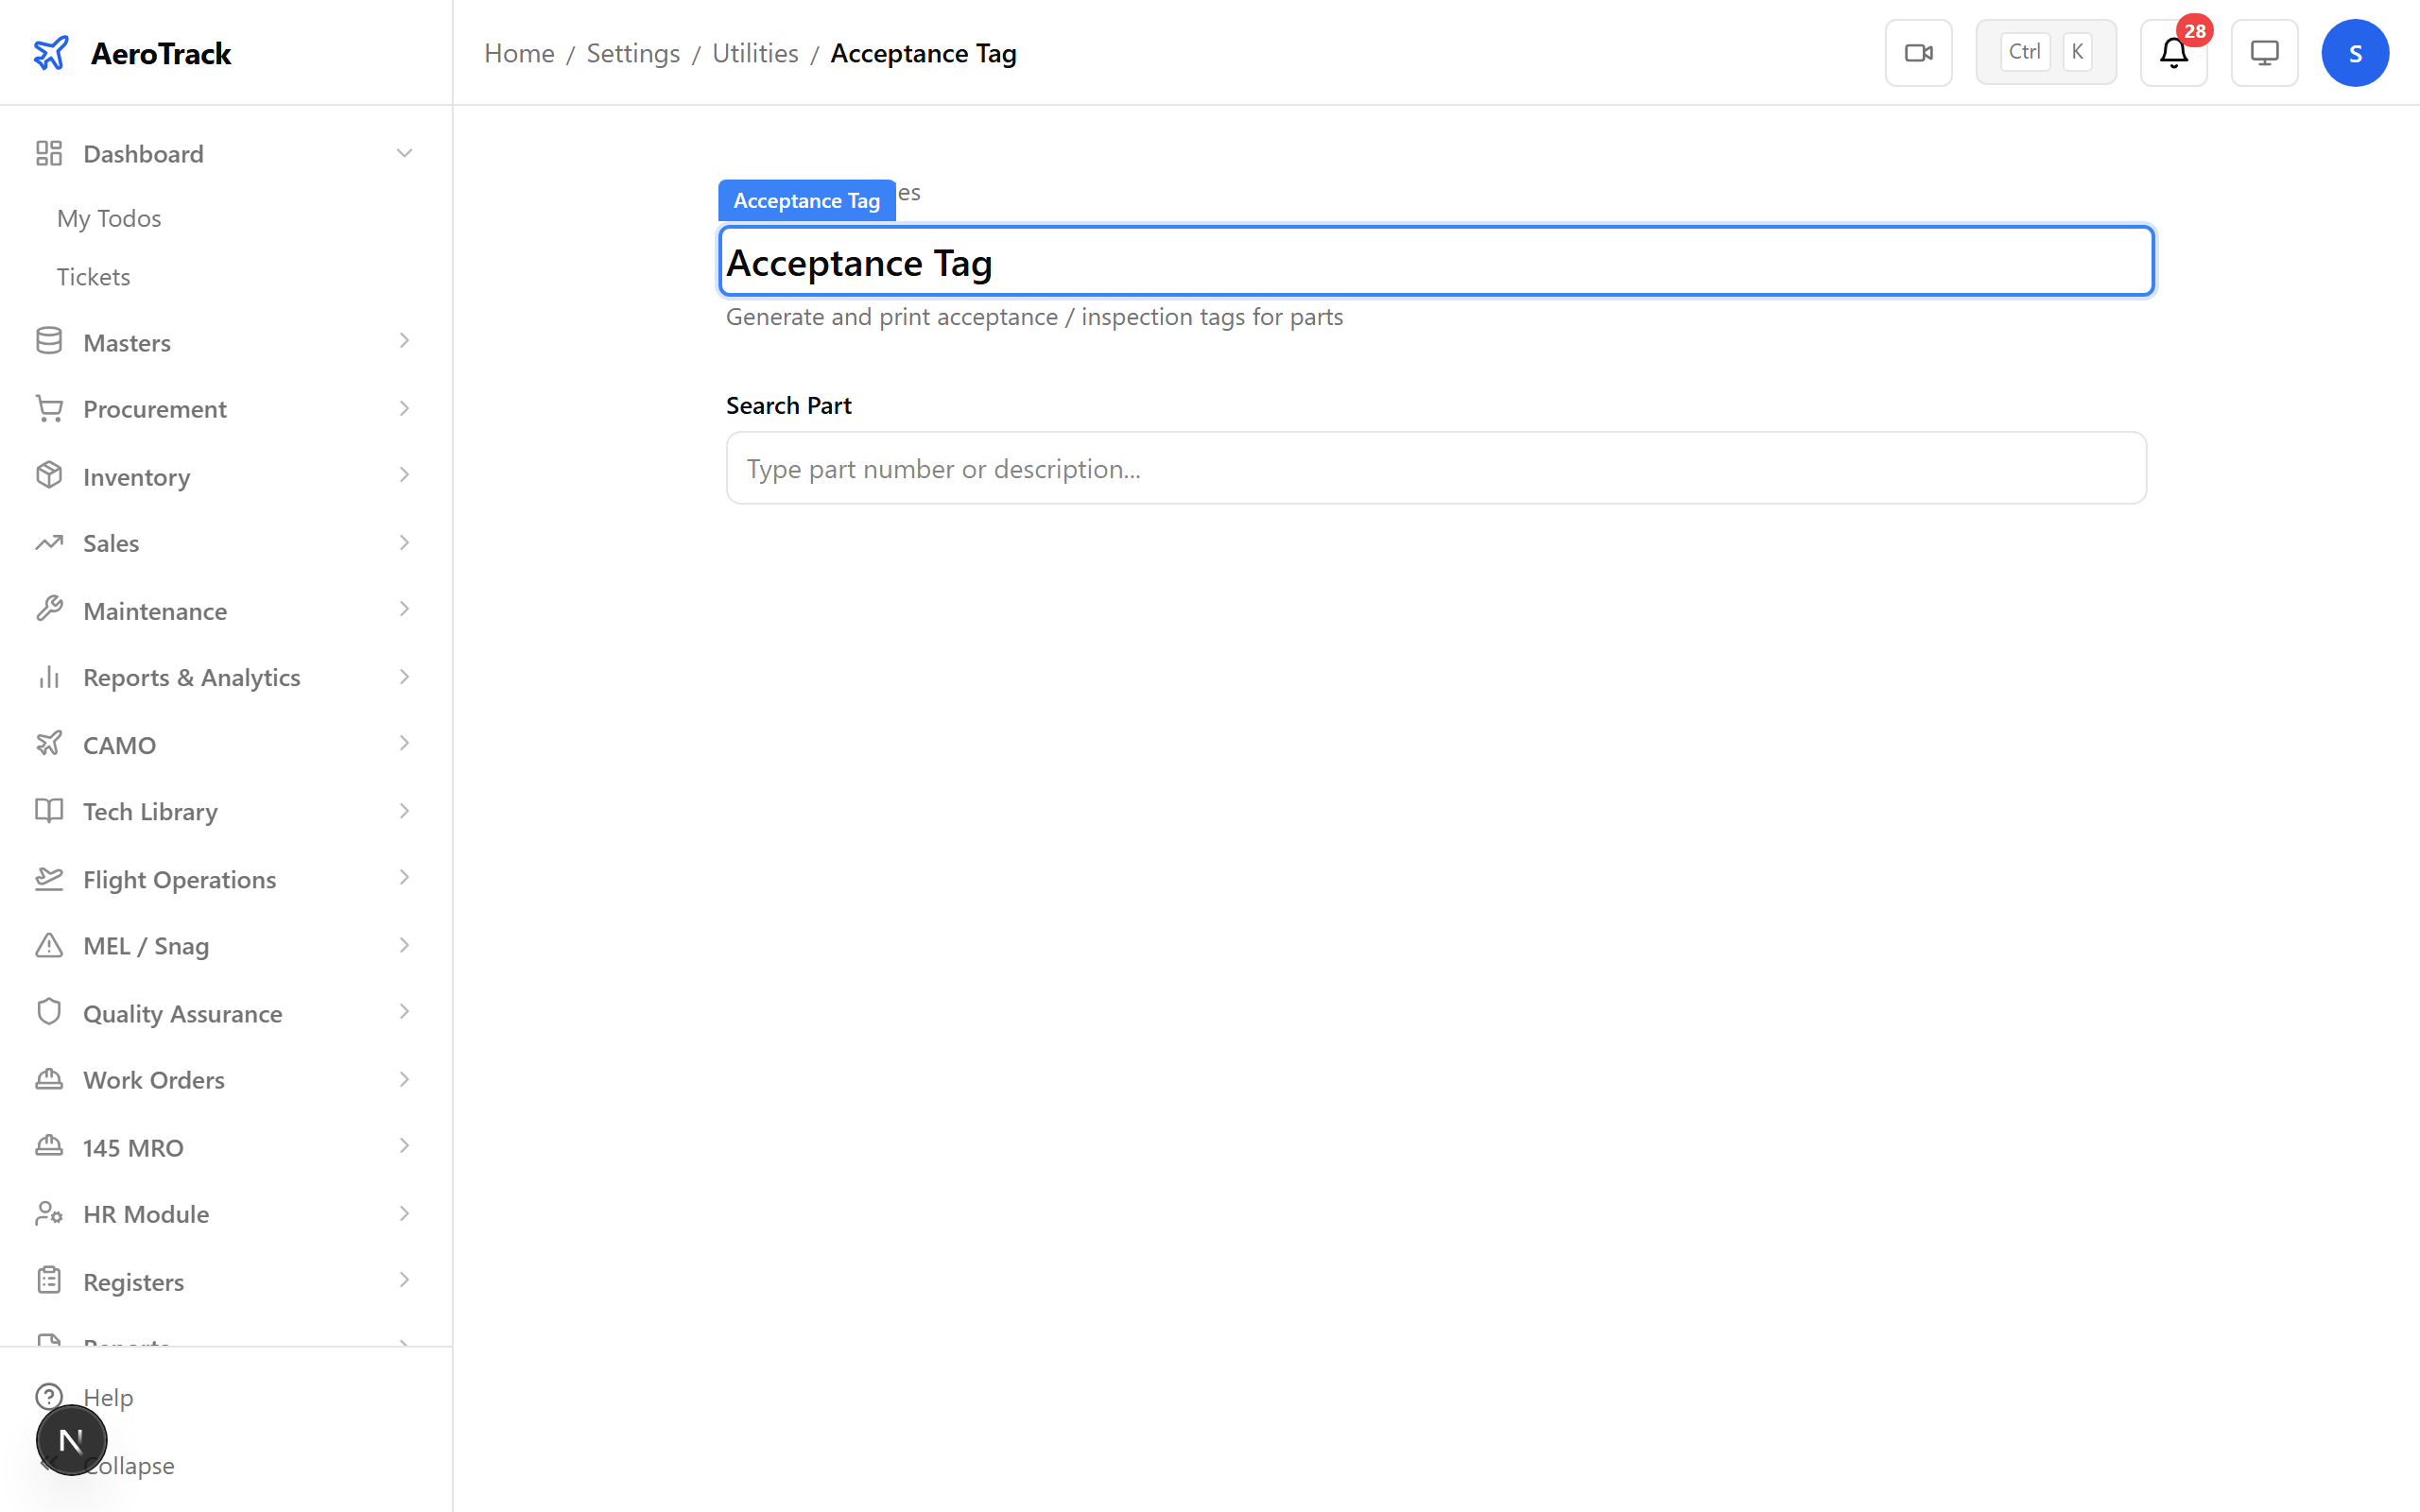
▲ The Acceptance Tag utility — generates barcode-labelled inspection tags for incoming goods.