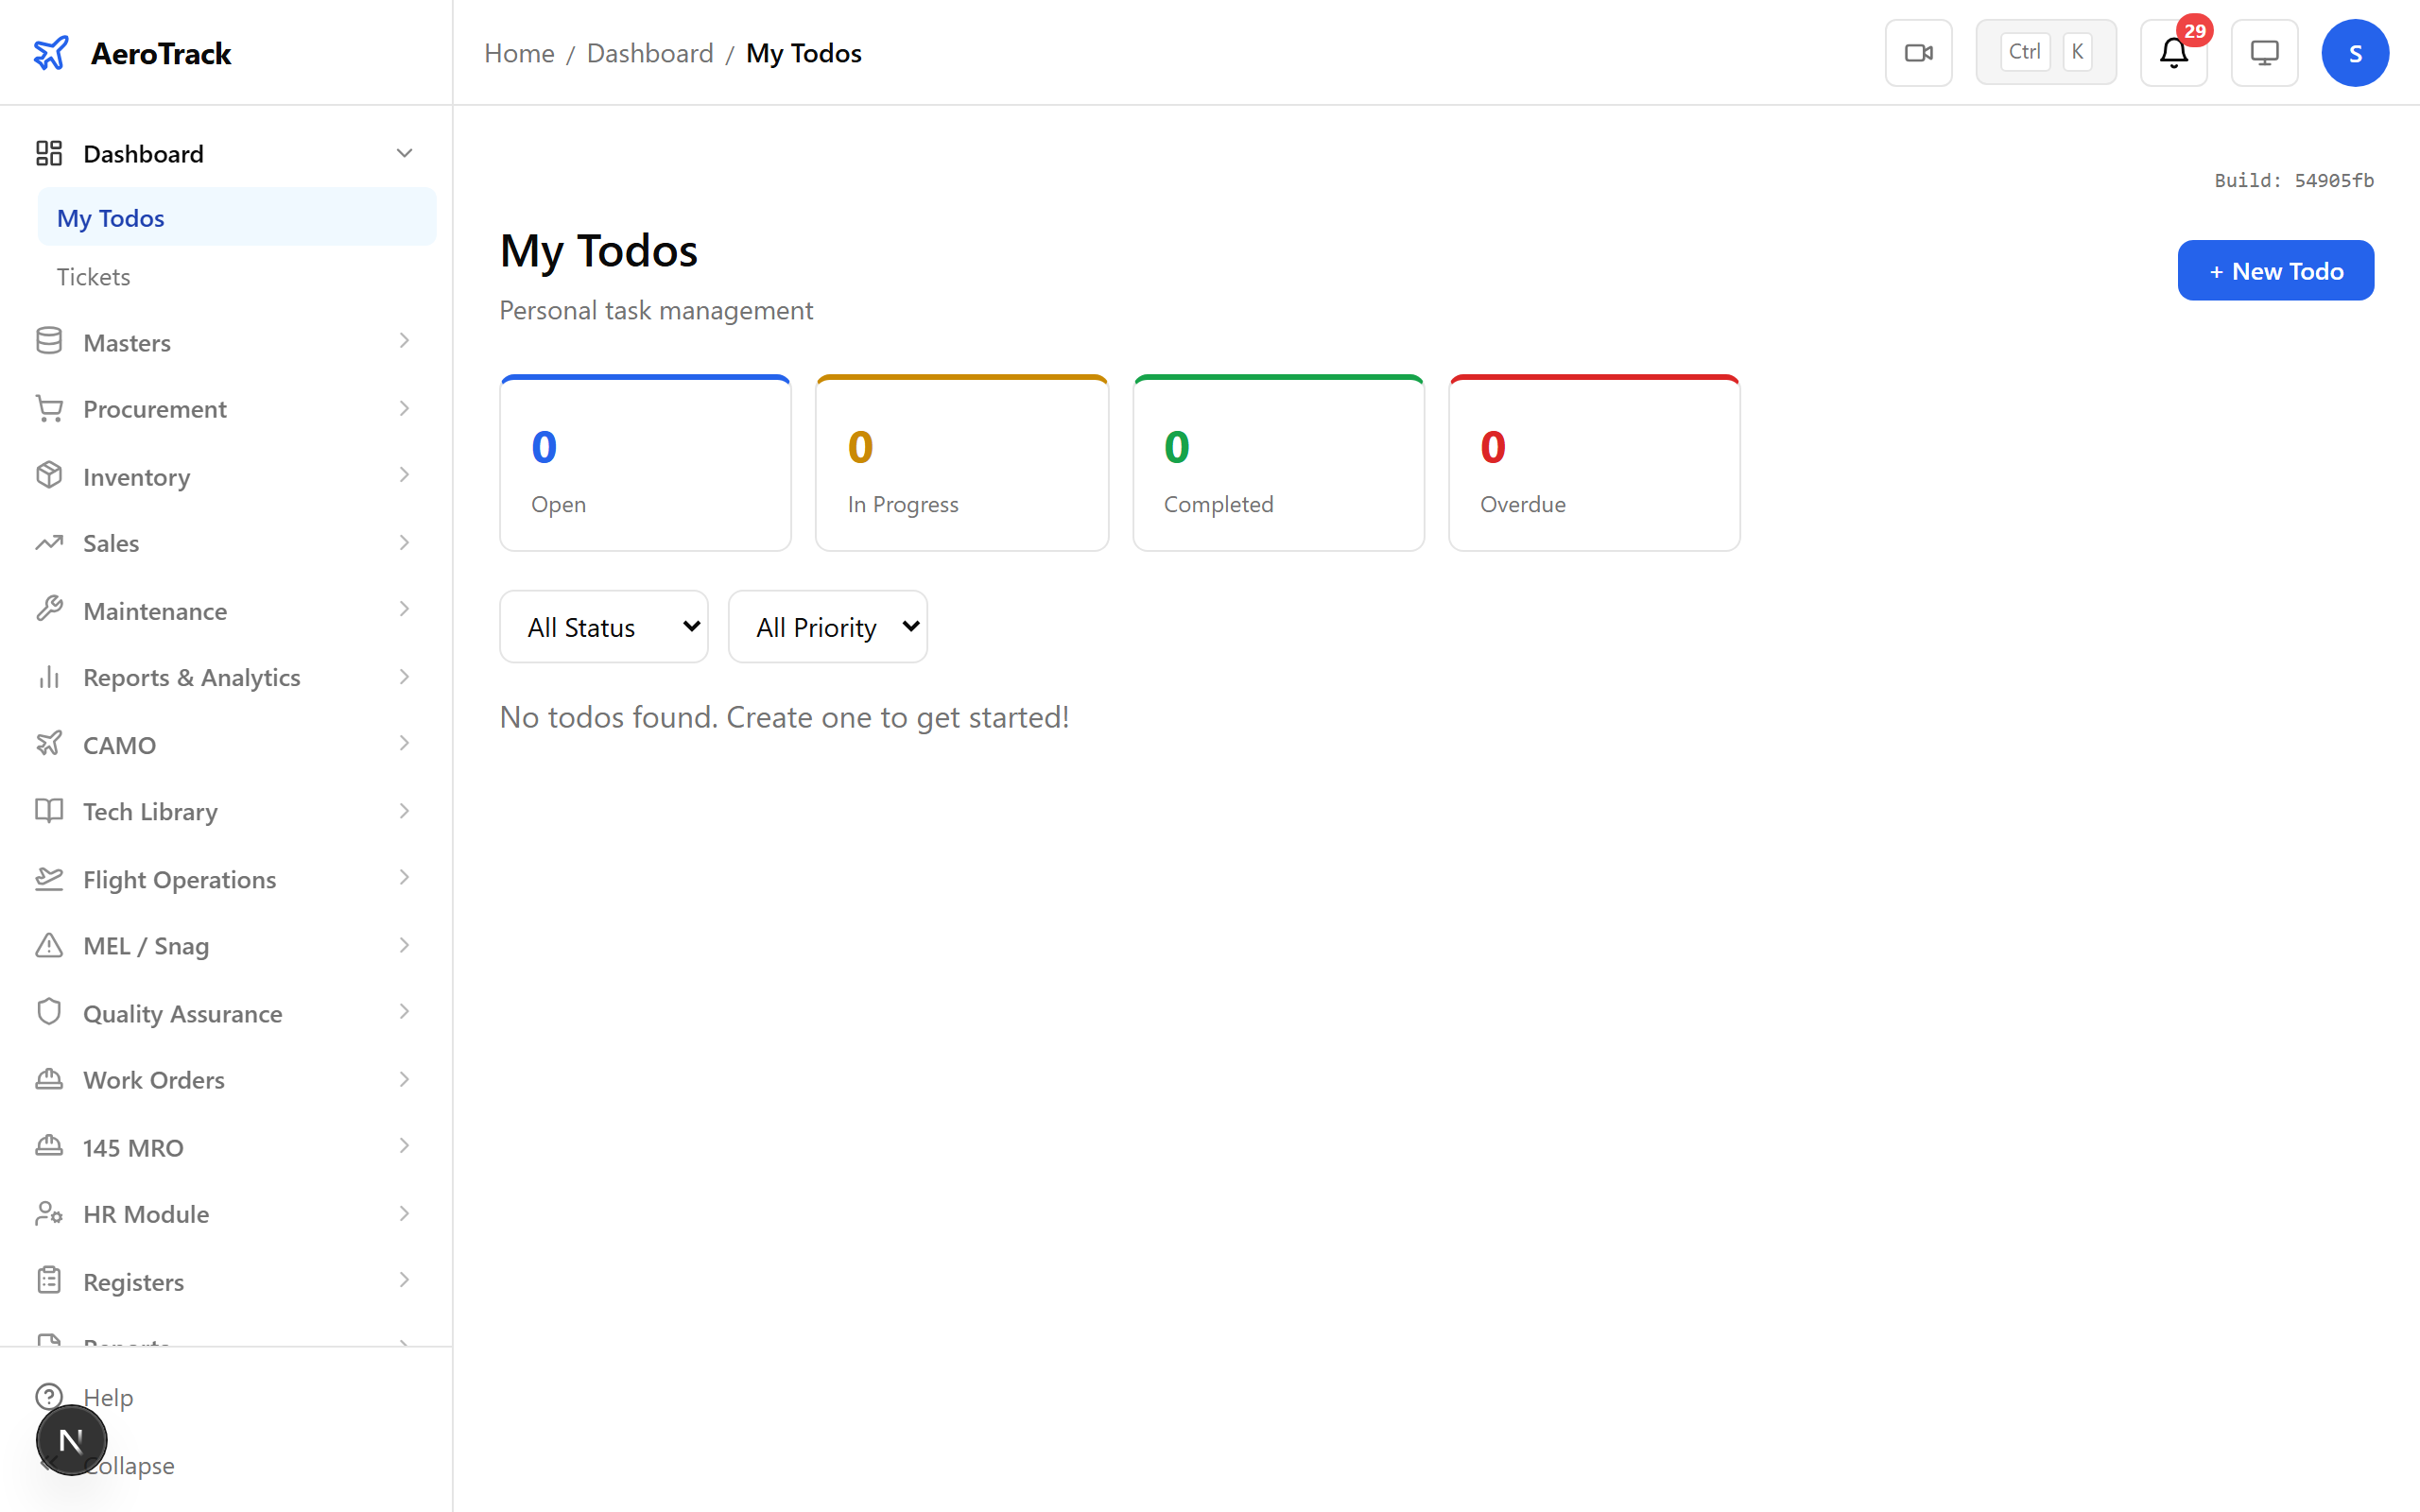
Step 1 — Admin Dashboard
Log in as an admin or super admin. The dashboard gives you an at-a-glance view of pending tasks, recent activity, and system notifications. This is your command centre.
Step 2 — Settings Hub
Navigate to Settings. The settings hub is the gateway to all admin functions — user management, company configuration, audit logs, text series, and platform utilities.

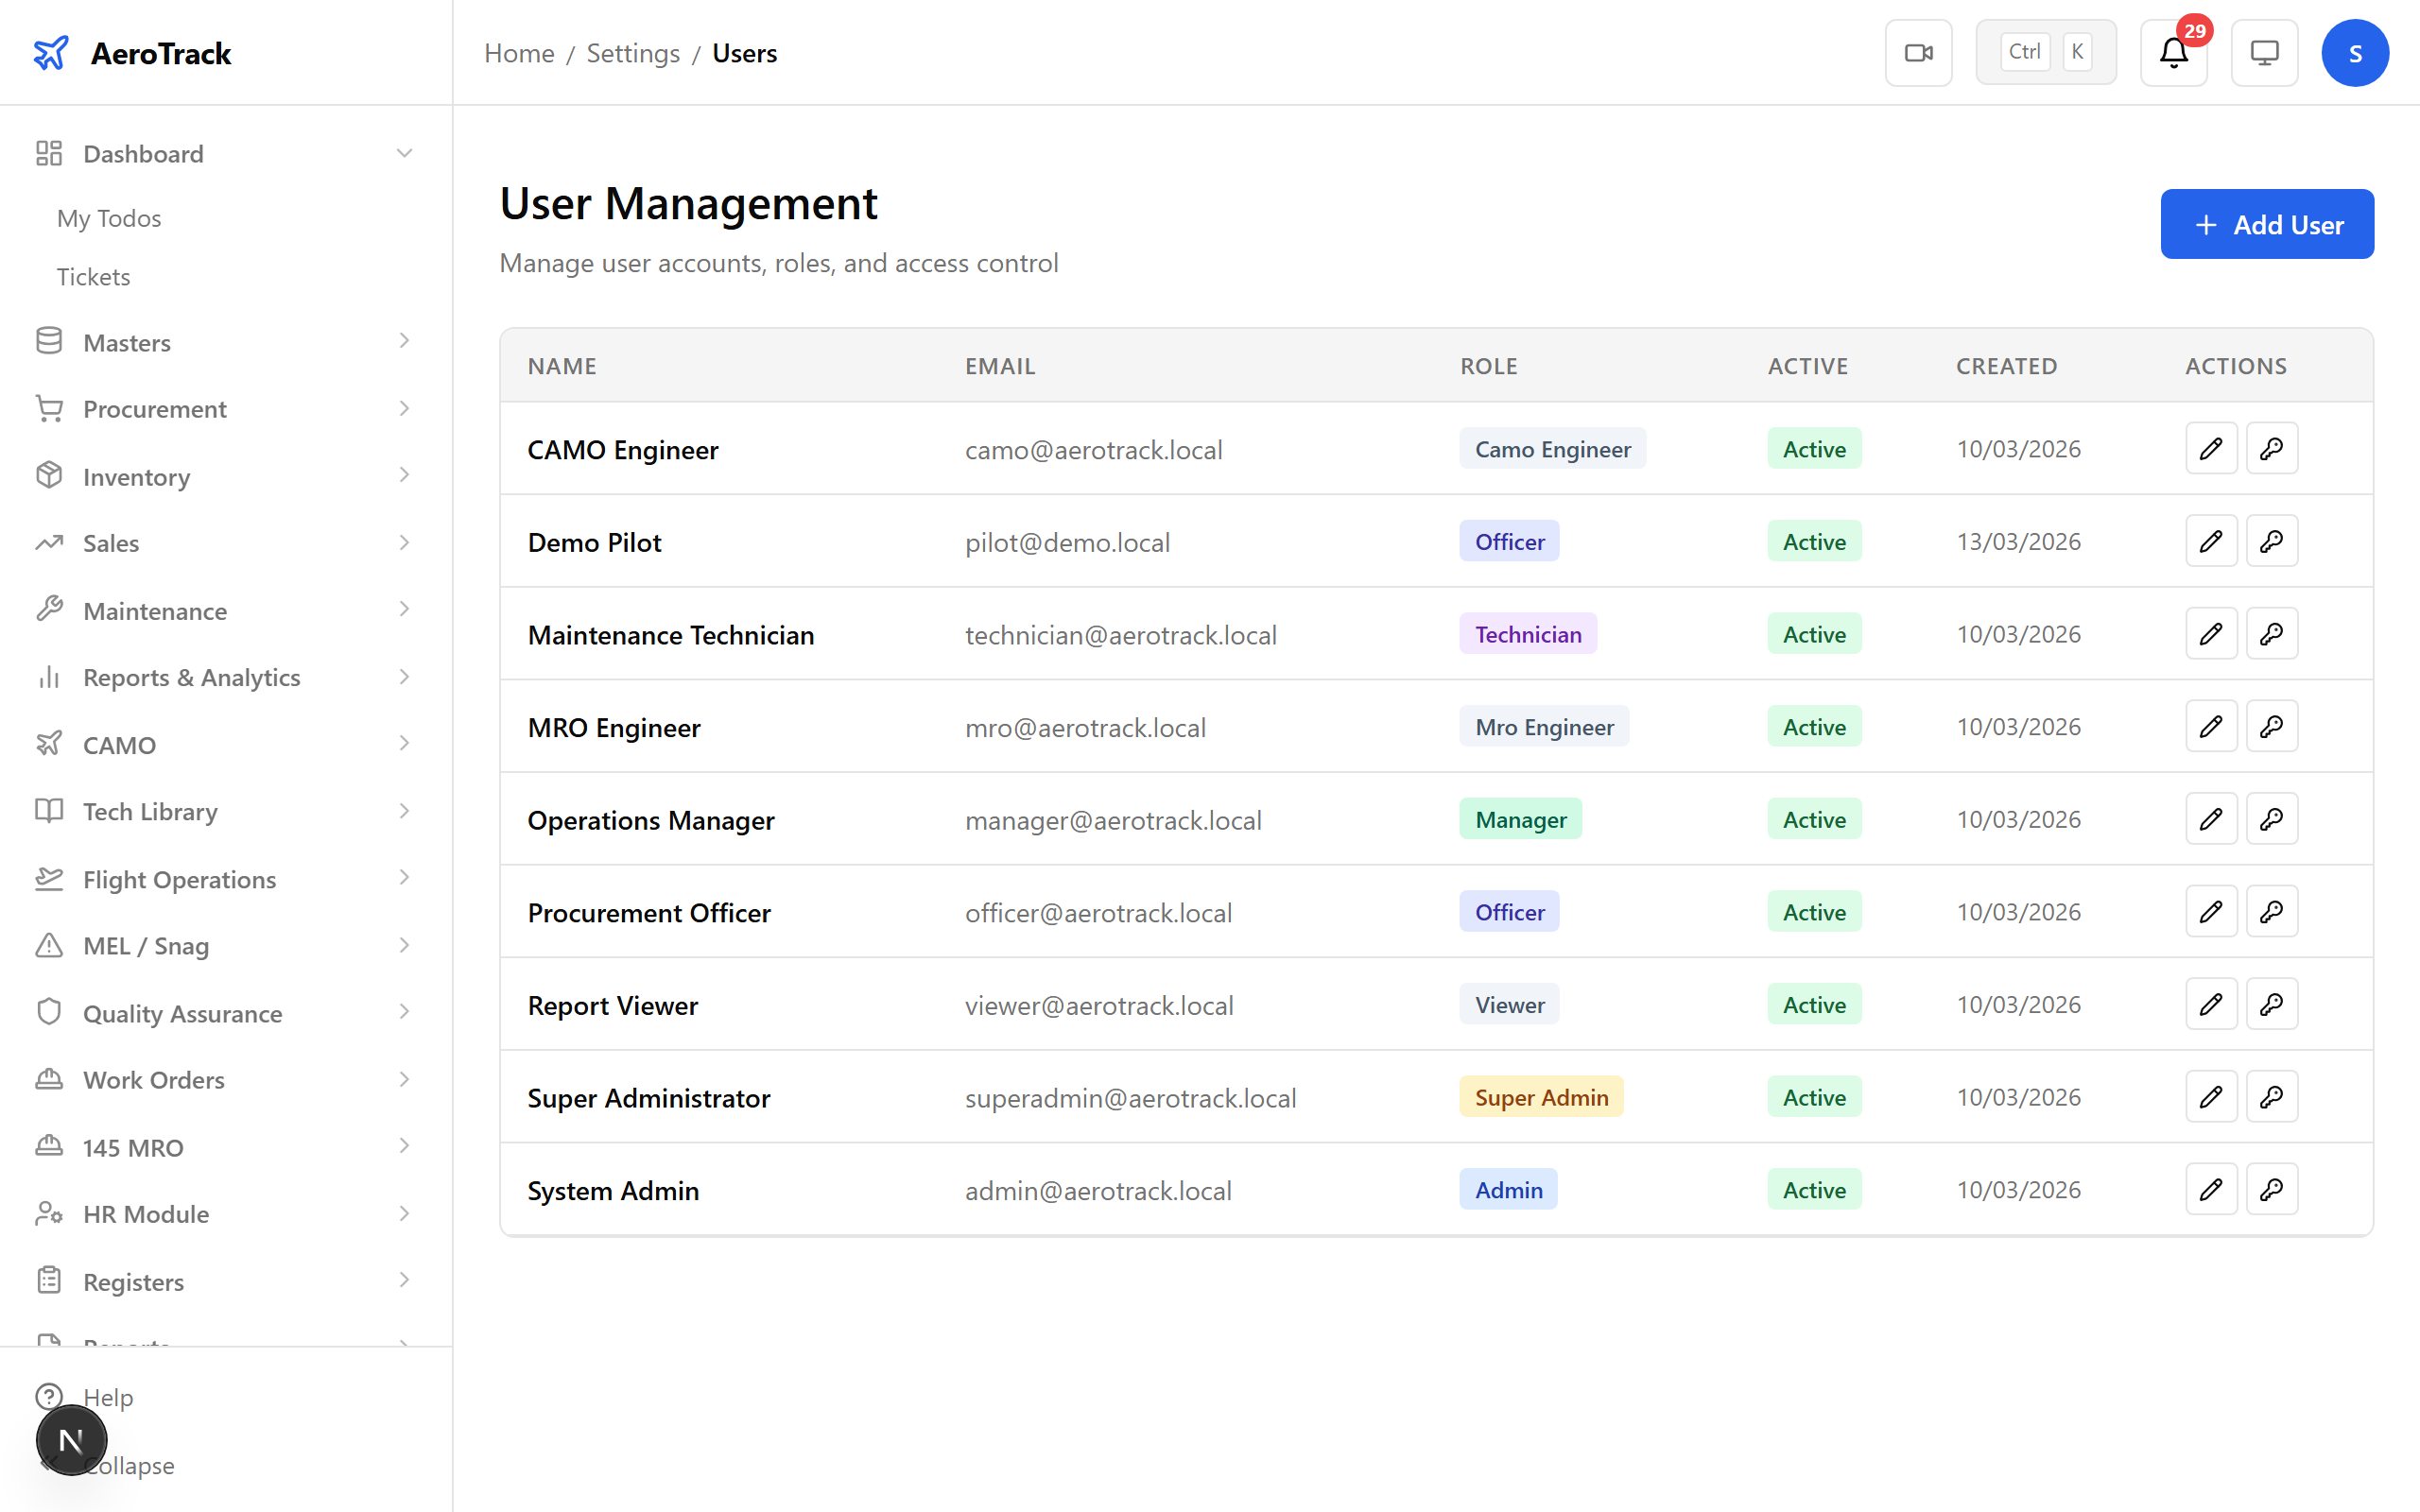
Step 3 — Users List
Open Settings → Users. The users table shows every account in the system — name, email, role, department, and status. Use the + New User button to add someone.

Step 4 — Create a New User
Fill in the new user form. Every field maps to a specific access control dimension — the role determines what the user can see and do across the platform.
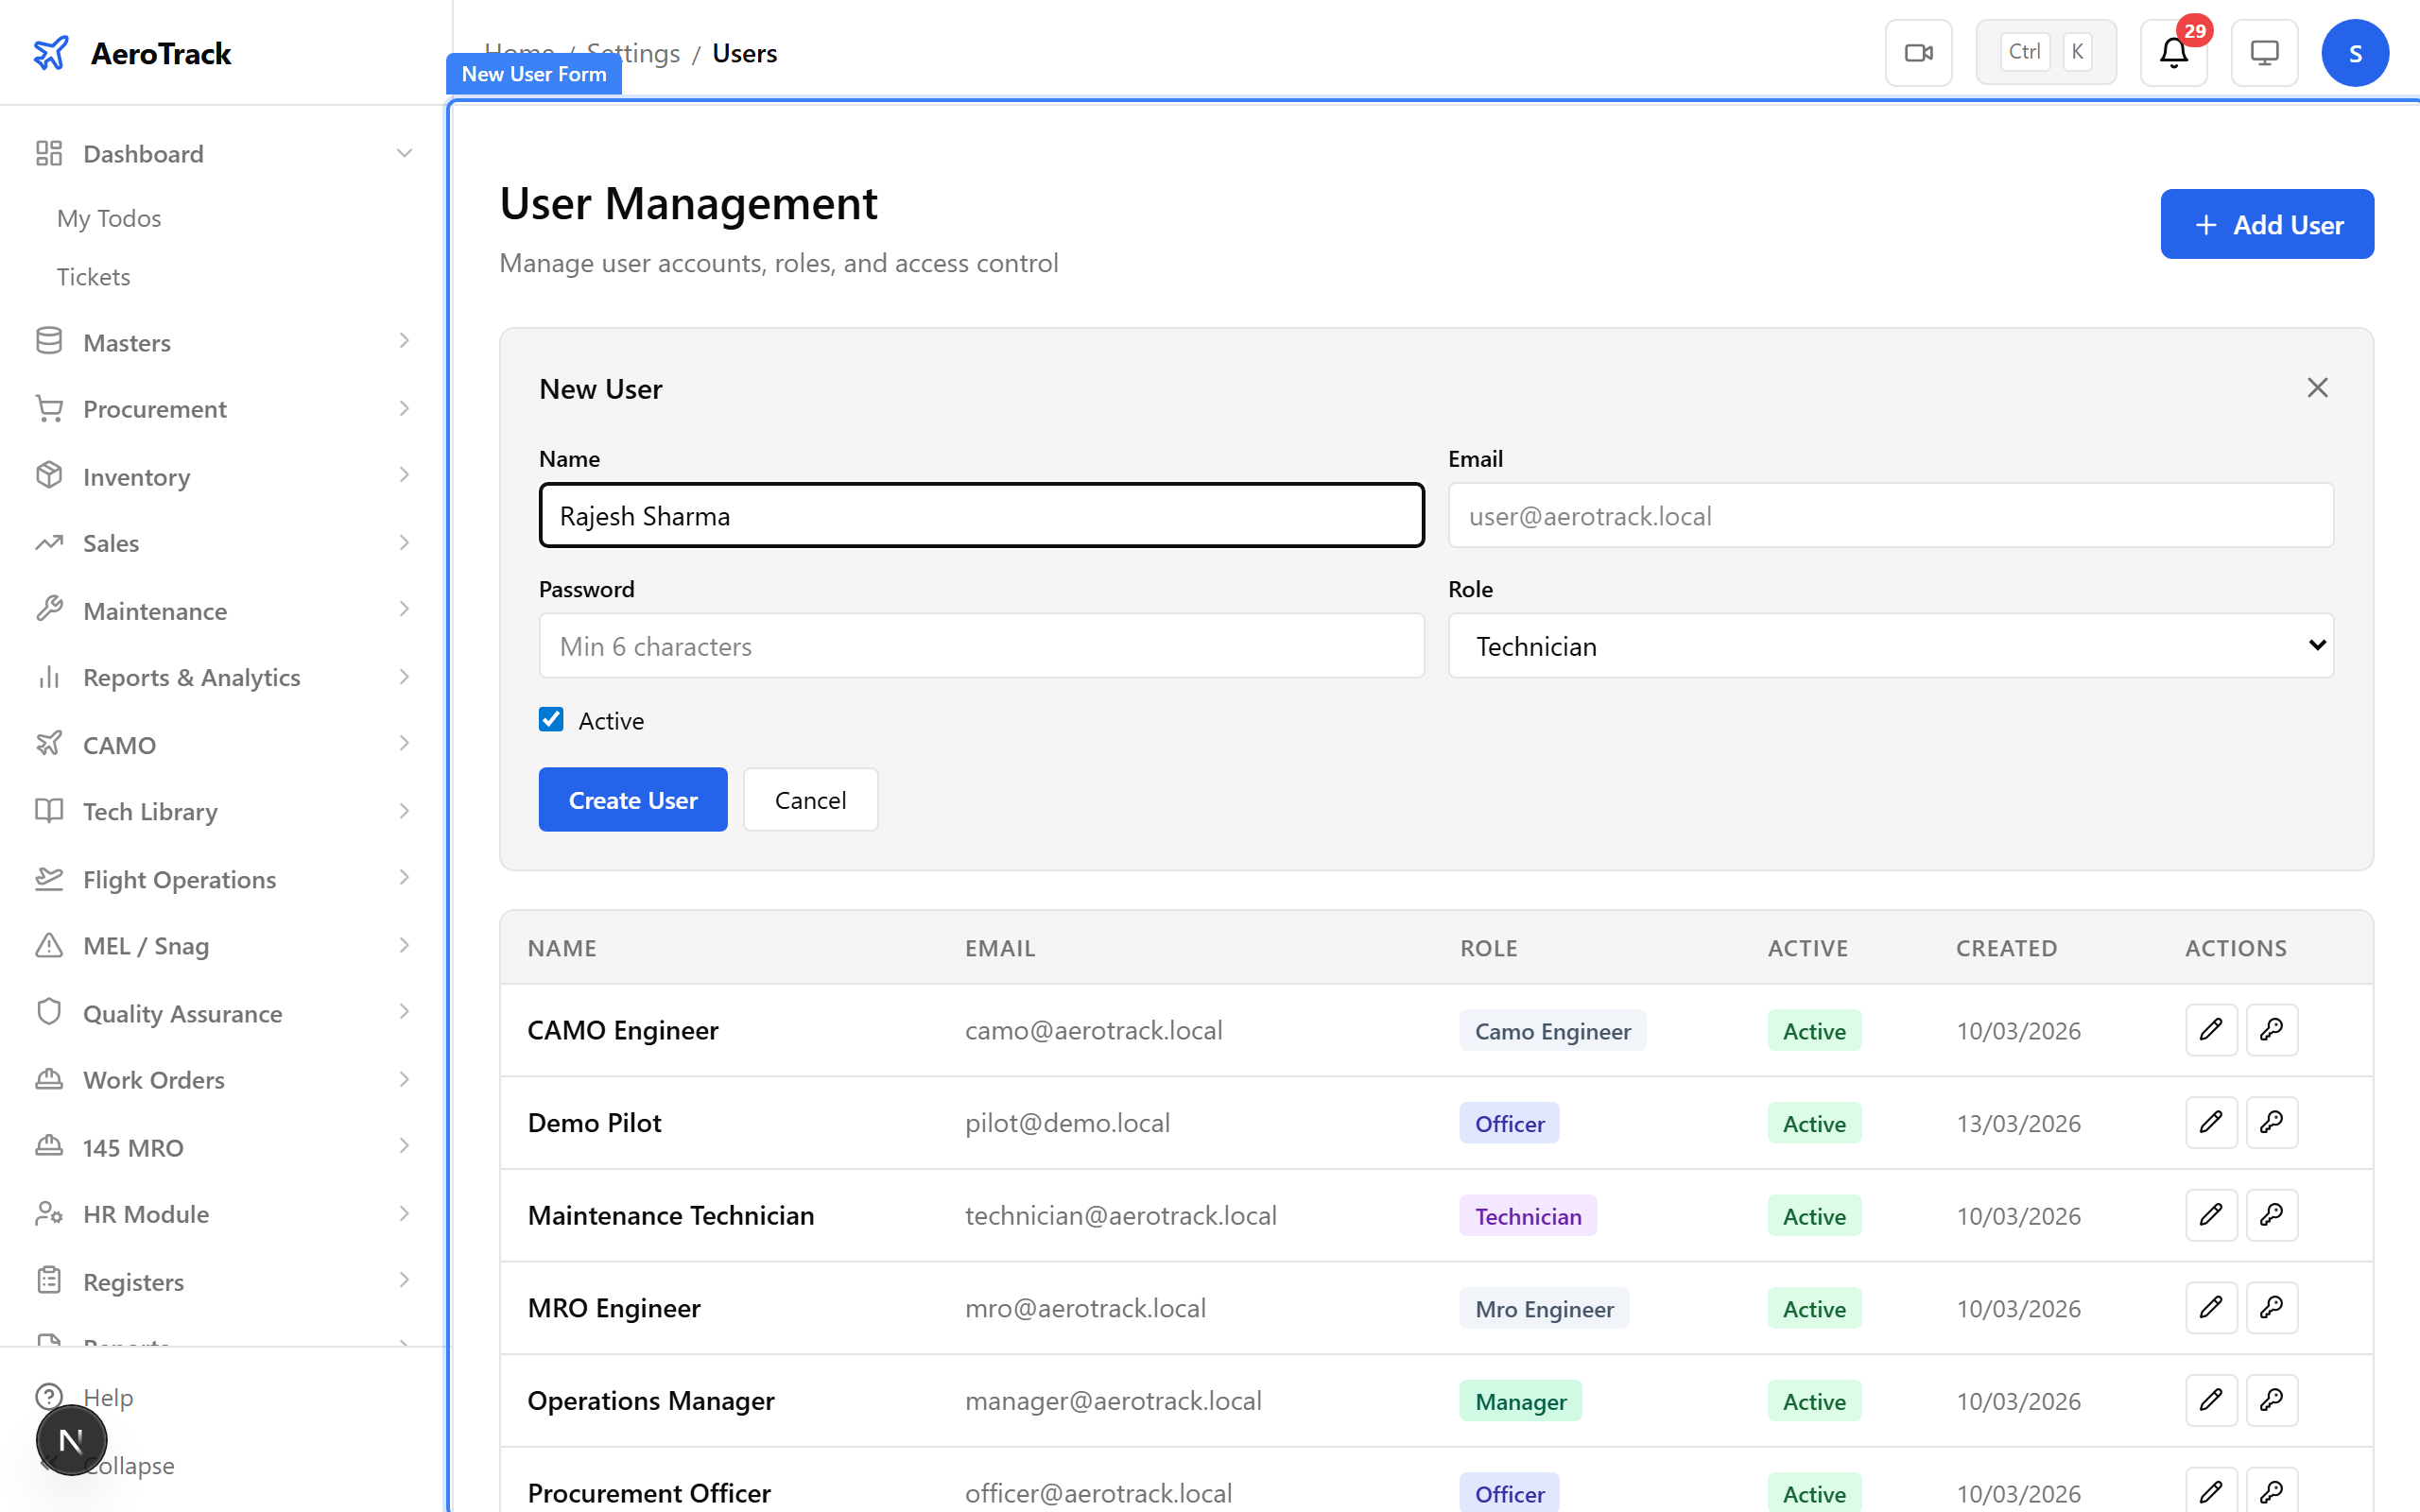
User Form Fields
| Field | Description | Example |
|---|---|---|
| Full Name | Display name used across the platform | Rajesh Sharma |
| Login credential & notification address | rajesh.sharma@aerotrack.local | |
| Password | Initial password (minimum 6 characters) | ******** |
| Role | Access level: Super Admin, Admin, Camo Engineer, Mro Engineer, Manager, Officer, Technician, Viewer | Technician |
| Active | Checkbox — unchecked users cannot log in | Checked |
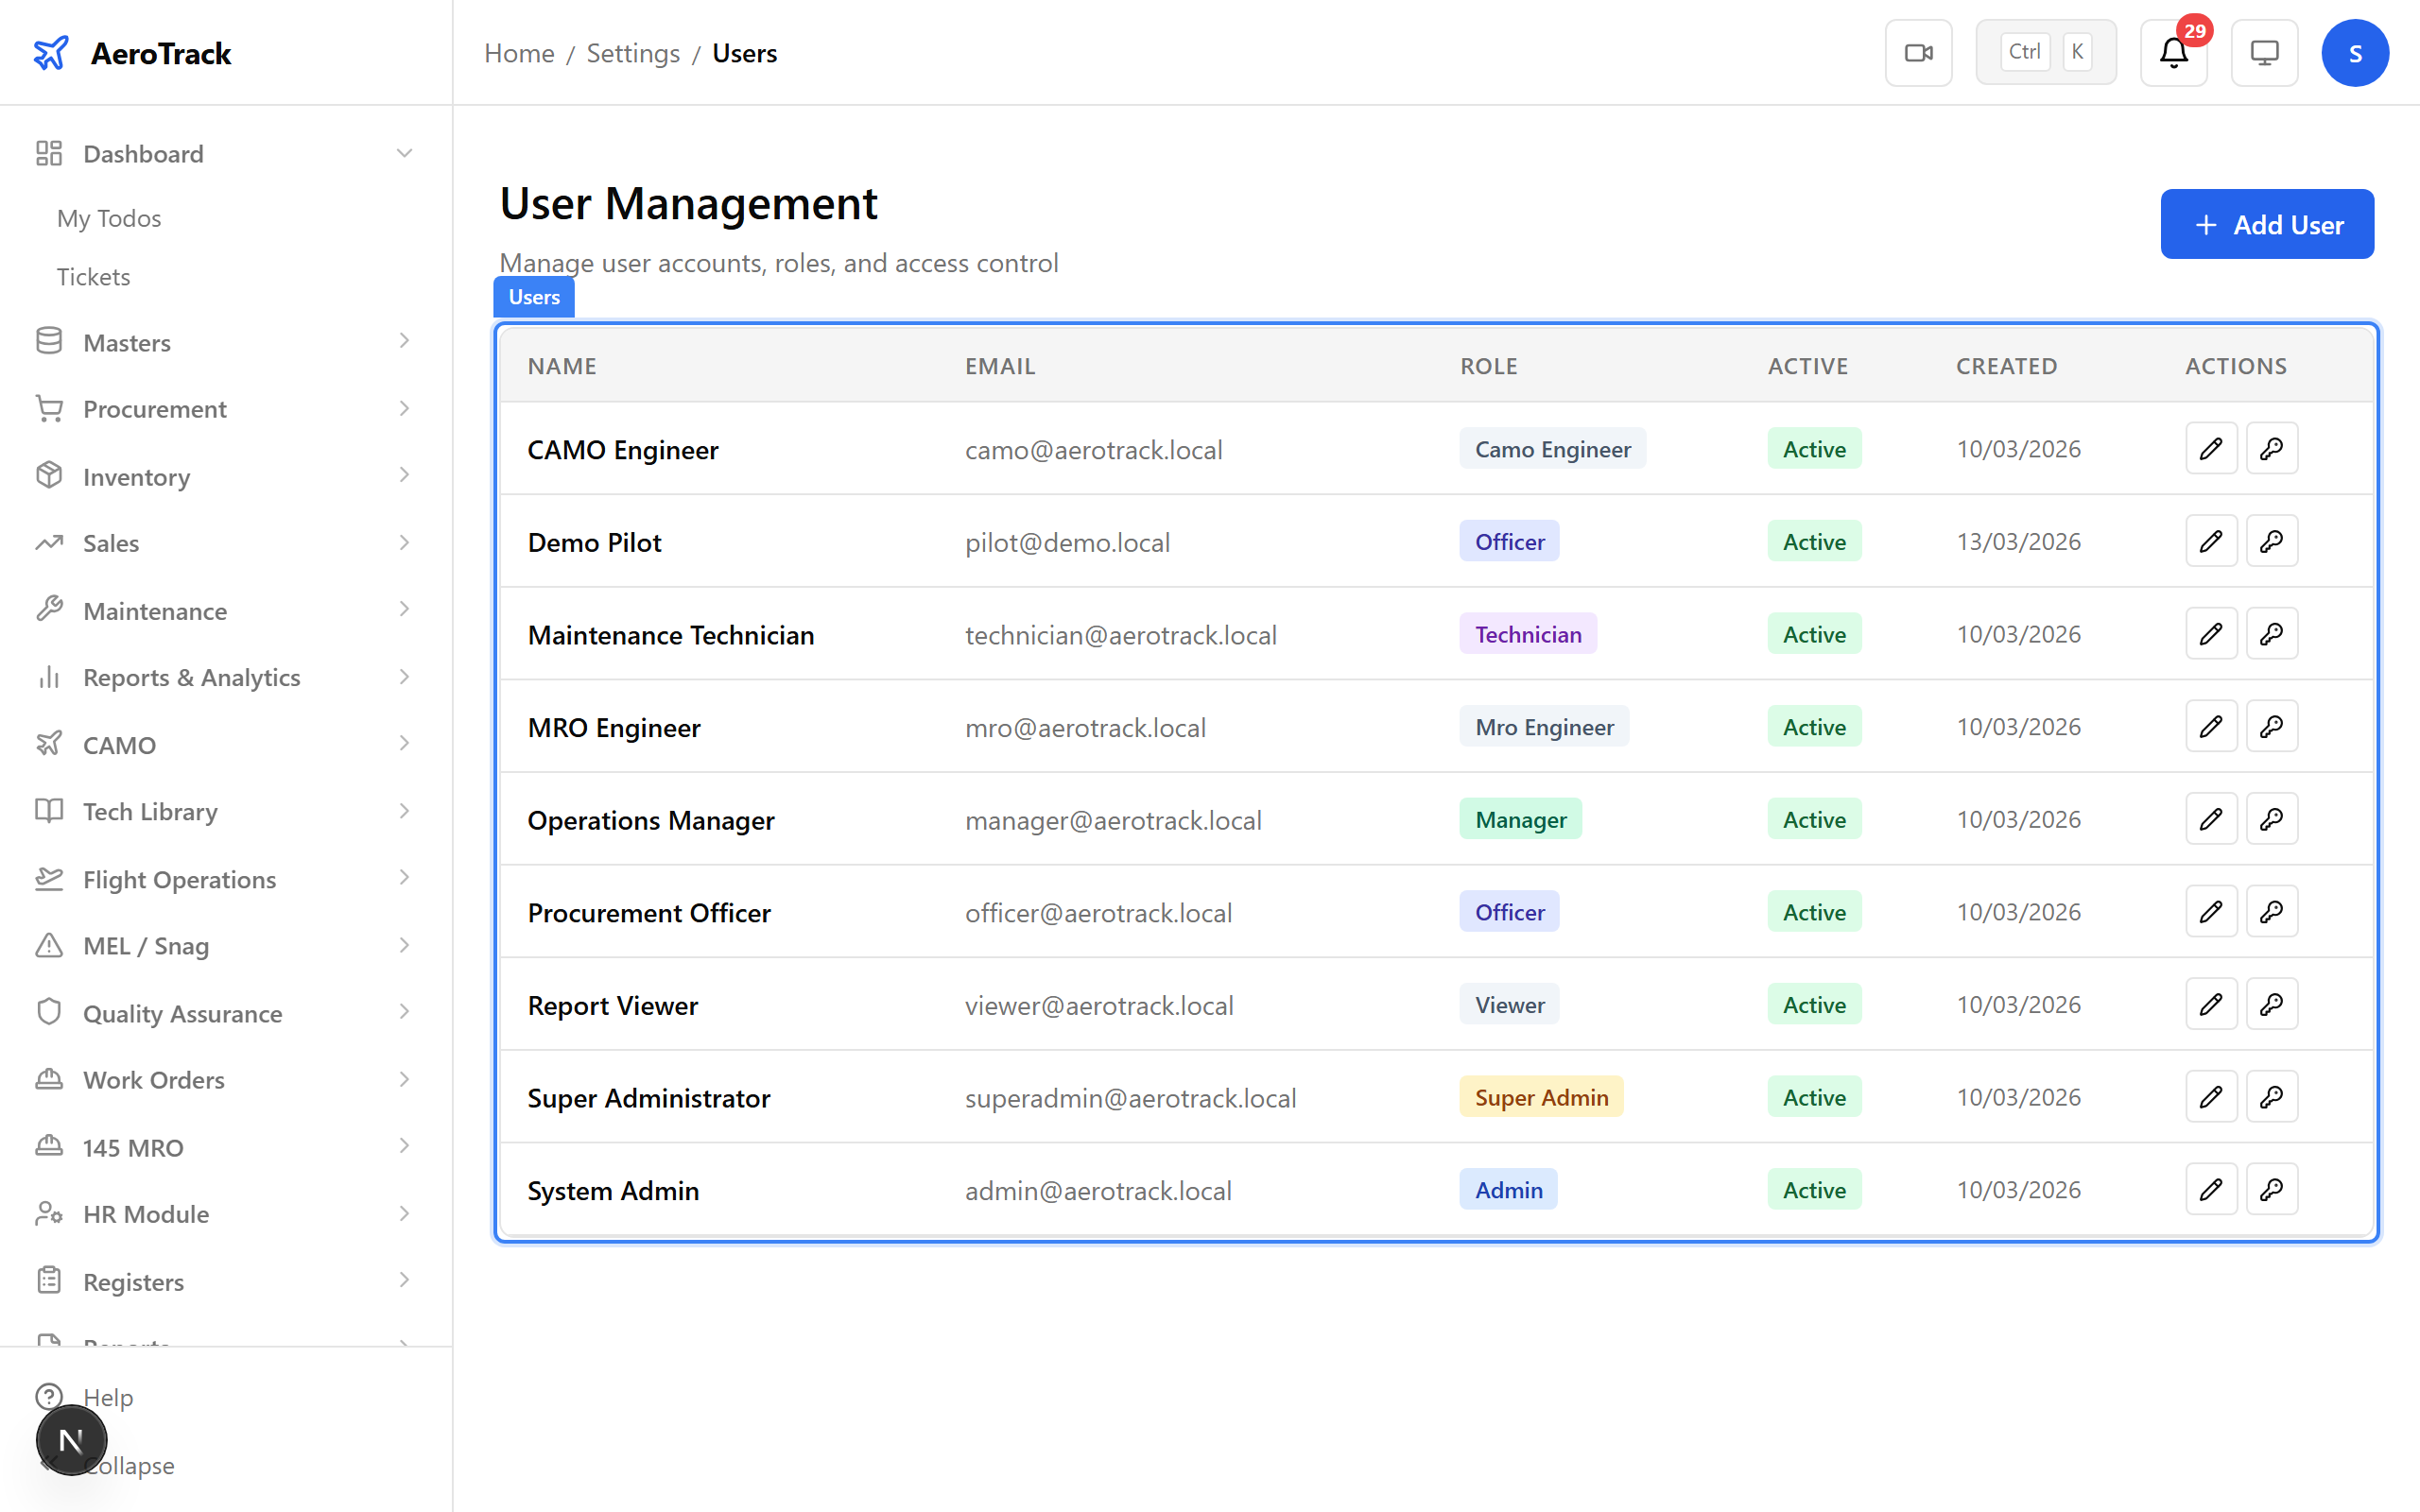
Step 5 — Saved Users
After saving, the new user appears in the users table. Each row shows the user’s name, email, role badge, active status, and creation date — everything you need at a glance.
Step 6 — Inline Edit
Need to change a role or deactivate an account? Click the pencil icon on any row to switch to inline editing. The row transforms into editable fields — change the name, email, role, or active status, then click the tick to save or cross to cancel.
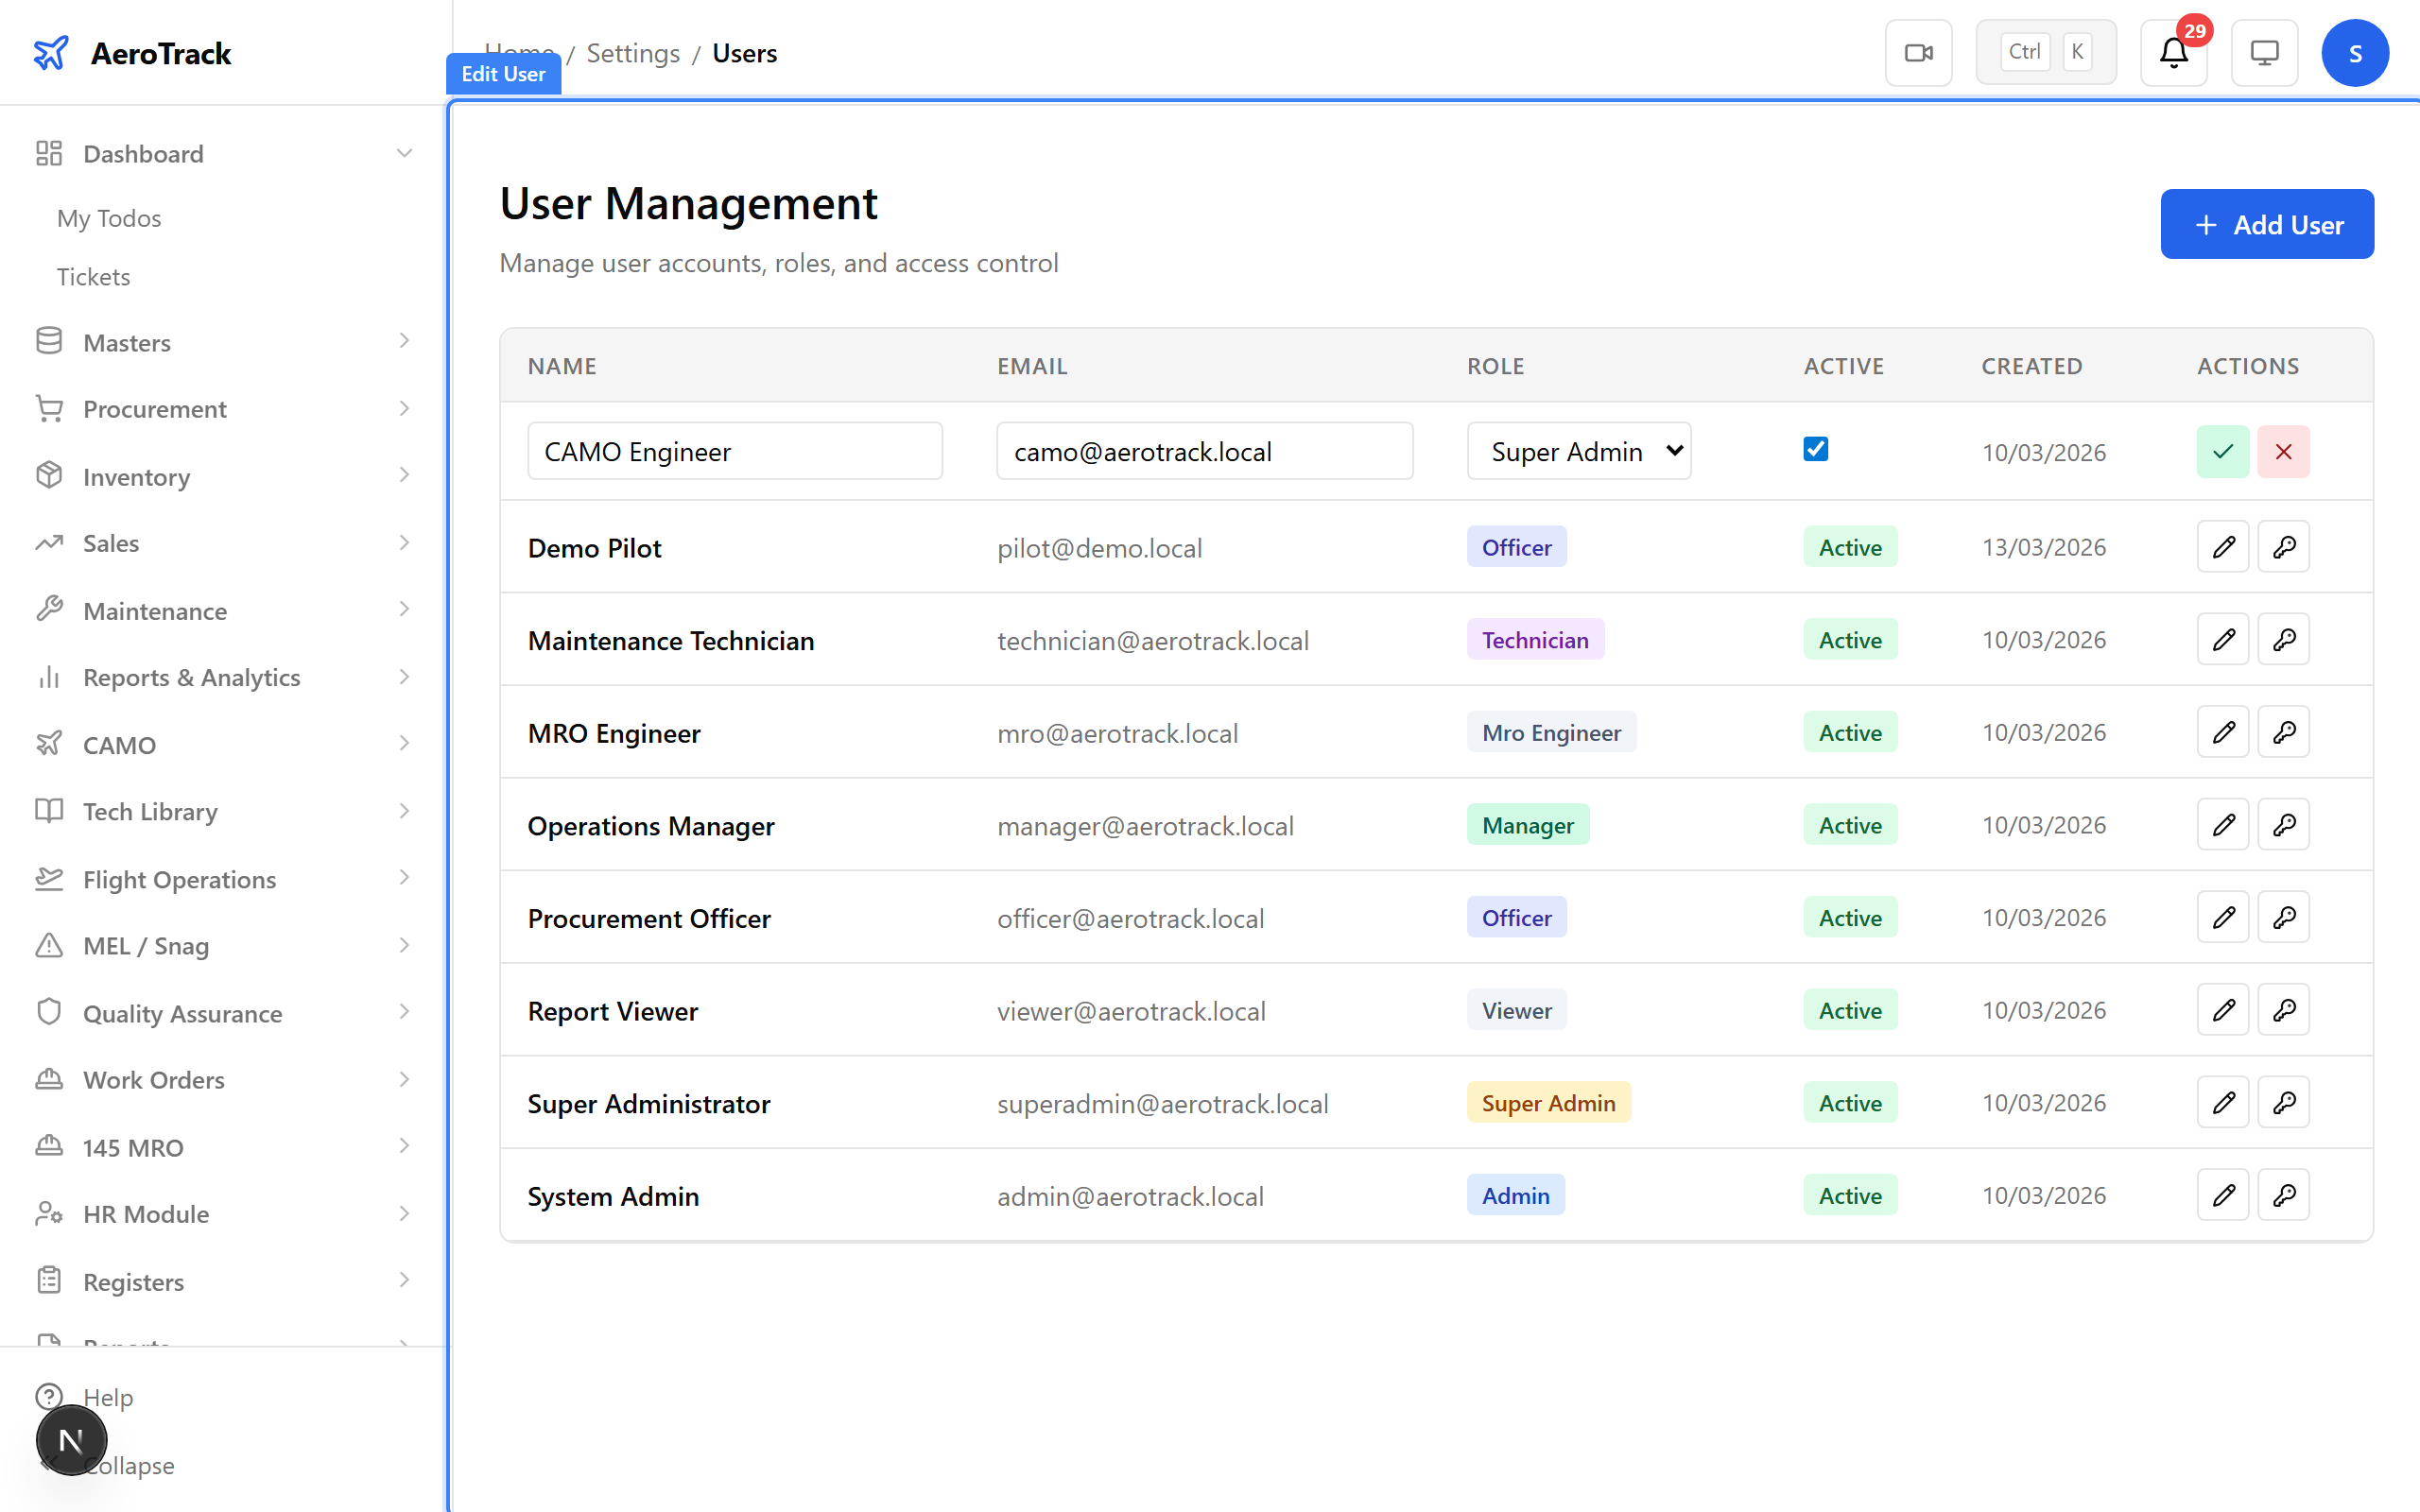
Tip: Deactivate rather than delete — the audit log retains the user’s historical actions for compliance.
Step 7 — Role Matrix
The role matrix shows which permissions each role grants. Use this
to verify a new user will have the right access before you assign
their role. Roles are cumulative — super_admin
inherits all permissions.
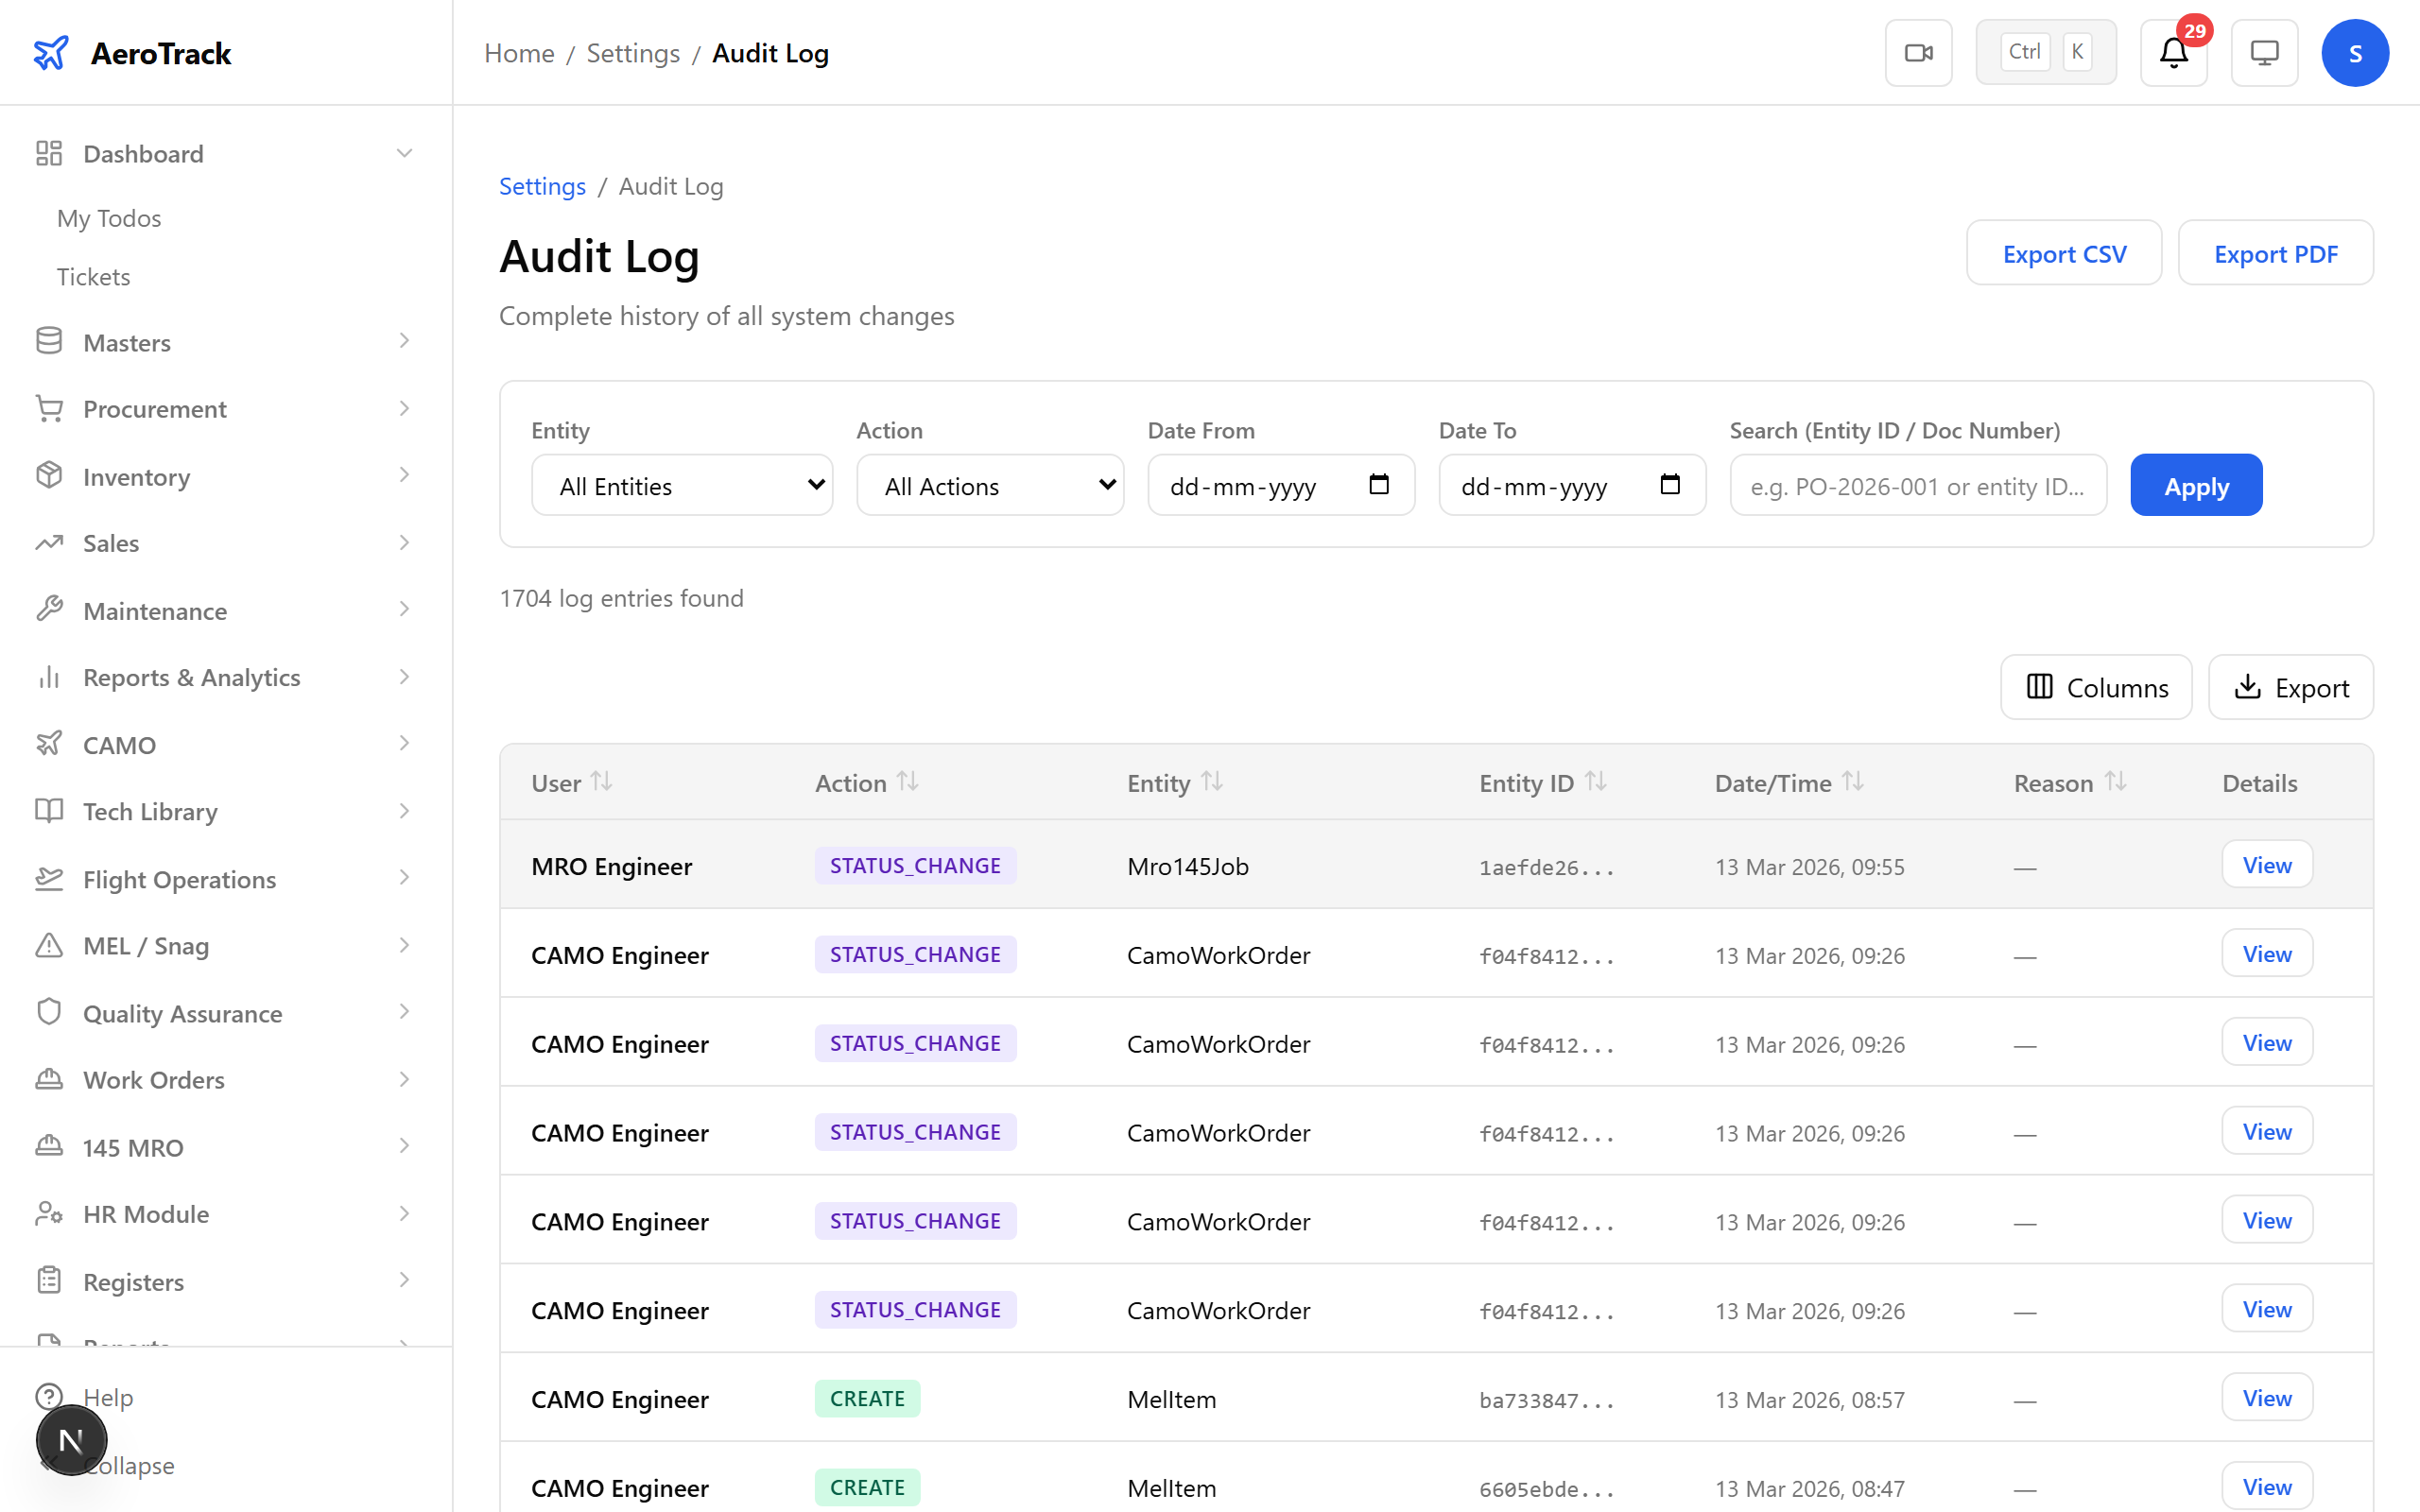
Step 8 — Audit Log List
Navigate to Settings → Audit Log. Every significant action in AeroTrack is recorded here — record creates, updates, status changes, logins, and deletions. This is your primary evidence source for auditors.
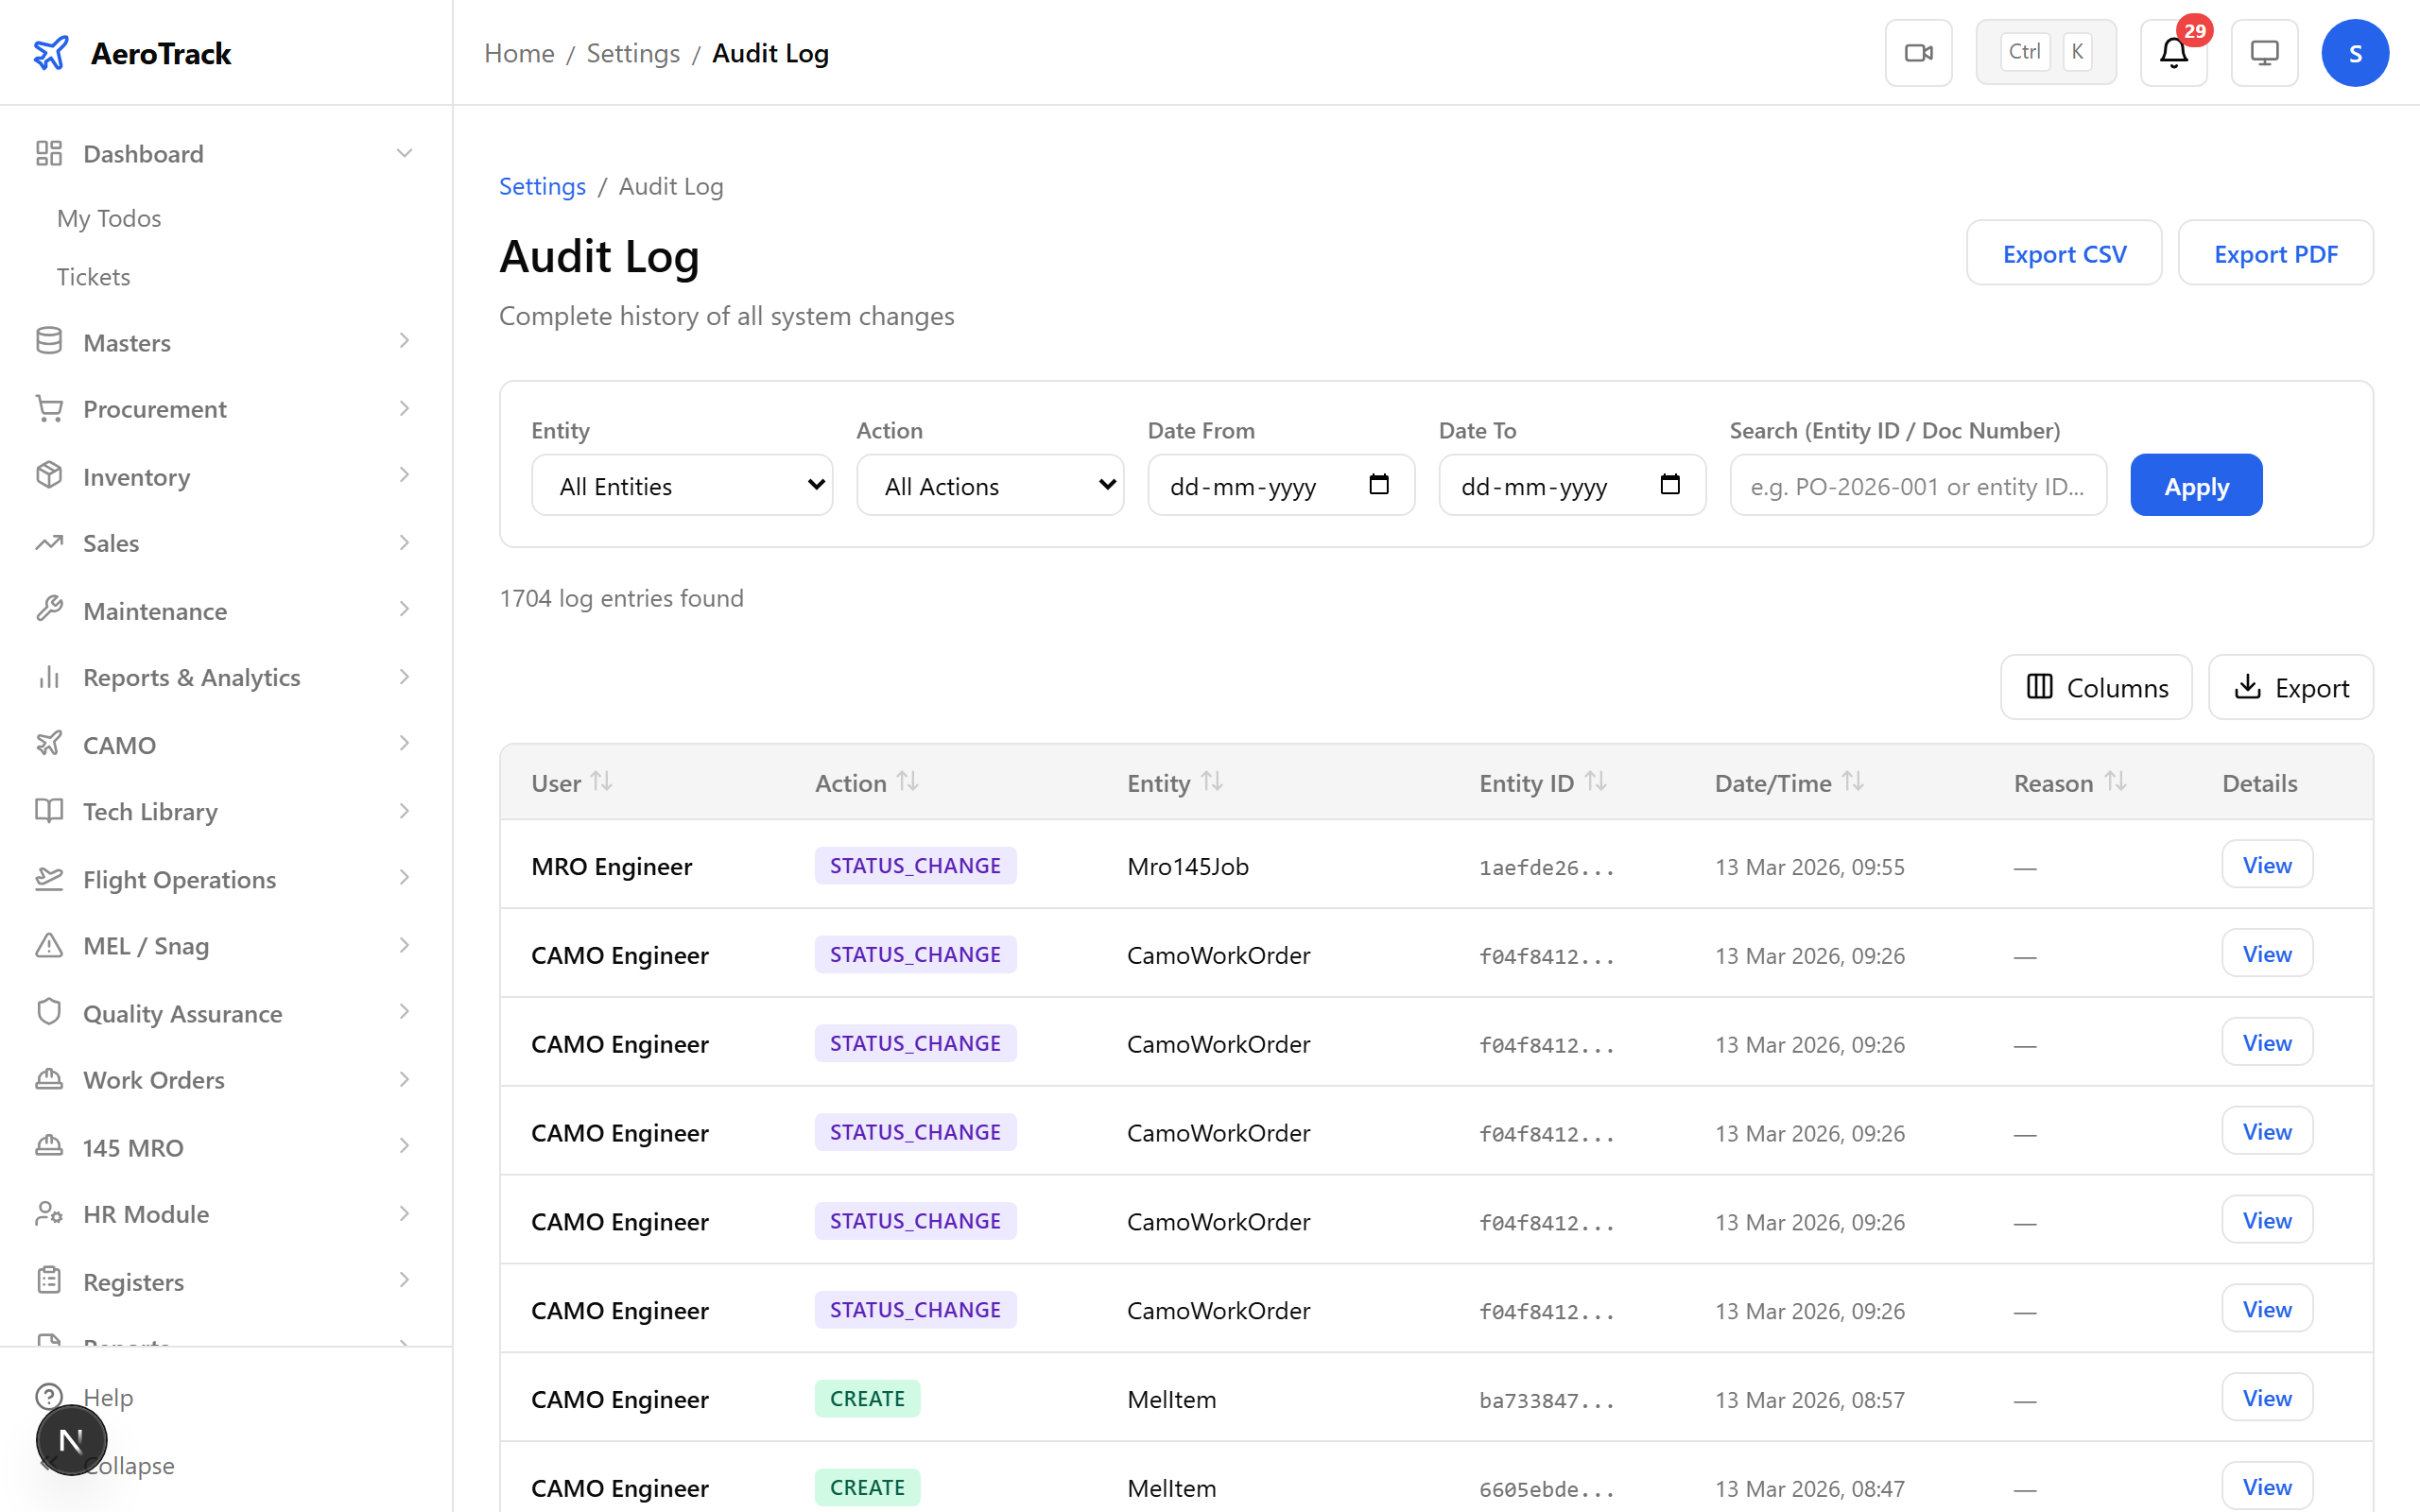
Step 9 — Filtering the Log
Use the filters to narrow down entries by user, action type, and date range. For the auditor’s visit, filter to “Work Order” actions in the last 90 days to produce a clean status-change trail.

Step 10 — Audit Entry Detail
Click any entry to see the full detail — who performed the action, when, on which record, and what changed (before/after values). This granularity satisfies EASA Part-M record-keeping requirements.
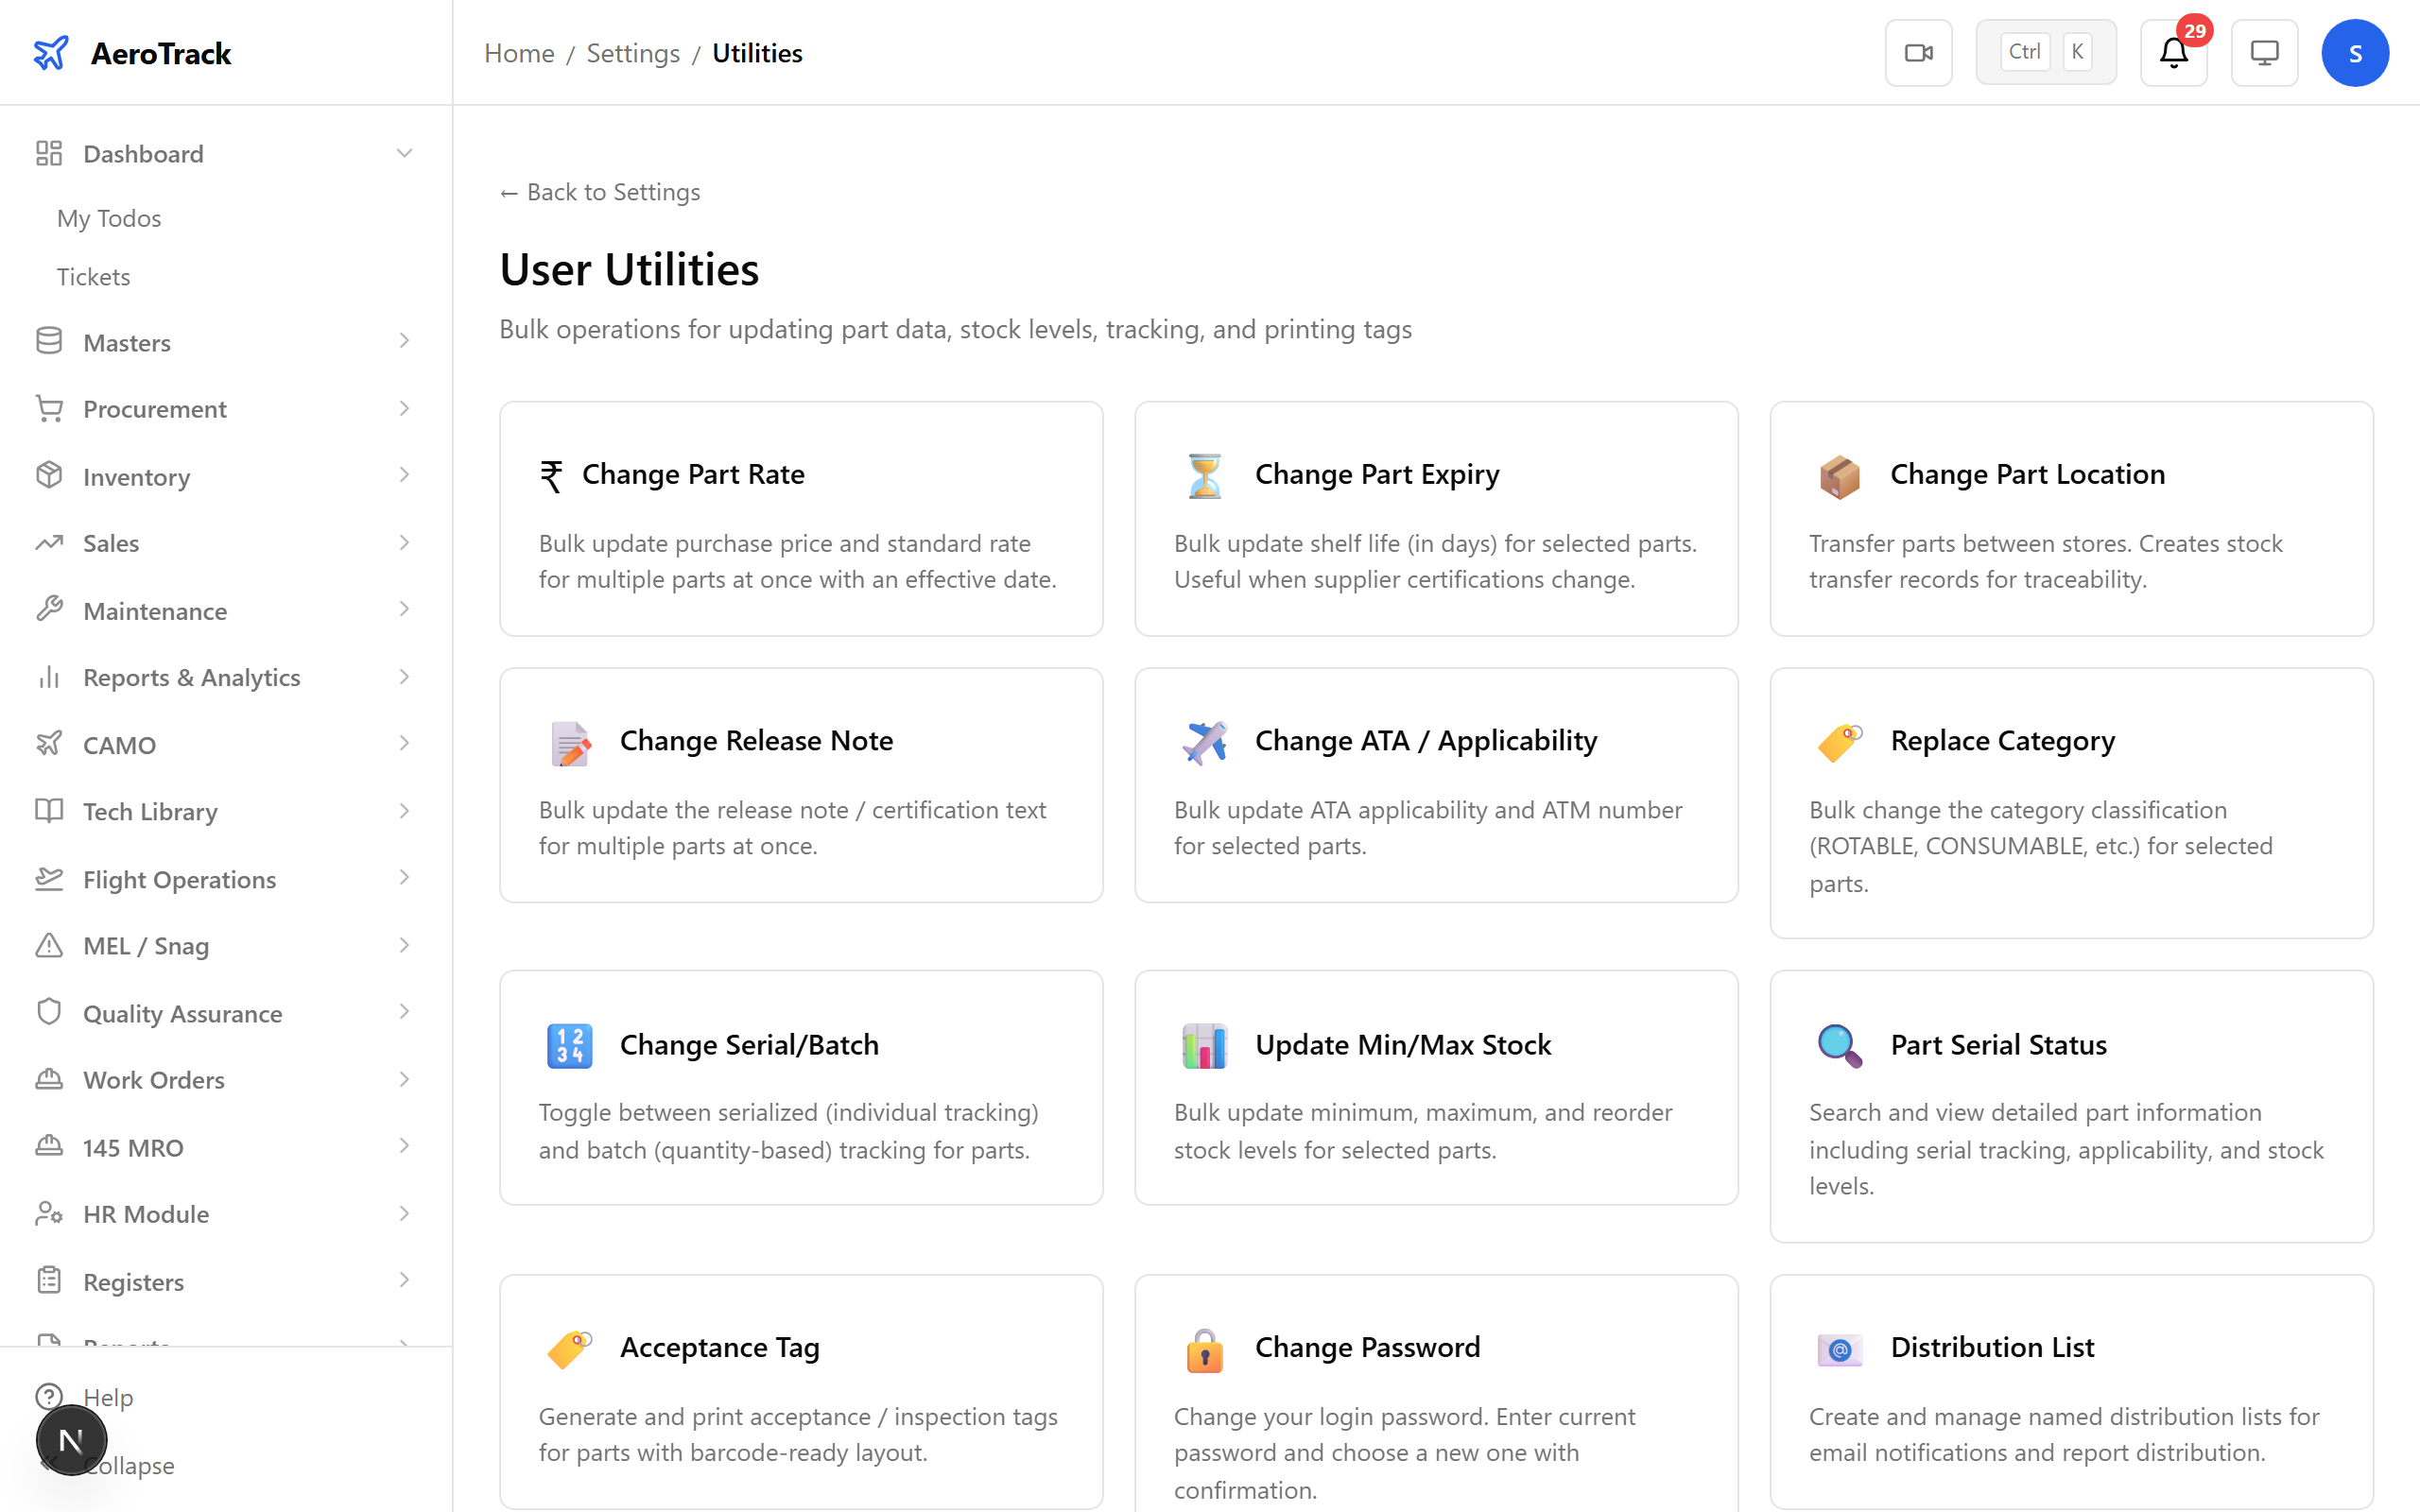
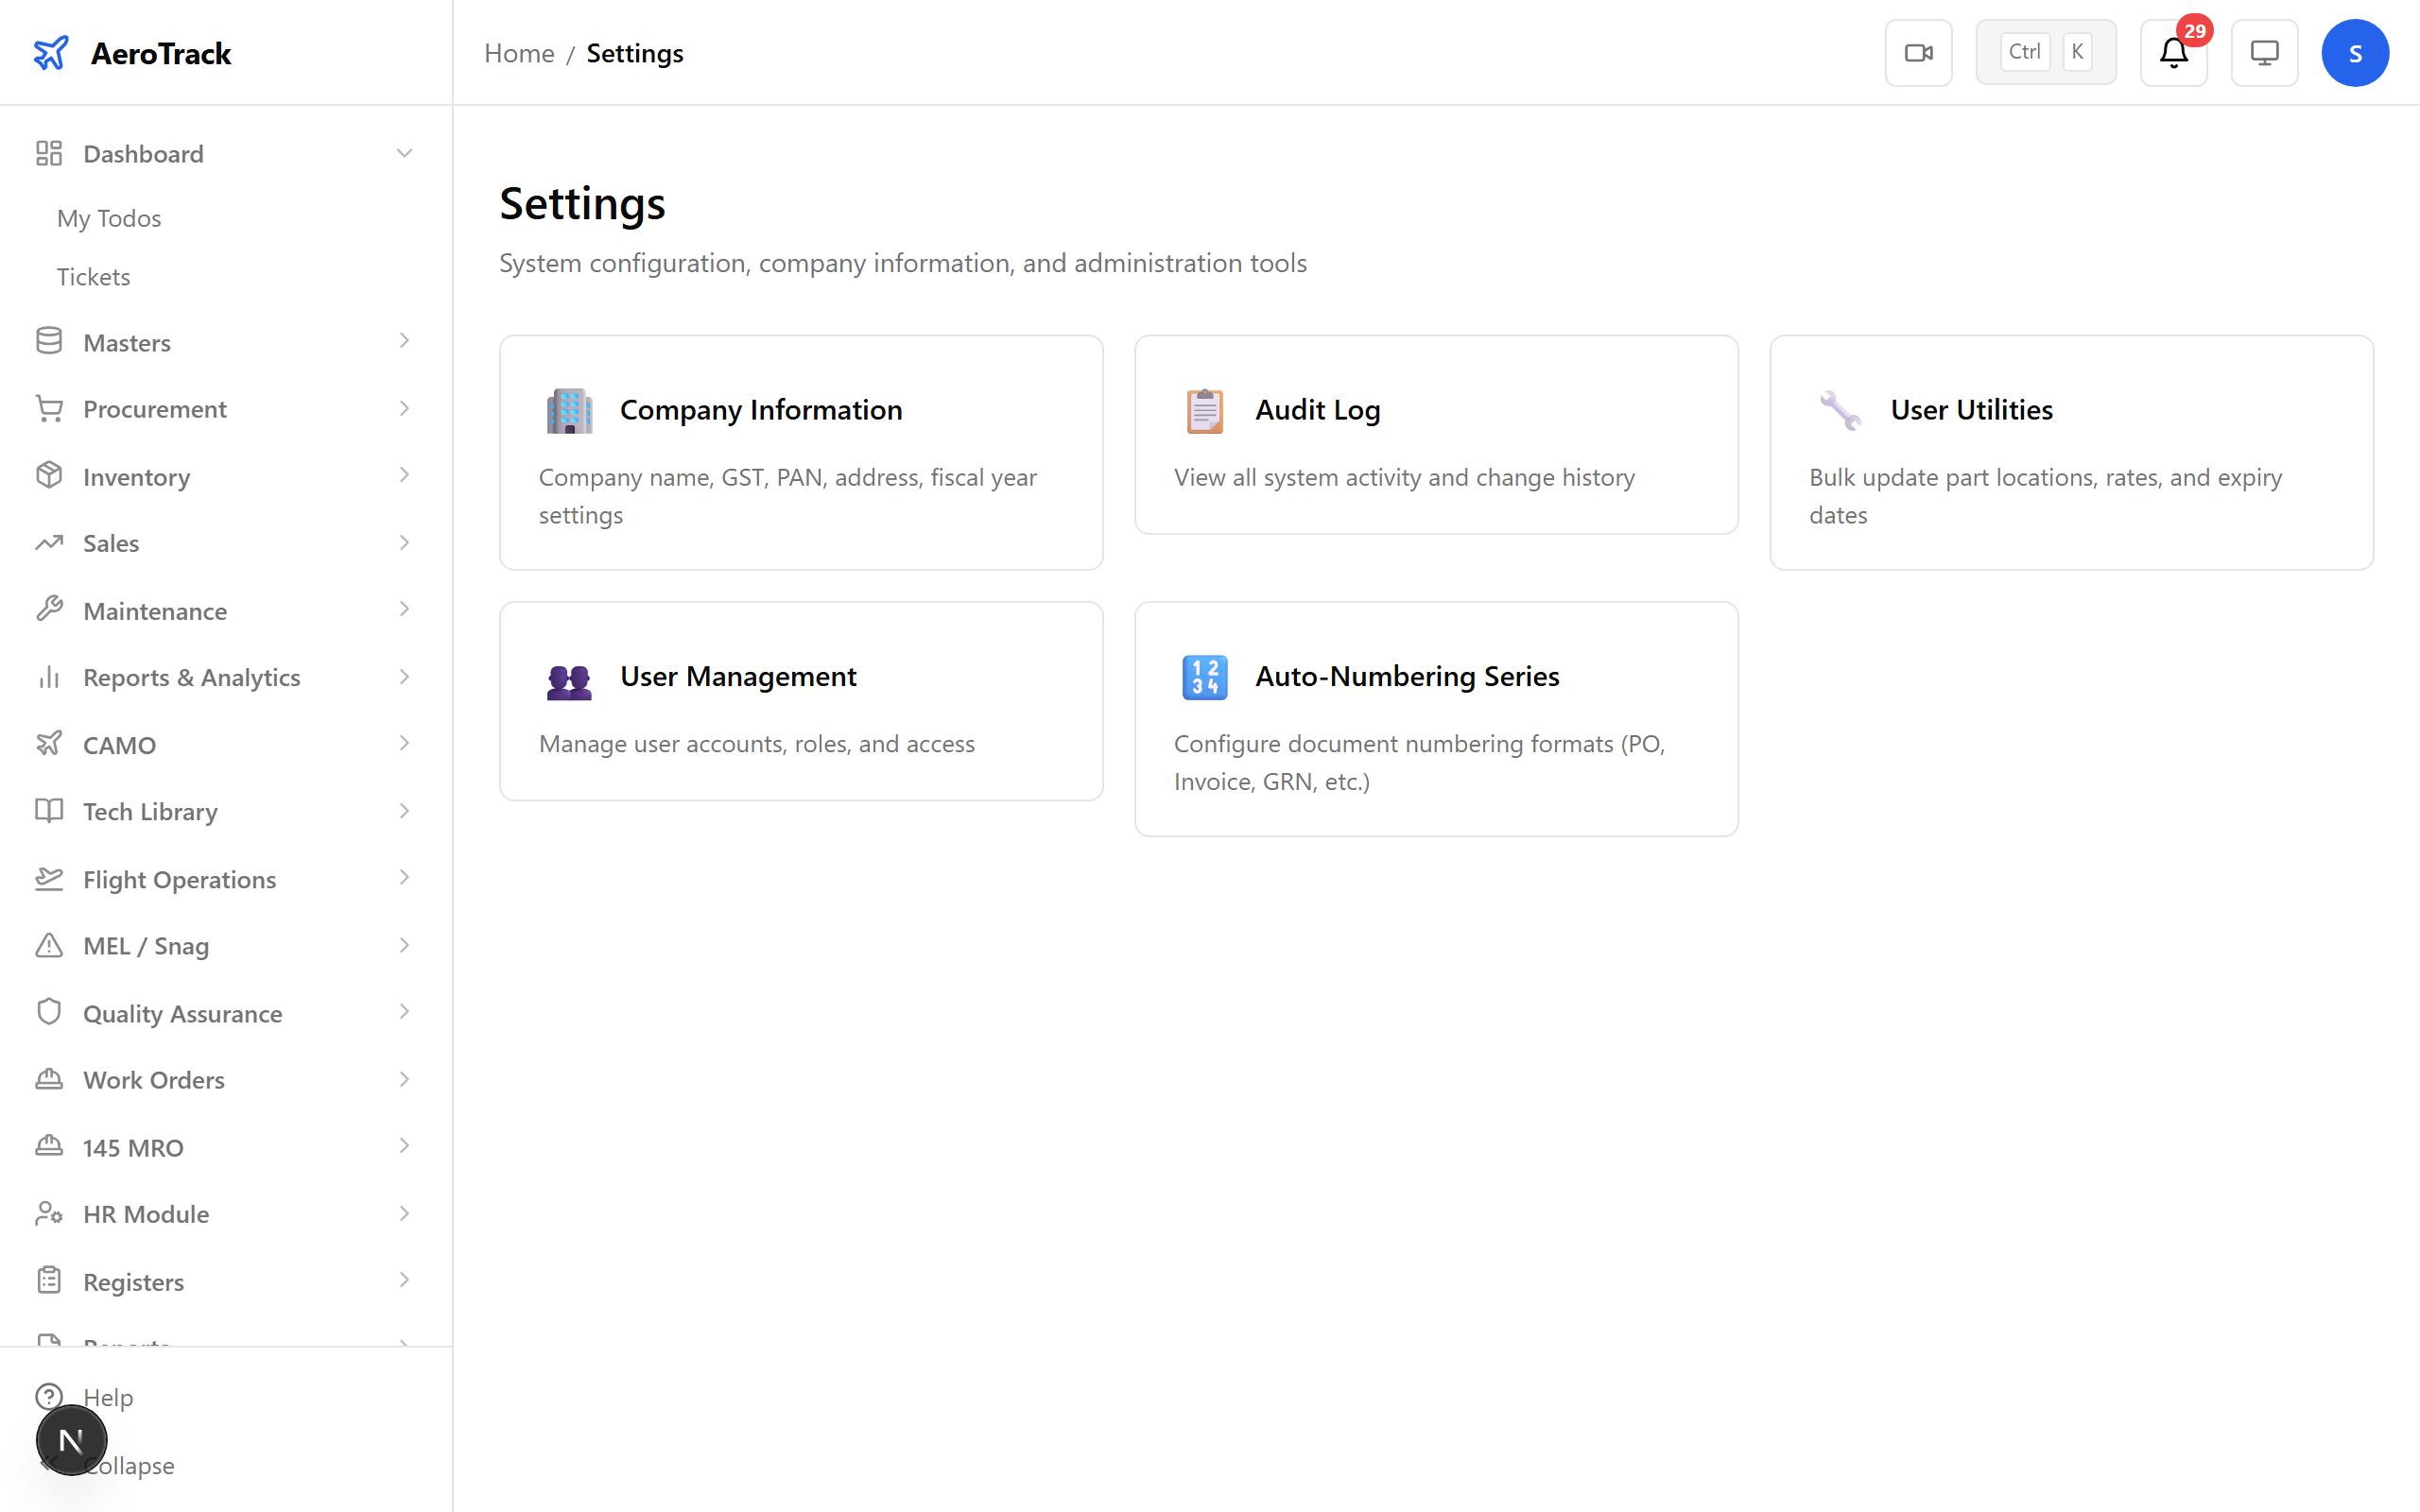
Step 11 — Utilities Index
Open Settings → Utilities. The utilities page provides batch operations and system-wide tools that go beyond day-to-day data entry — master data updates, distribution lists, and stock-level management.
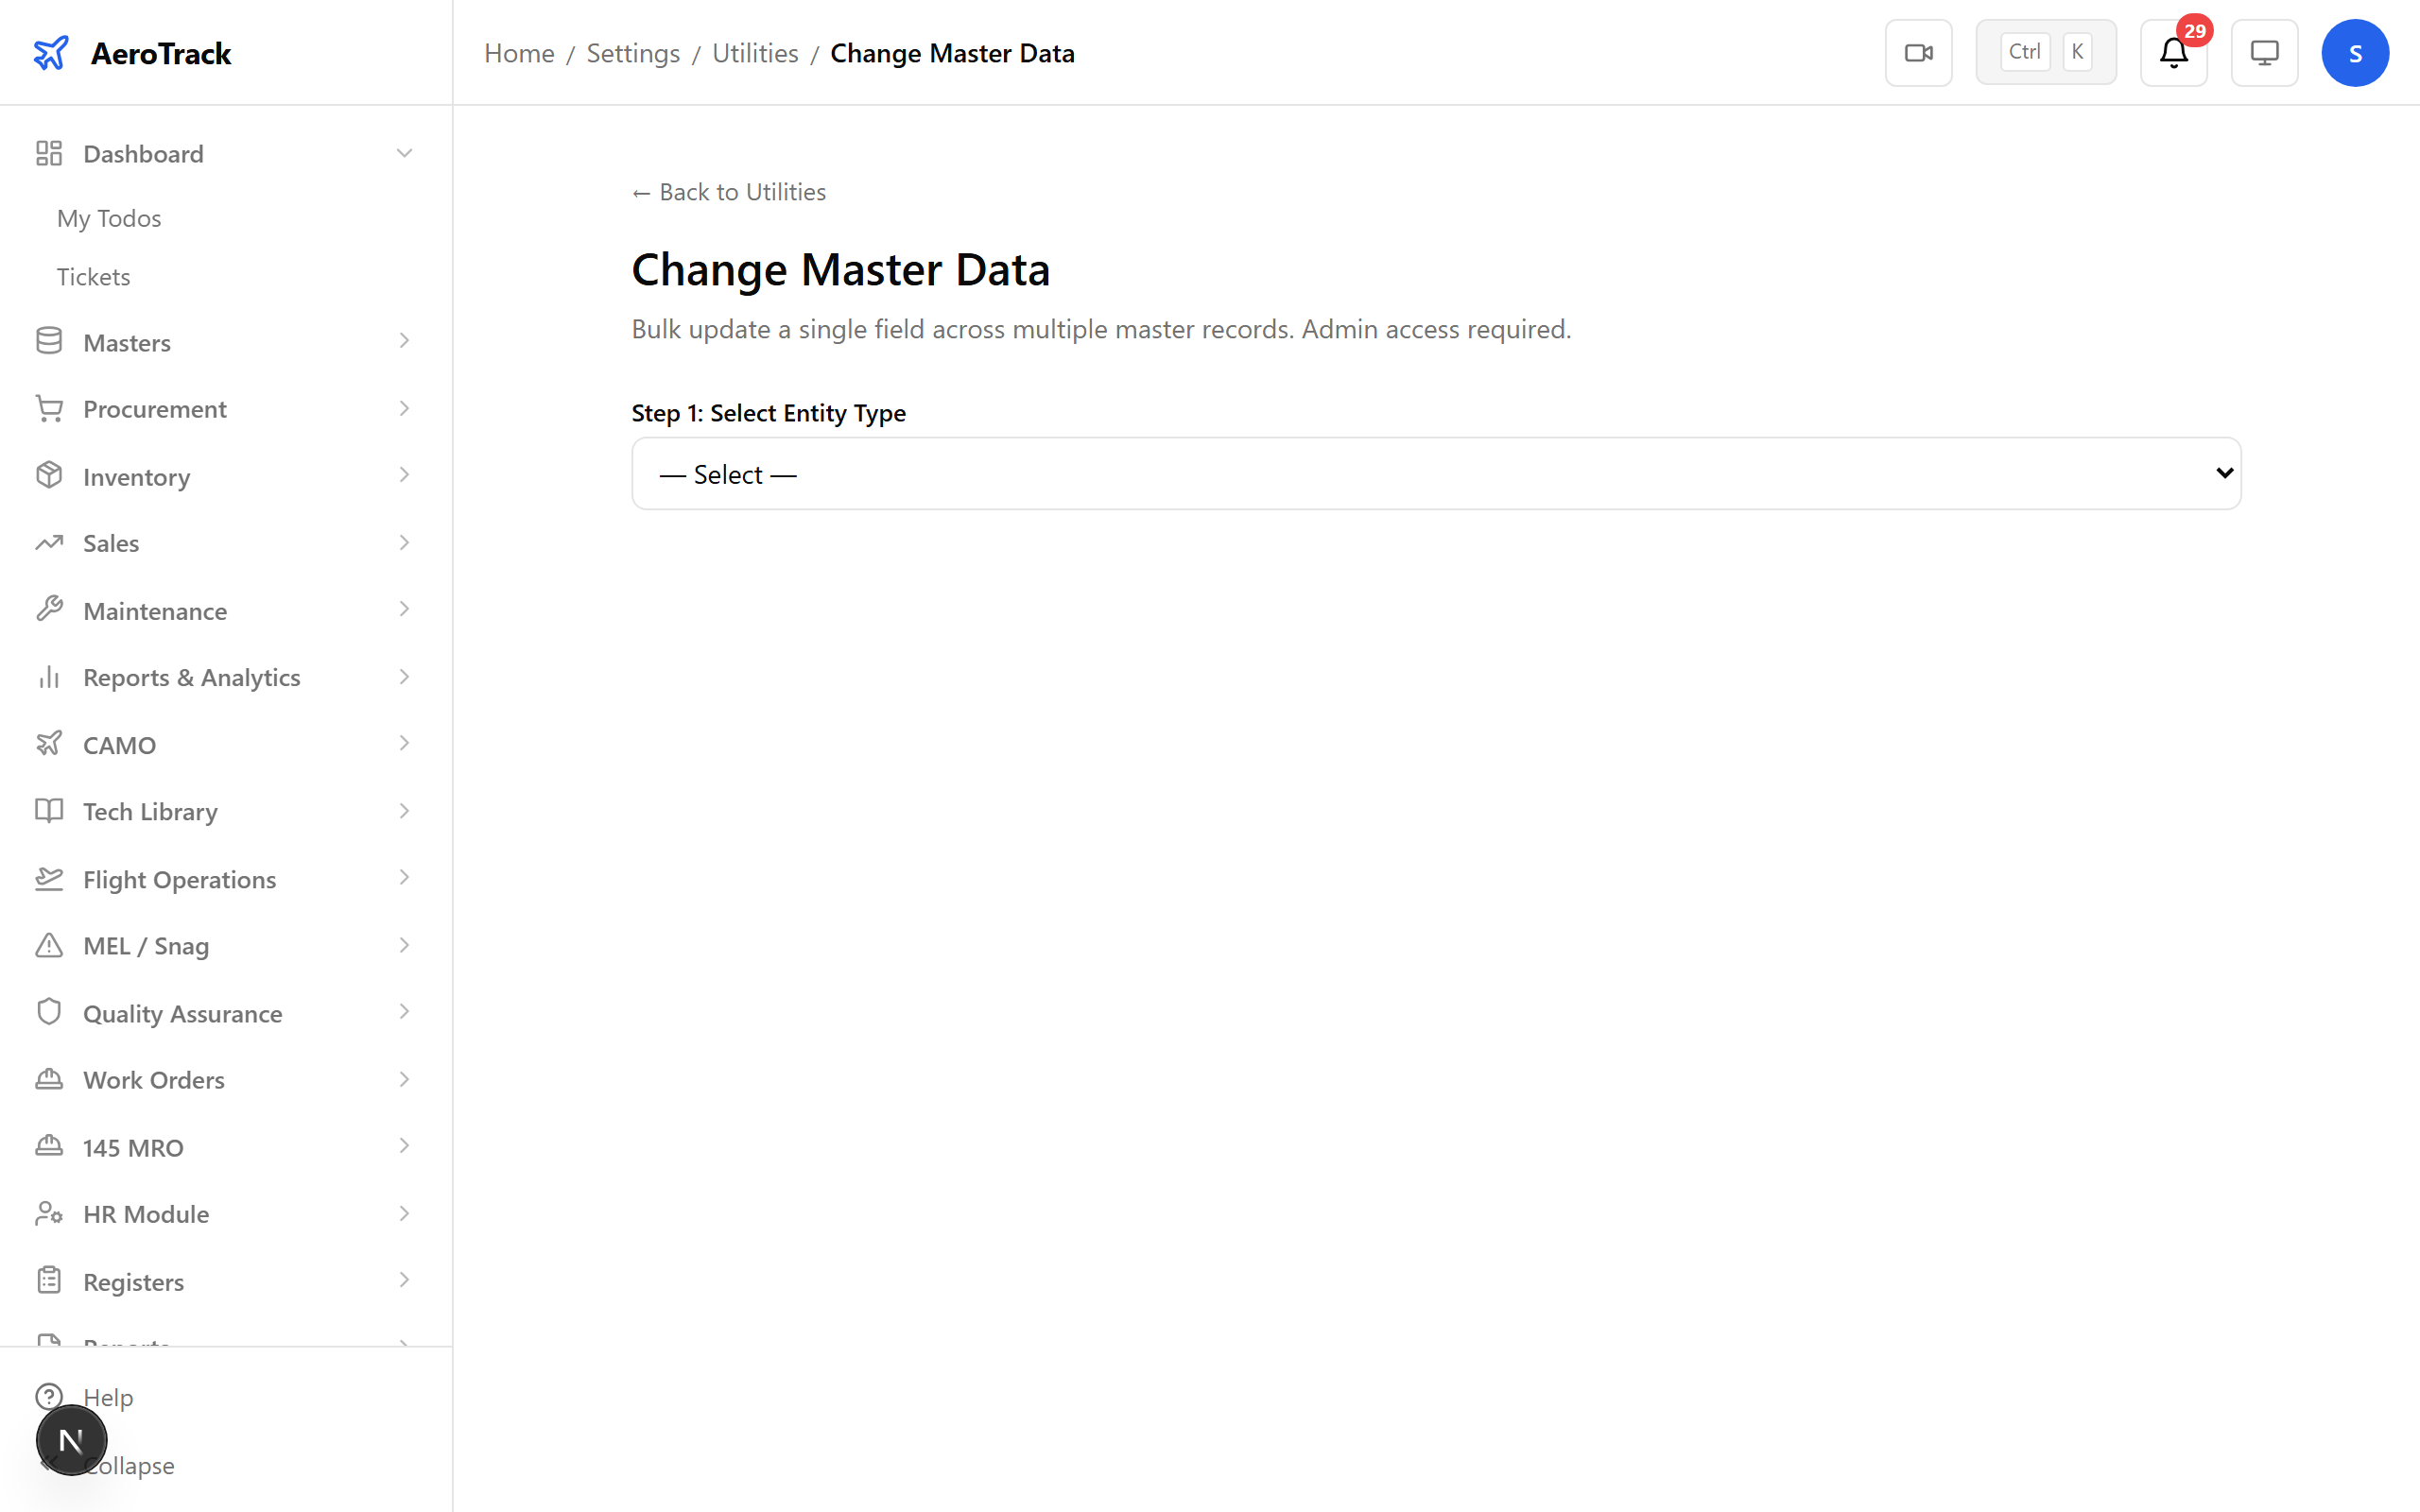
Step 12 — Change Master Data
The Change Master Data utility lets you update reference data across the platform — ATA chapters, aircraft types, location codes, and other lookup values that underpin forms and reports.
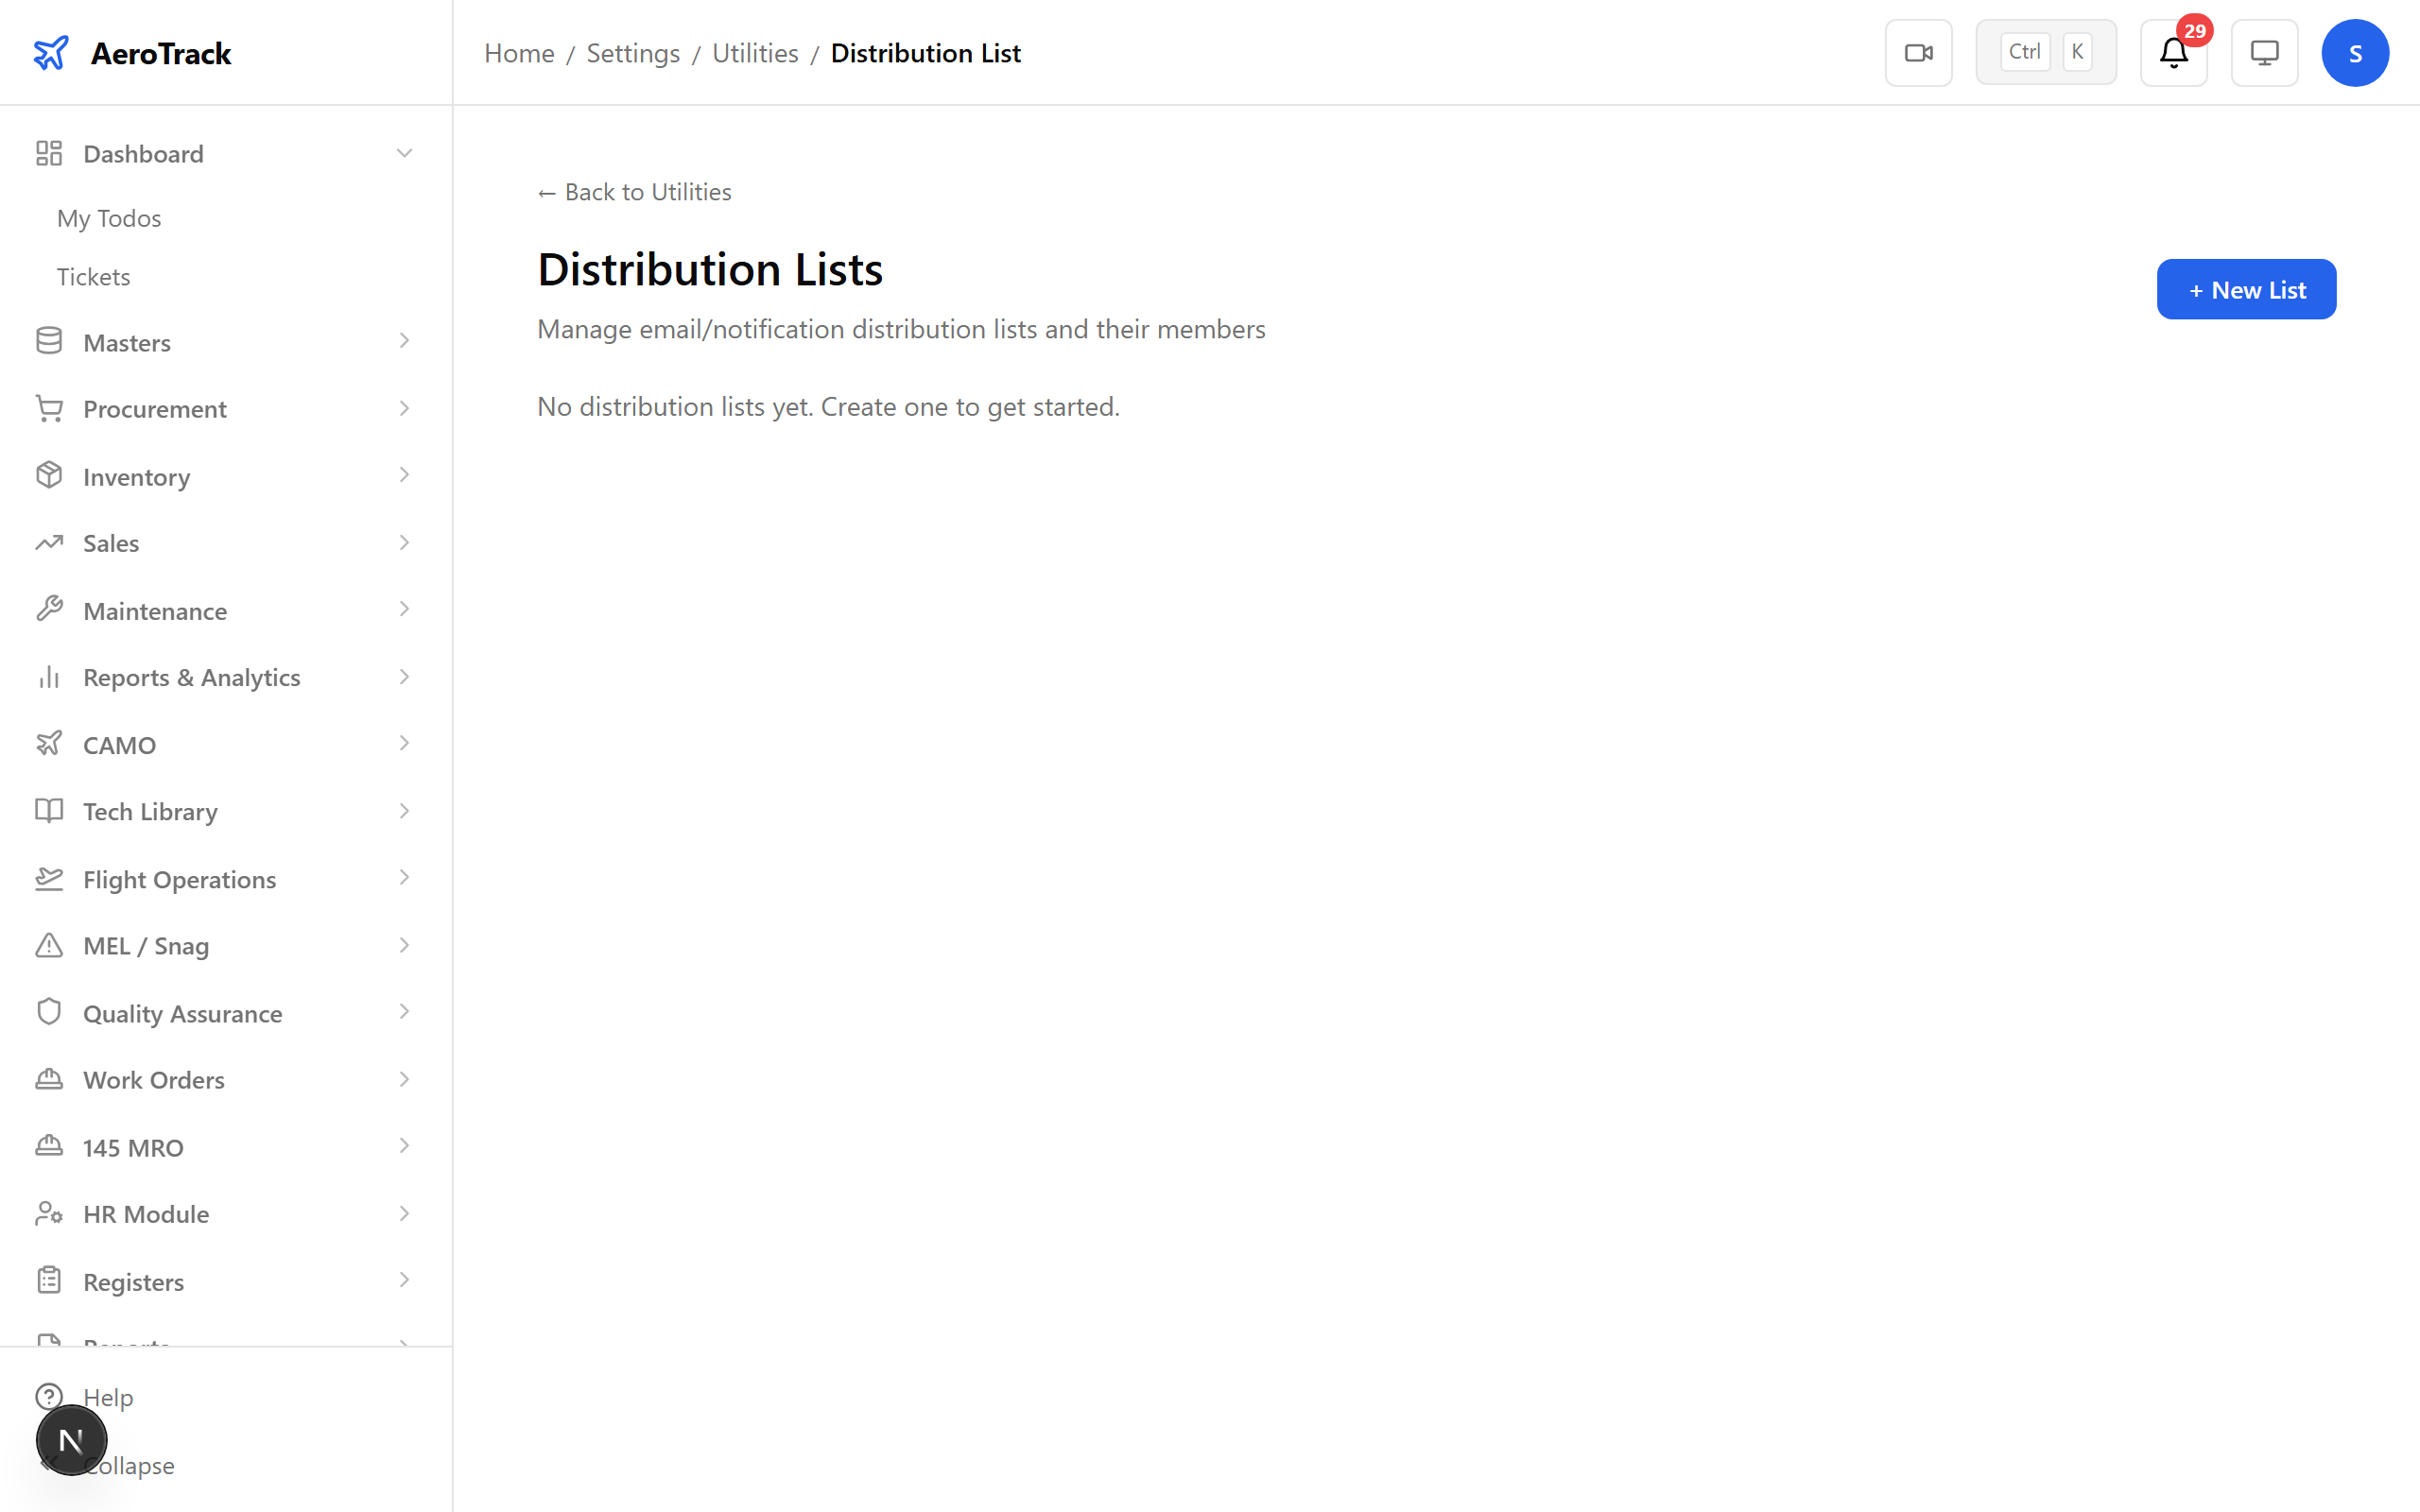
Step 13 — Distribution List
Manage distribution lists to control who receives specific document types, reports, and notifications. This ensures the right people get the right information without manual forwarding.
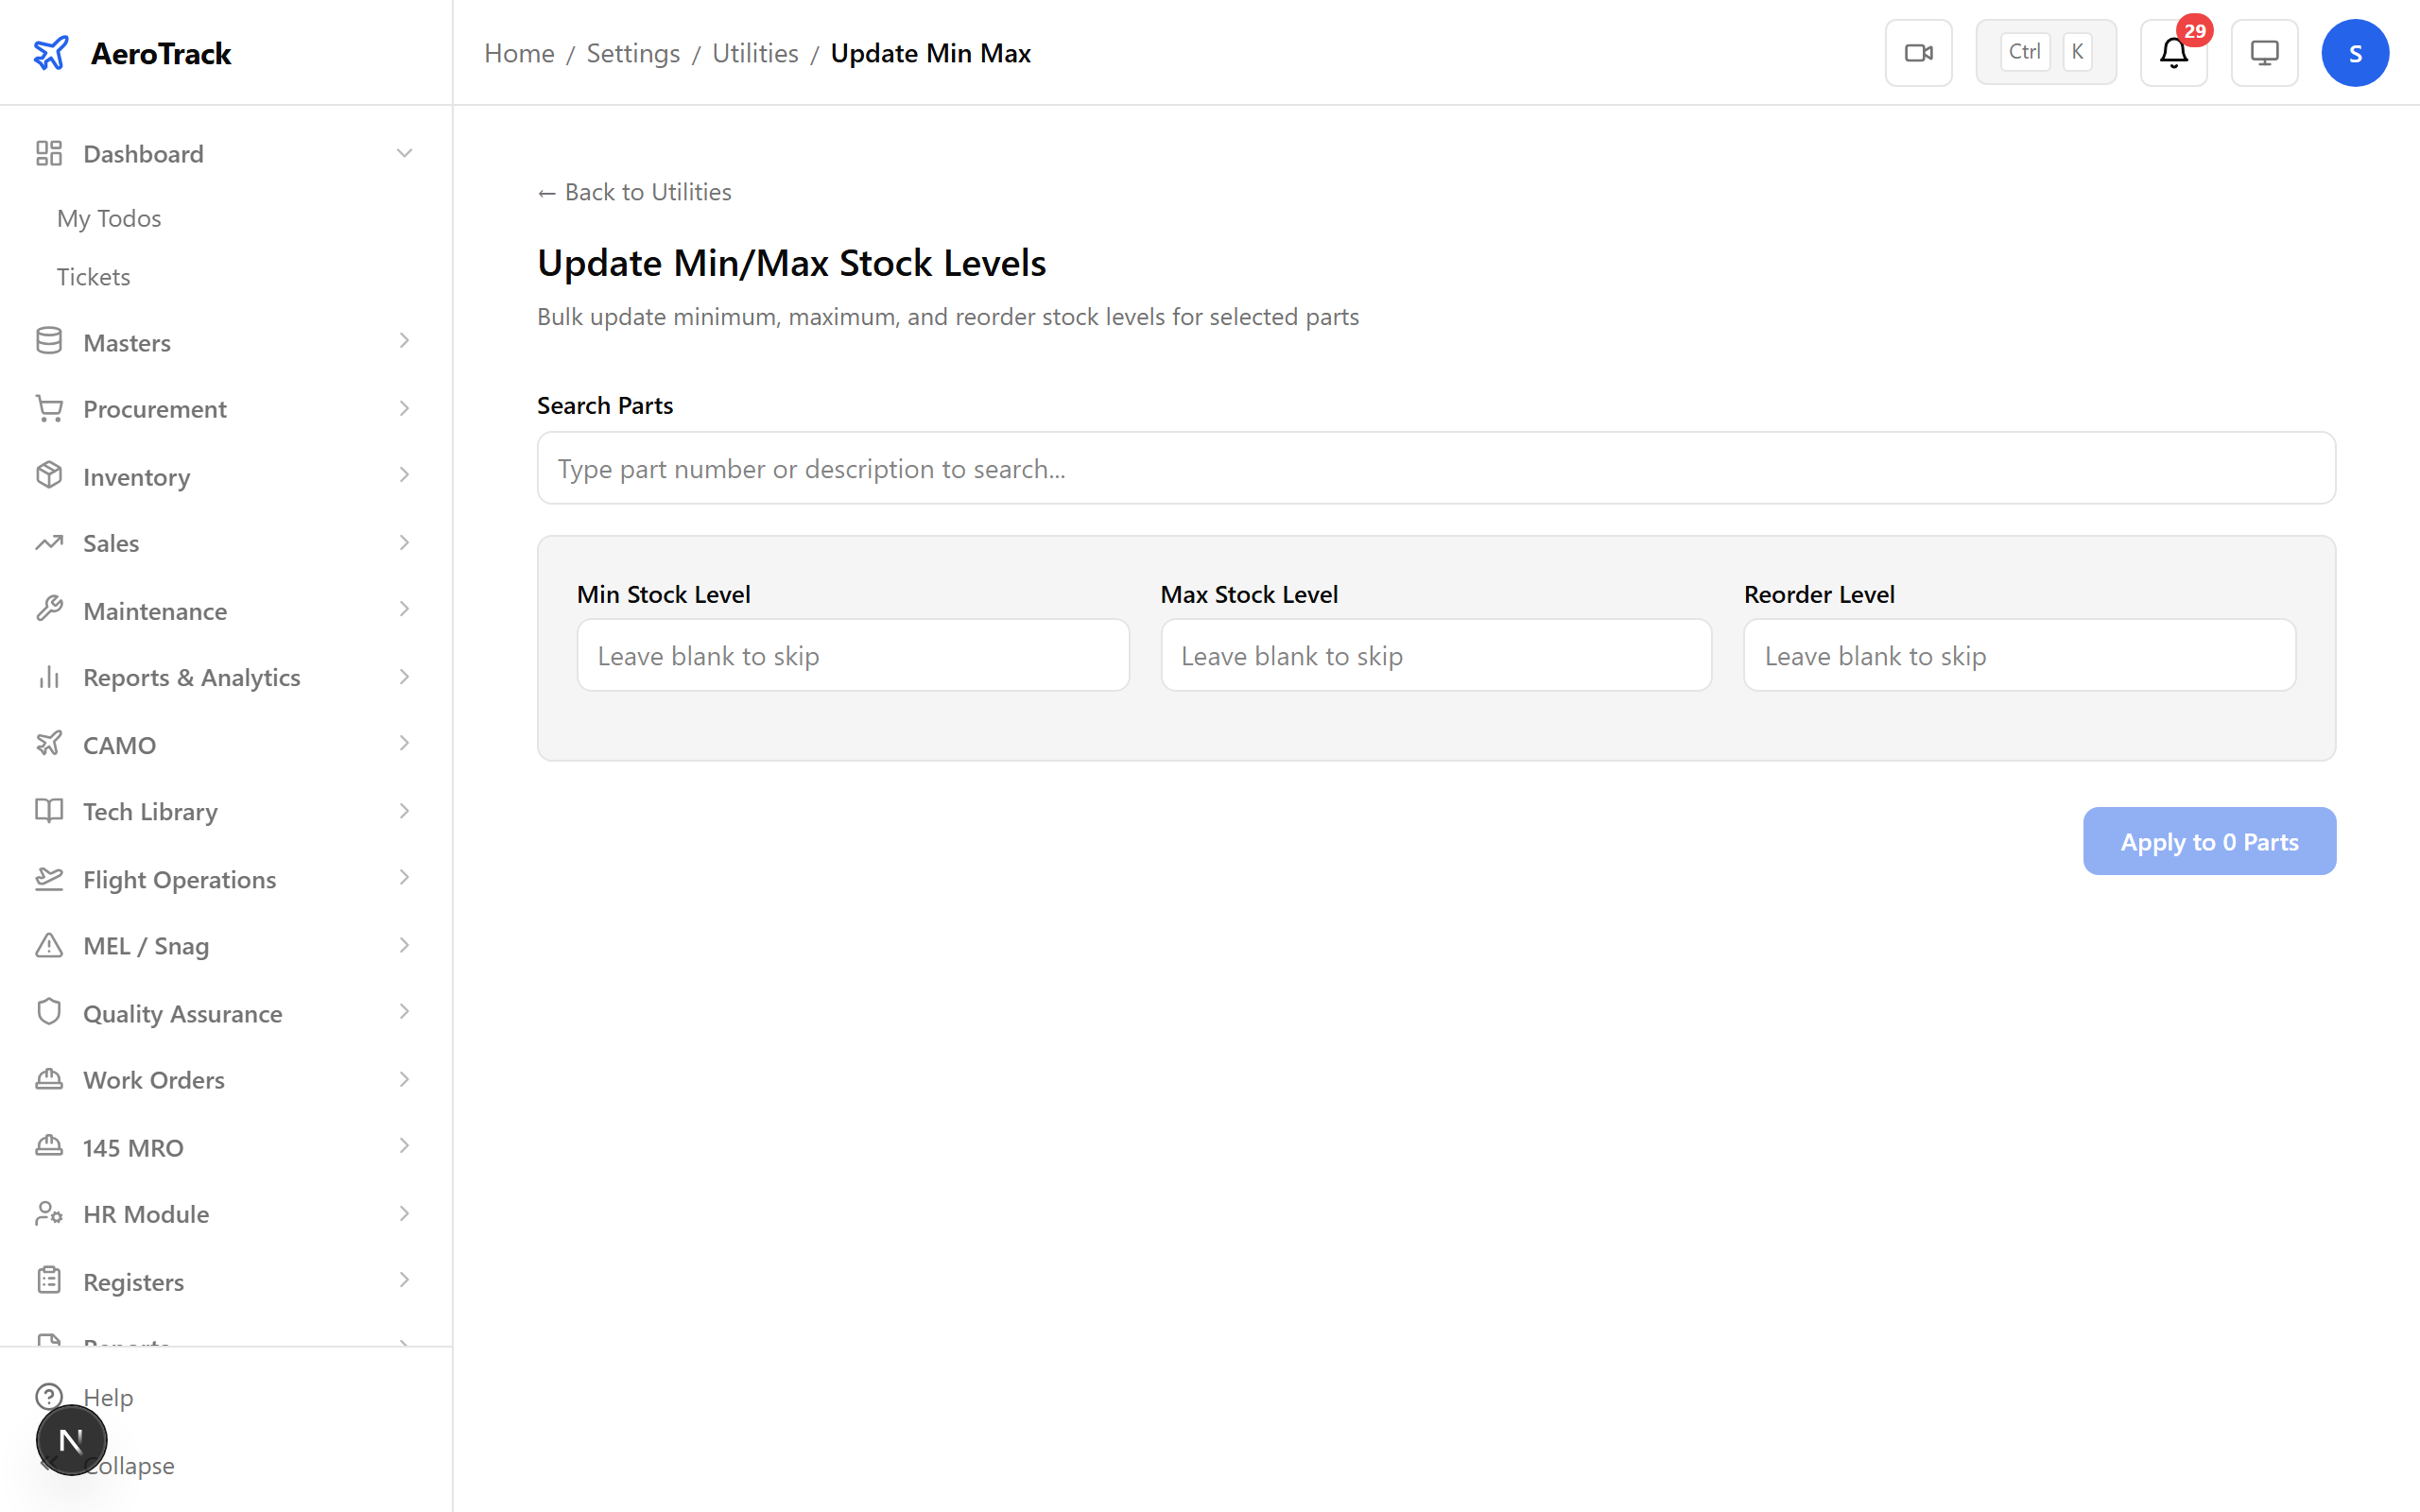
Step 14 — Update Min/Max Levels
Use Update Min/Max to adjust reorder points and maximum stock levels across warehouses in bulk. This feeds directly into the reorder-level reminders you saw in Guide 19.
Step 15 — Company Settings
Open Settings → Company to review and update organisation-level details — company name, AOC number, address, and regulatory references. These values appear on printed reports and official documents.

Step 16 — Complete
You’ve completed the Admin Deep Dive — and with it, all 20 AeroTrack guides. From user management and audit logs to utilities and company configuration, the admin toolkit gives you full oversight of the platform. Combined with the workflows covered in the previous 19 guides, you now have end-to-end knowledge of every module in AeroTrack.
Congratulations!
You’ve completed all 20 AeroTrack guides. From receiving a purchase requisition to closing a work order, from logging a flight to generating CAMO reports, from raising a quality finding to managing admin settings — you now have a complete understanding of the platform. Use the guide index to revisit any topic at any time.