Create the Work Order
Navigate to Work Orders → Internal in the sidebar.
Click the New Work Order button. The form opens at
/work-orders/internal/new.
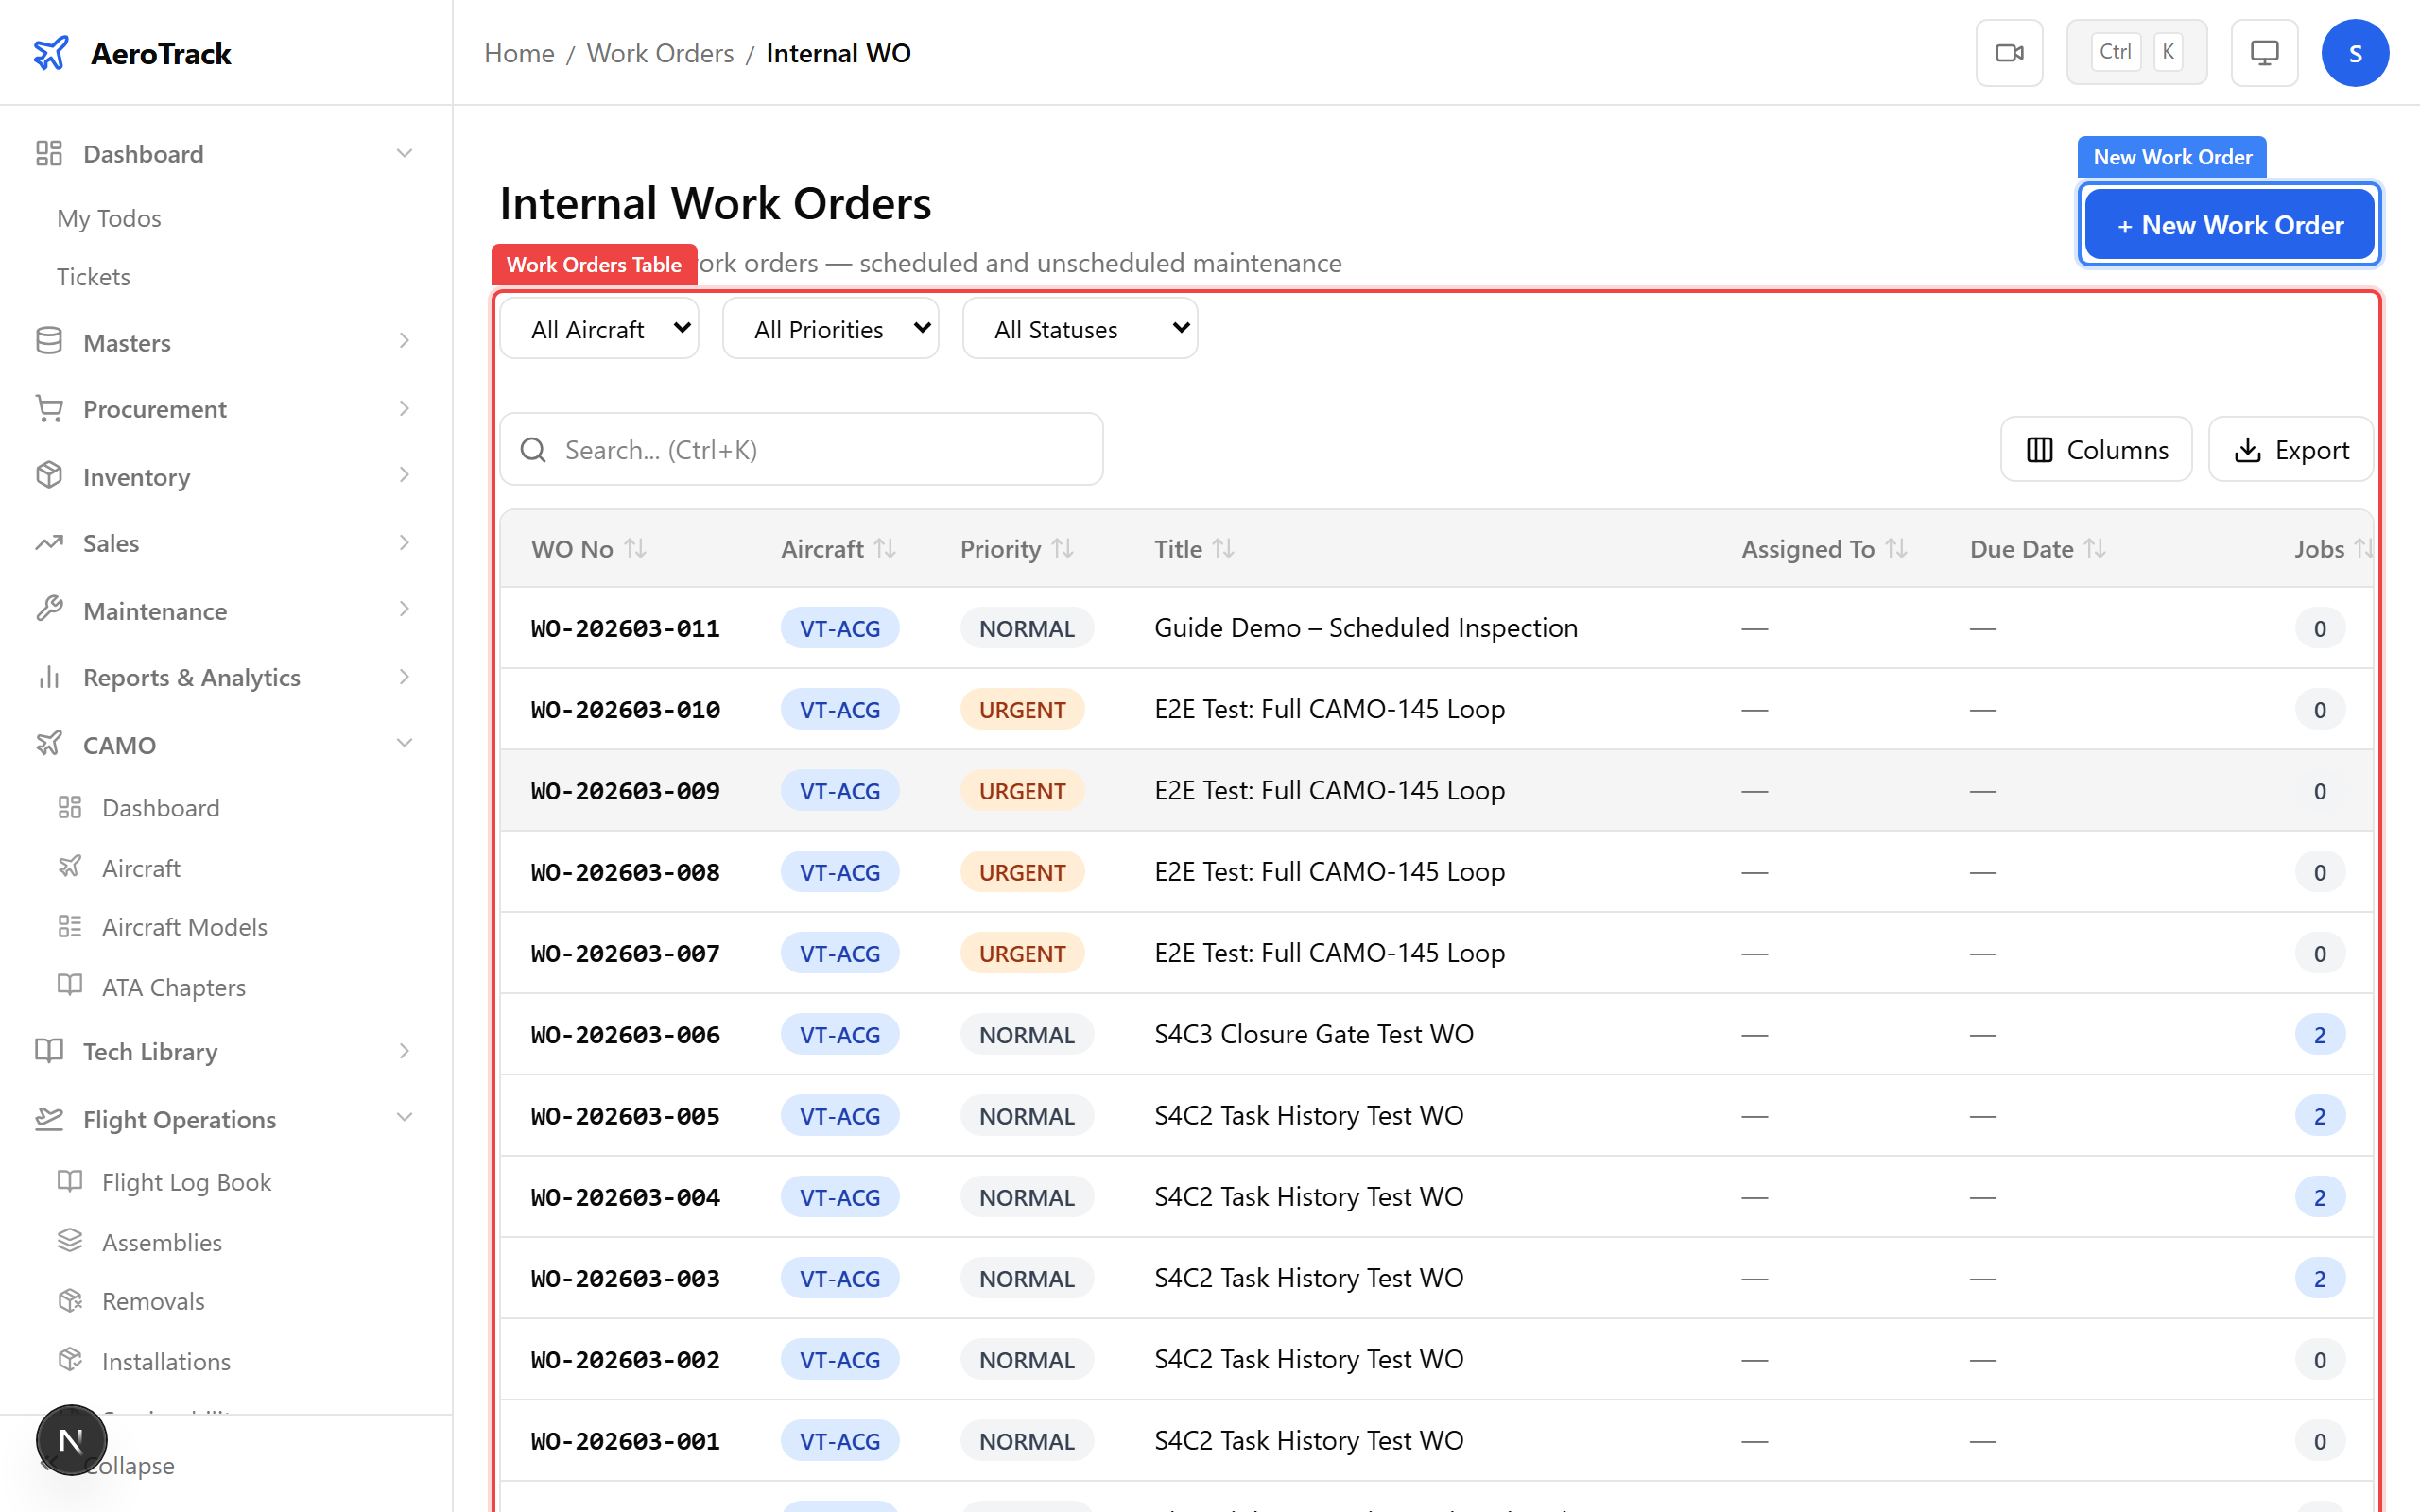
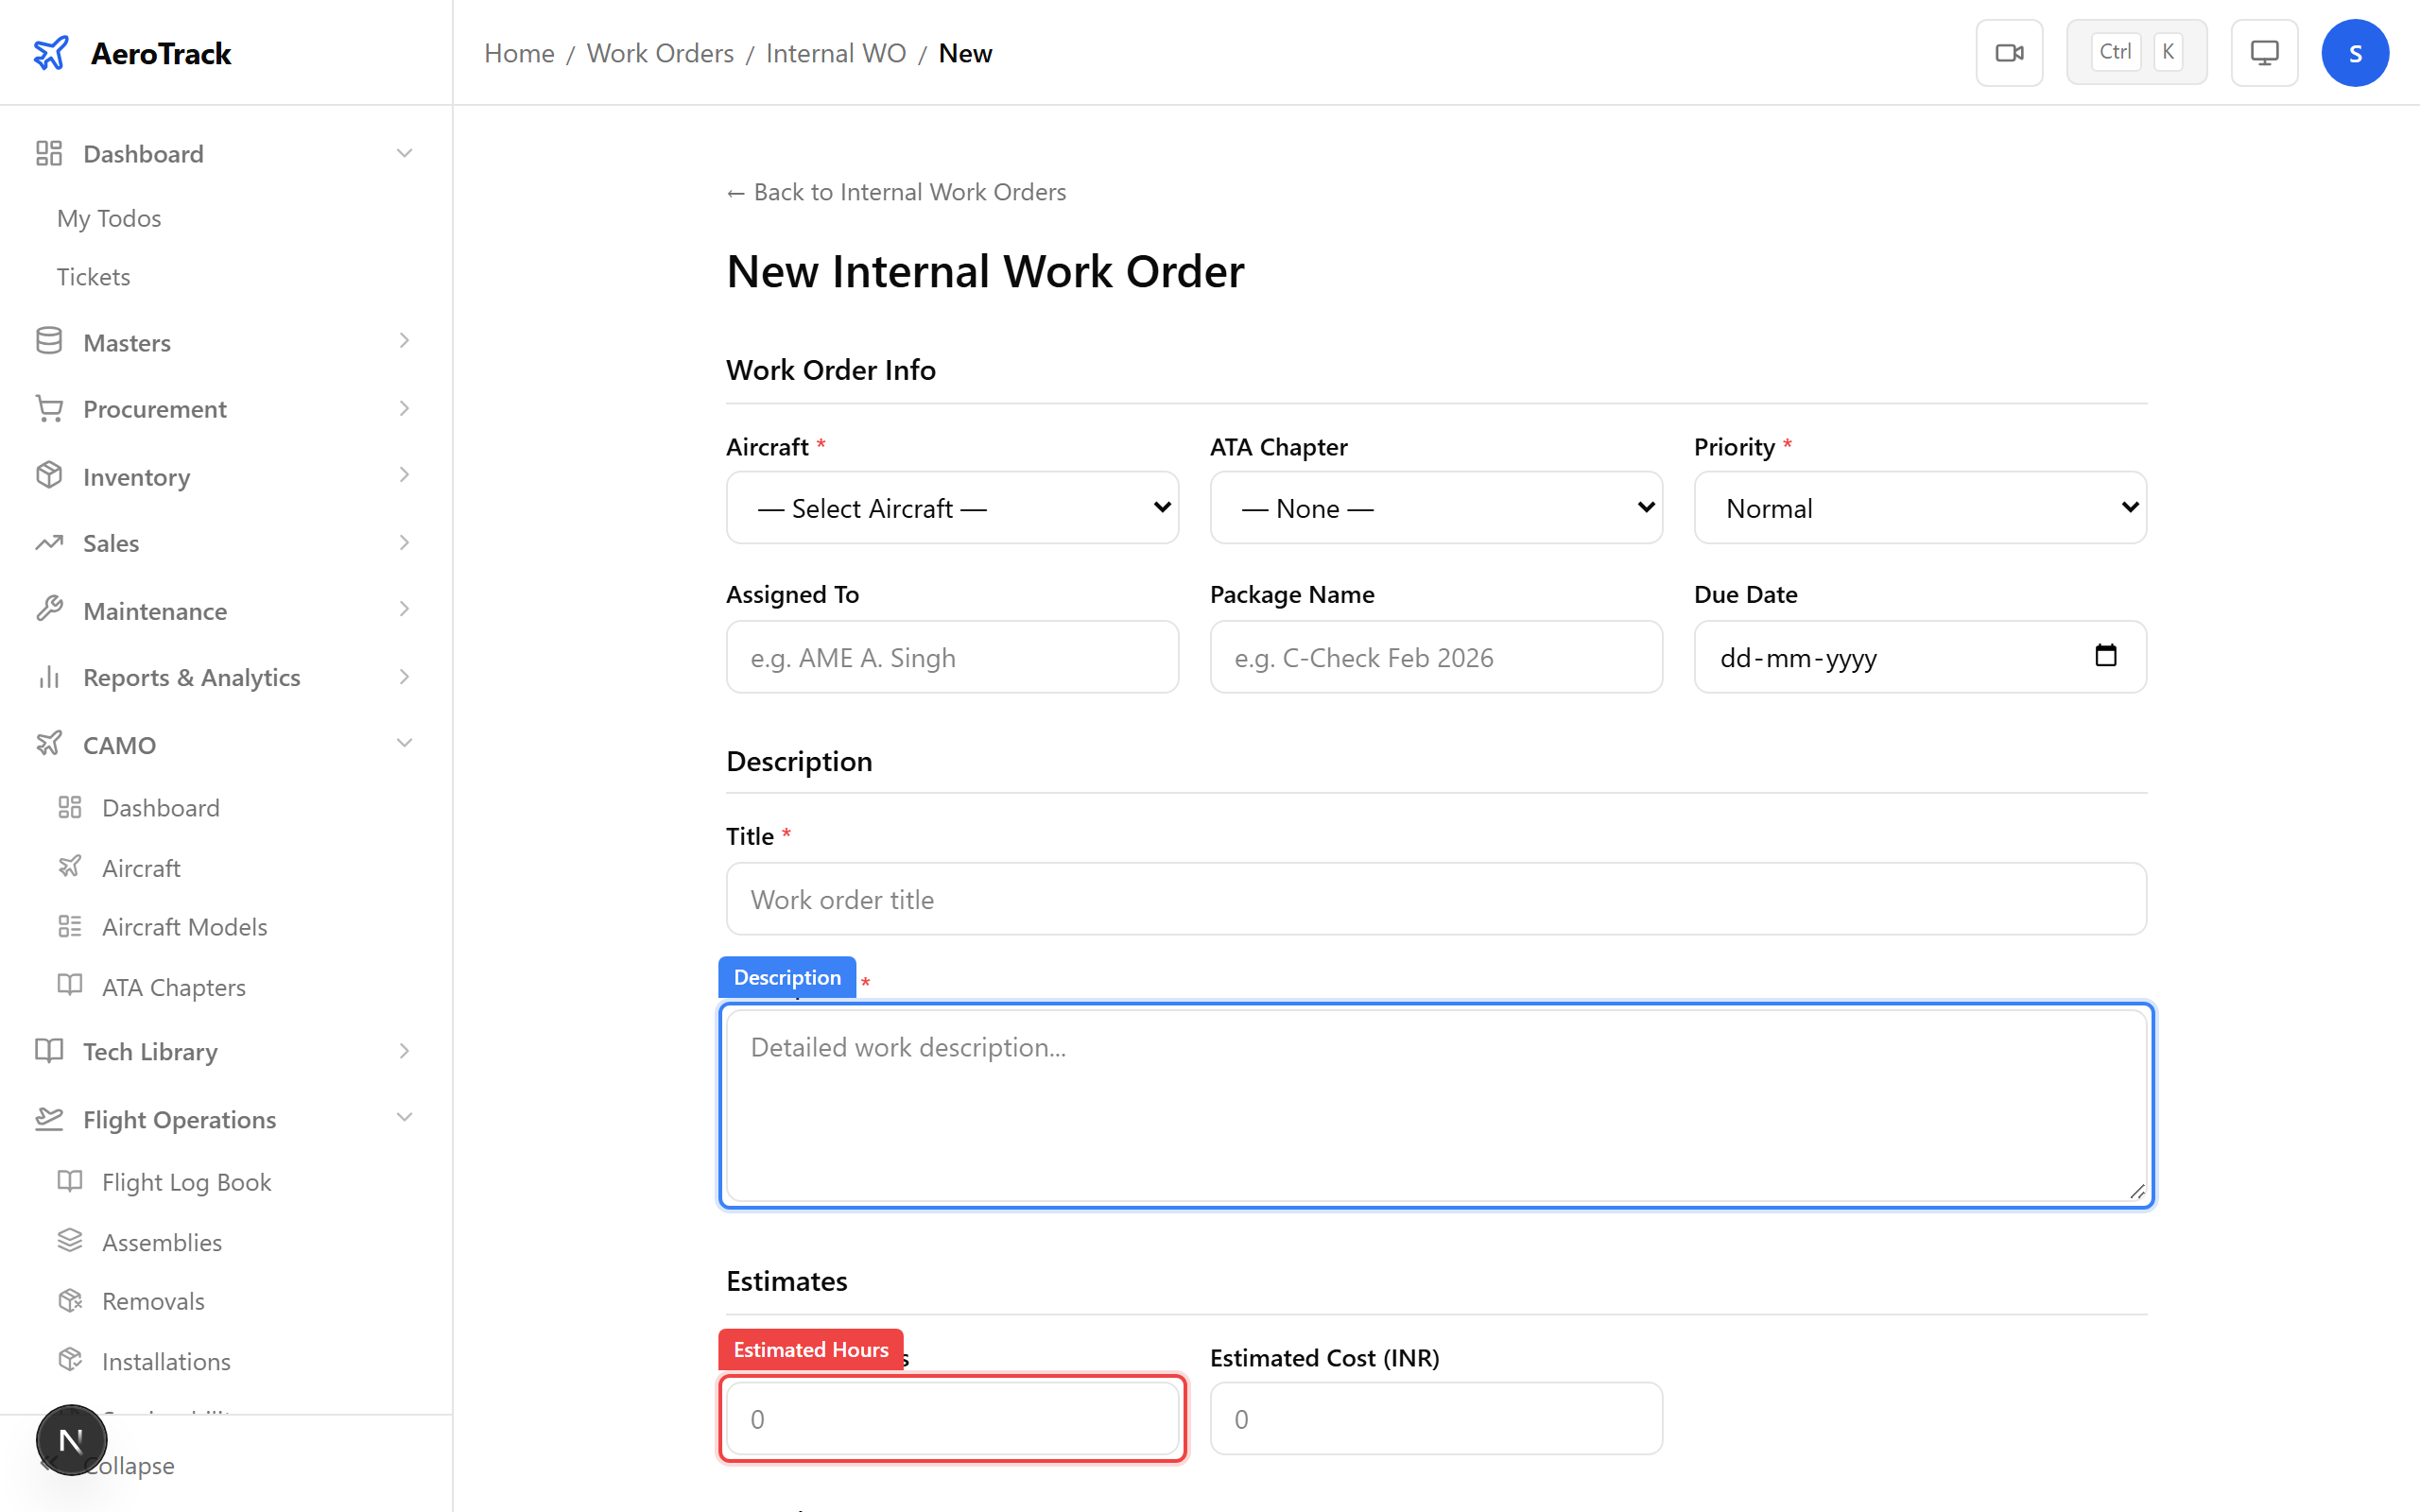
Complete the work order form:
| Field | Required | Notes |
|---|---|---|
| Aircraft * | Yes | Dropdown of all active aircraft (registration + model). |
| Title * | Yes | Short summary of the work to be done. |
| Description | No | Detailed scope of work. Pre-filled if coming from the due report. |
| ATA Chapter | No | Link to an ATA chapter for categorisation. |
| Priority | Yes | Normal, Urgent, or AOG (Aircraft On Ground). Defaults to Normal. |
| Due Date | No | Target completion date. Pre-filled from the earliest inspection due date if coming from the report. |
| Estimated Hours | No | Estimated man-hours for the job. |
| Remarks | No | Additional notes (max 500 characters). |
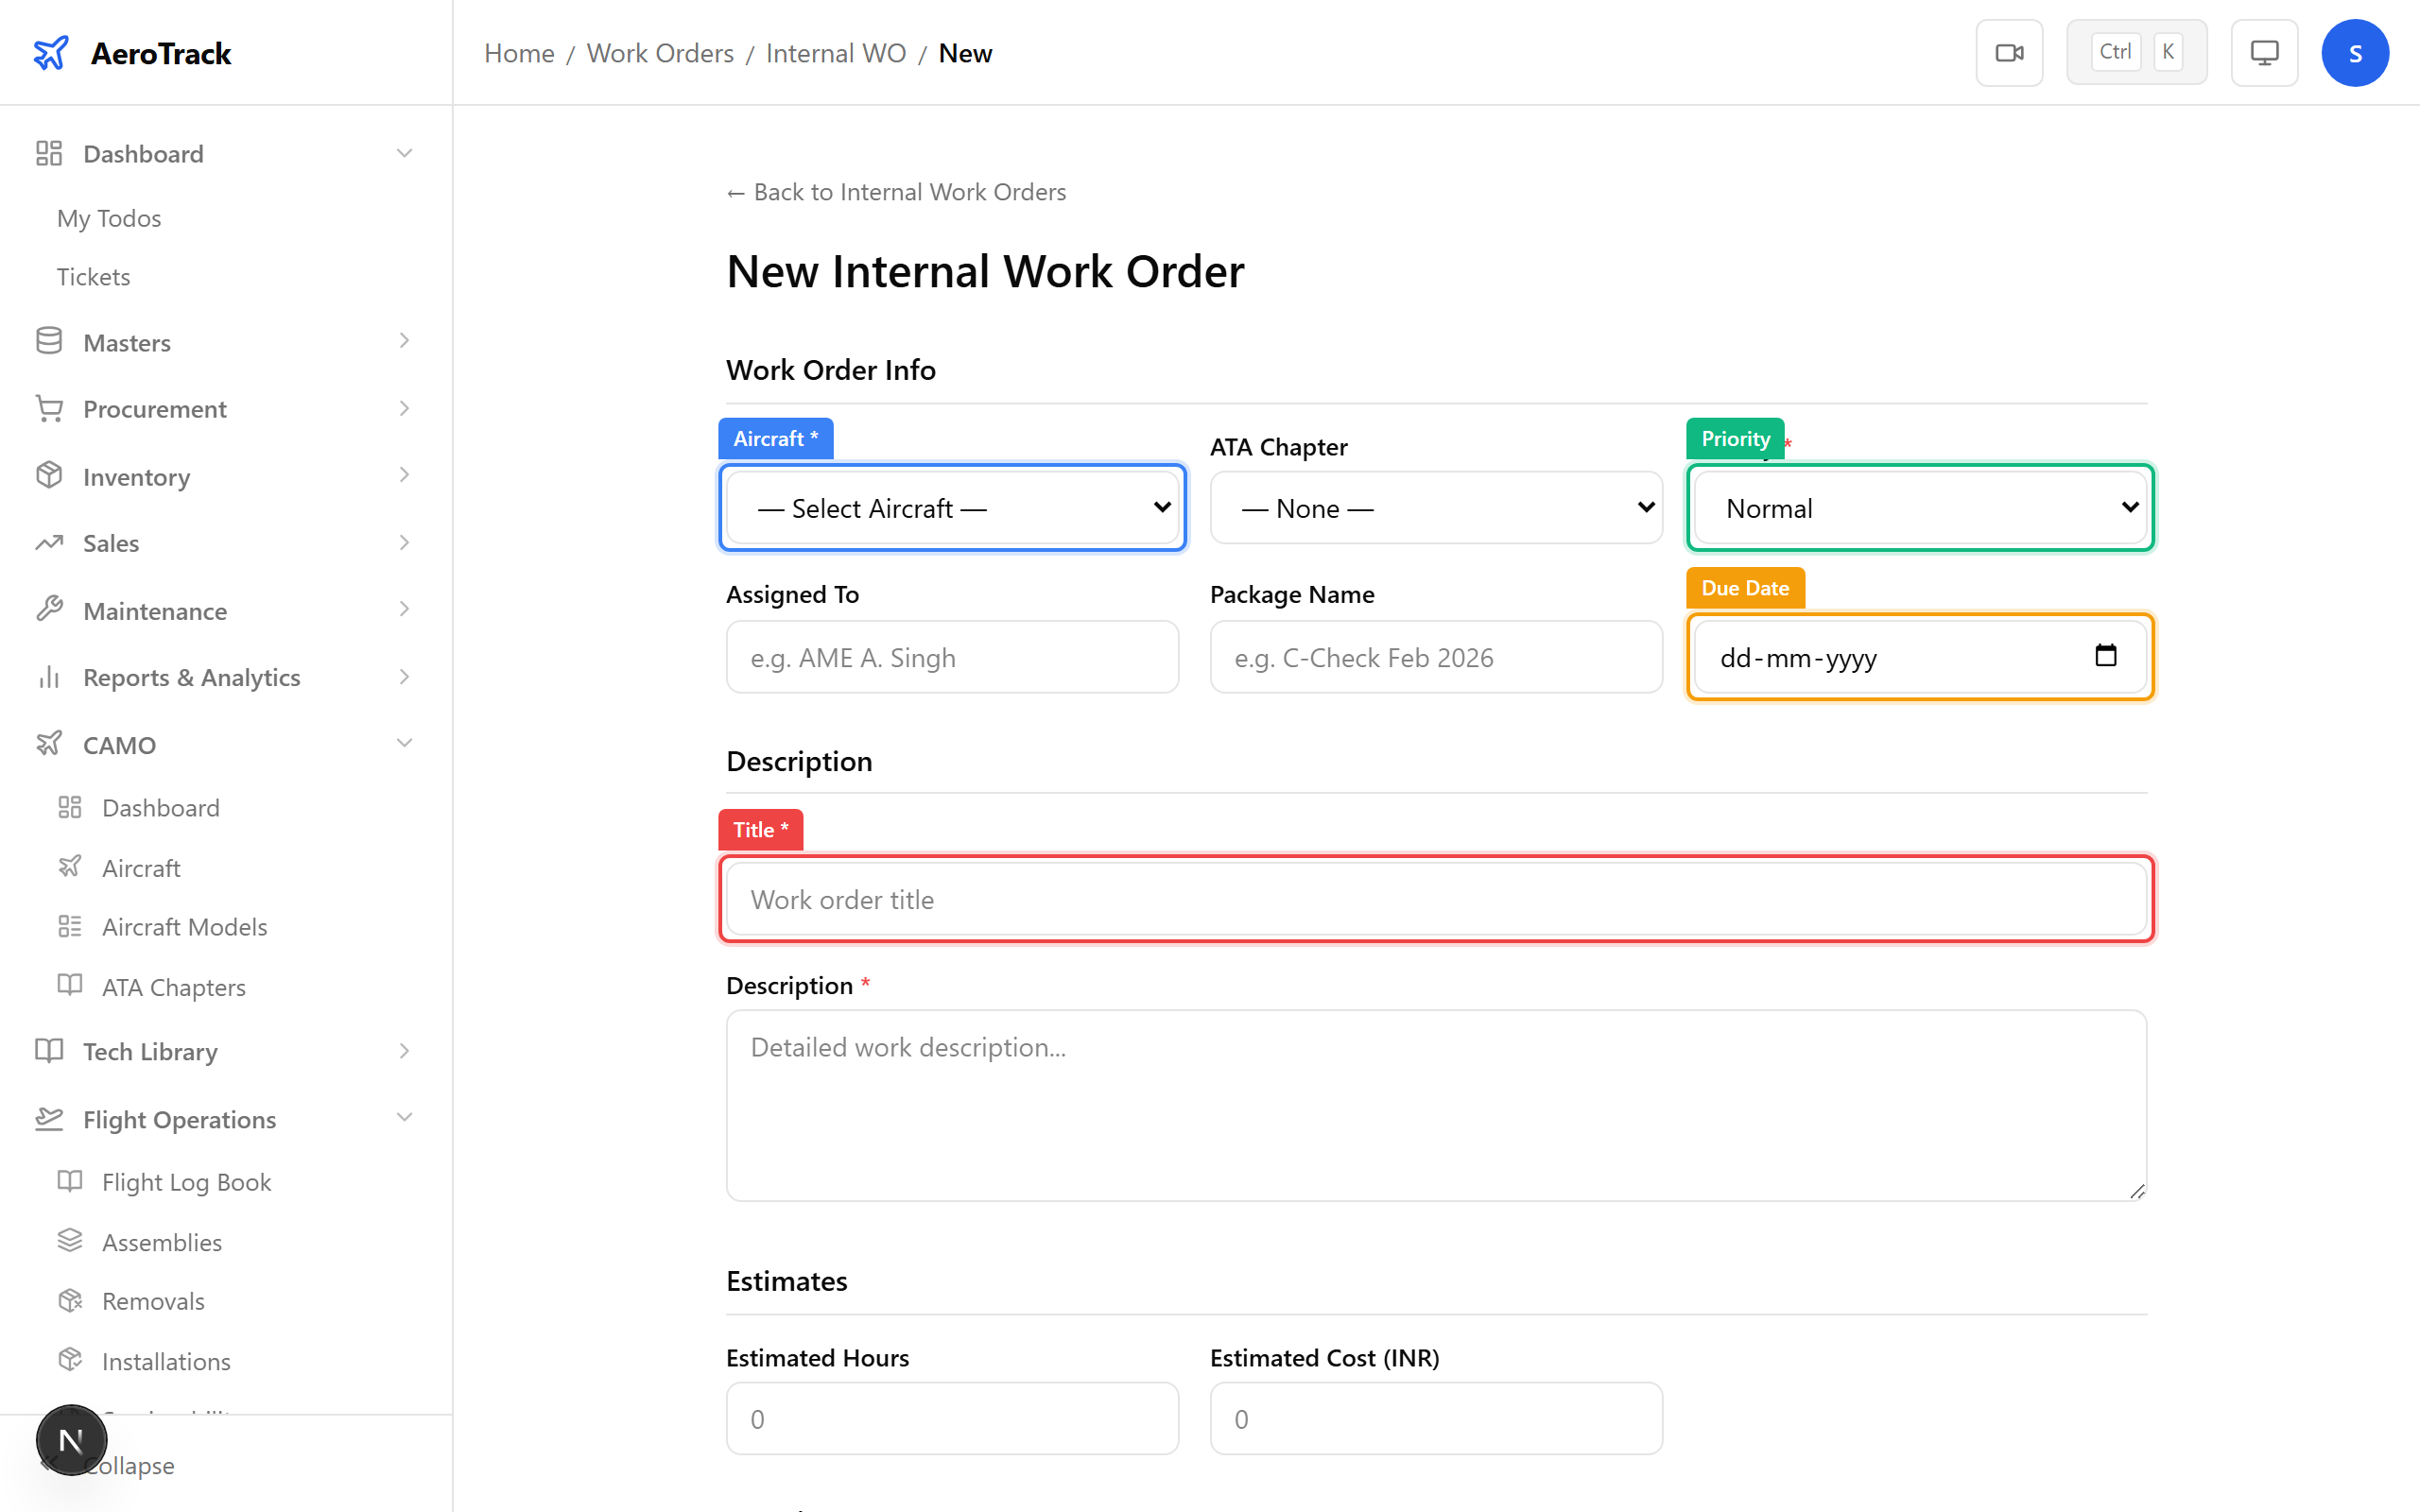
Click Create Work Order. The system generates a WO number automatically and sets the status to CREATED. A success toast appears and you are redirected to the internal work orders list.
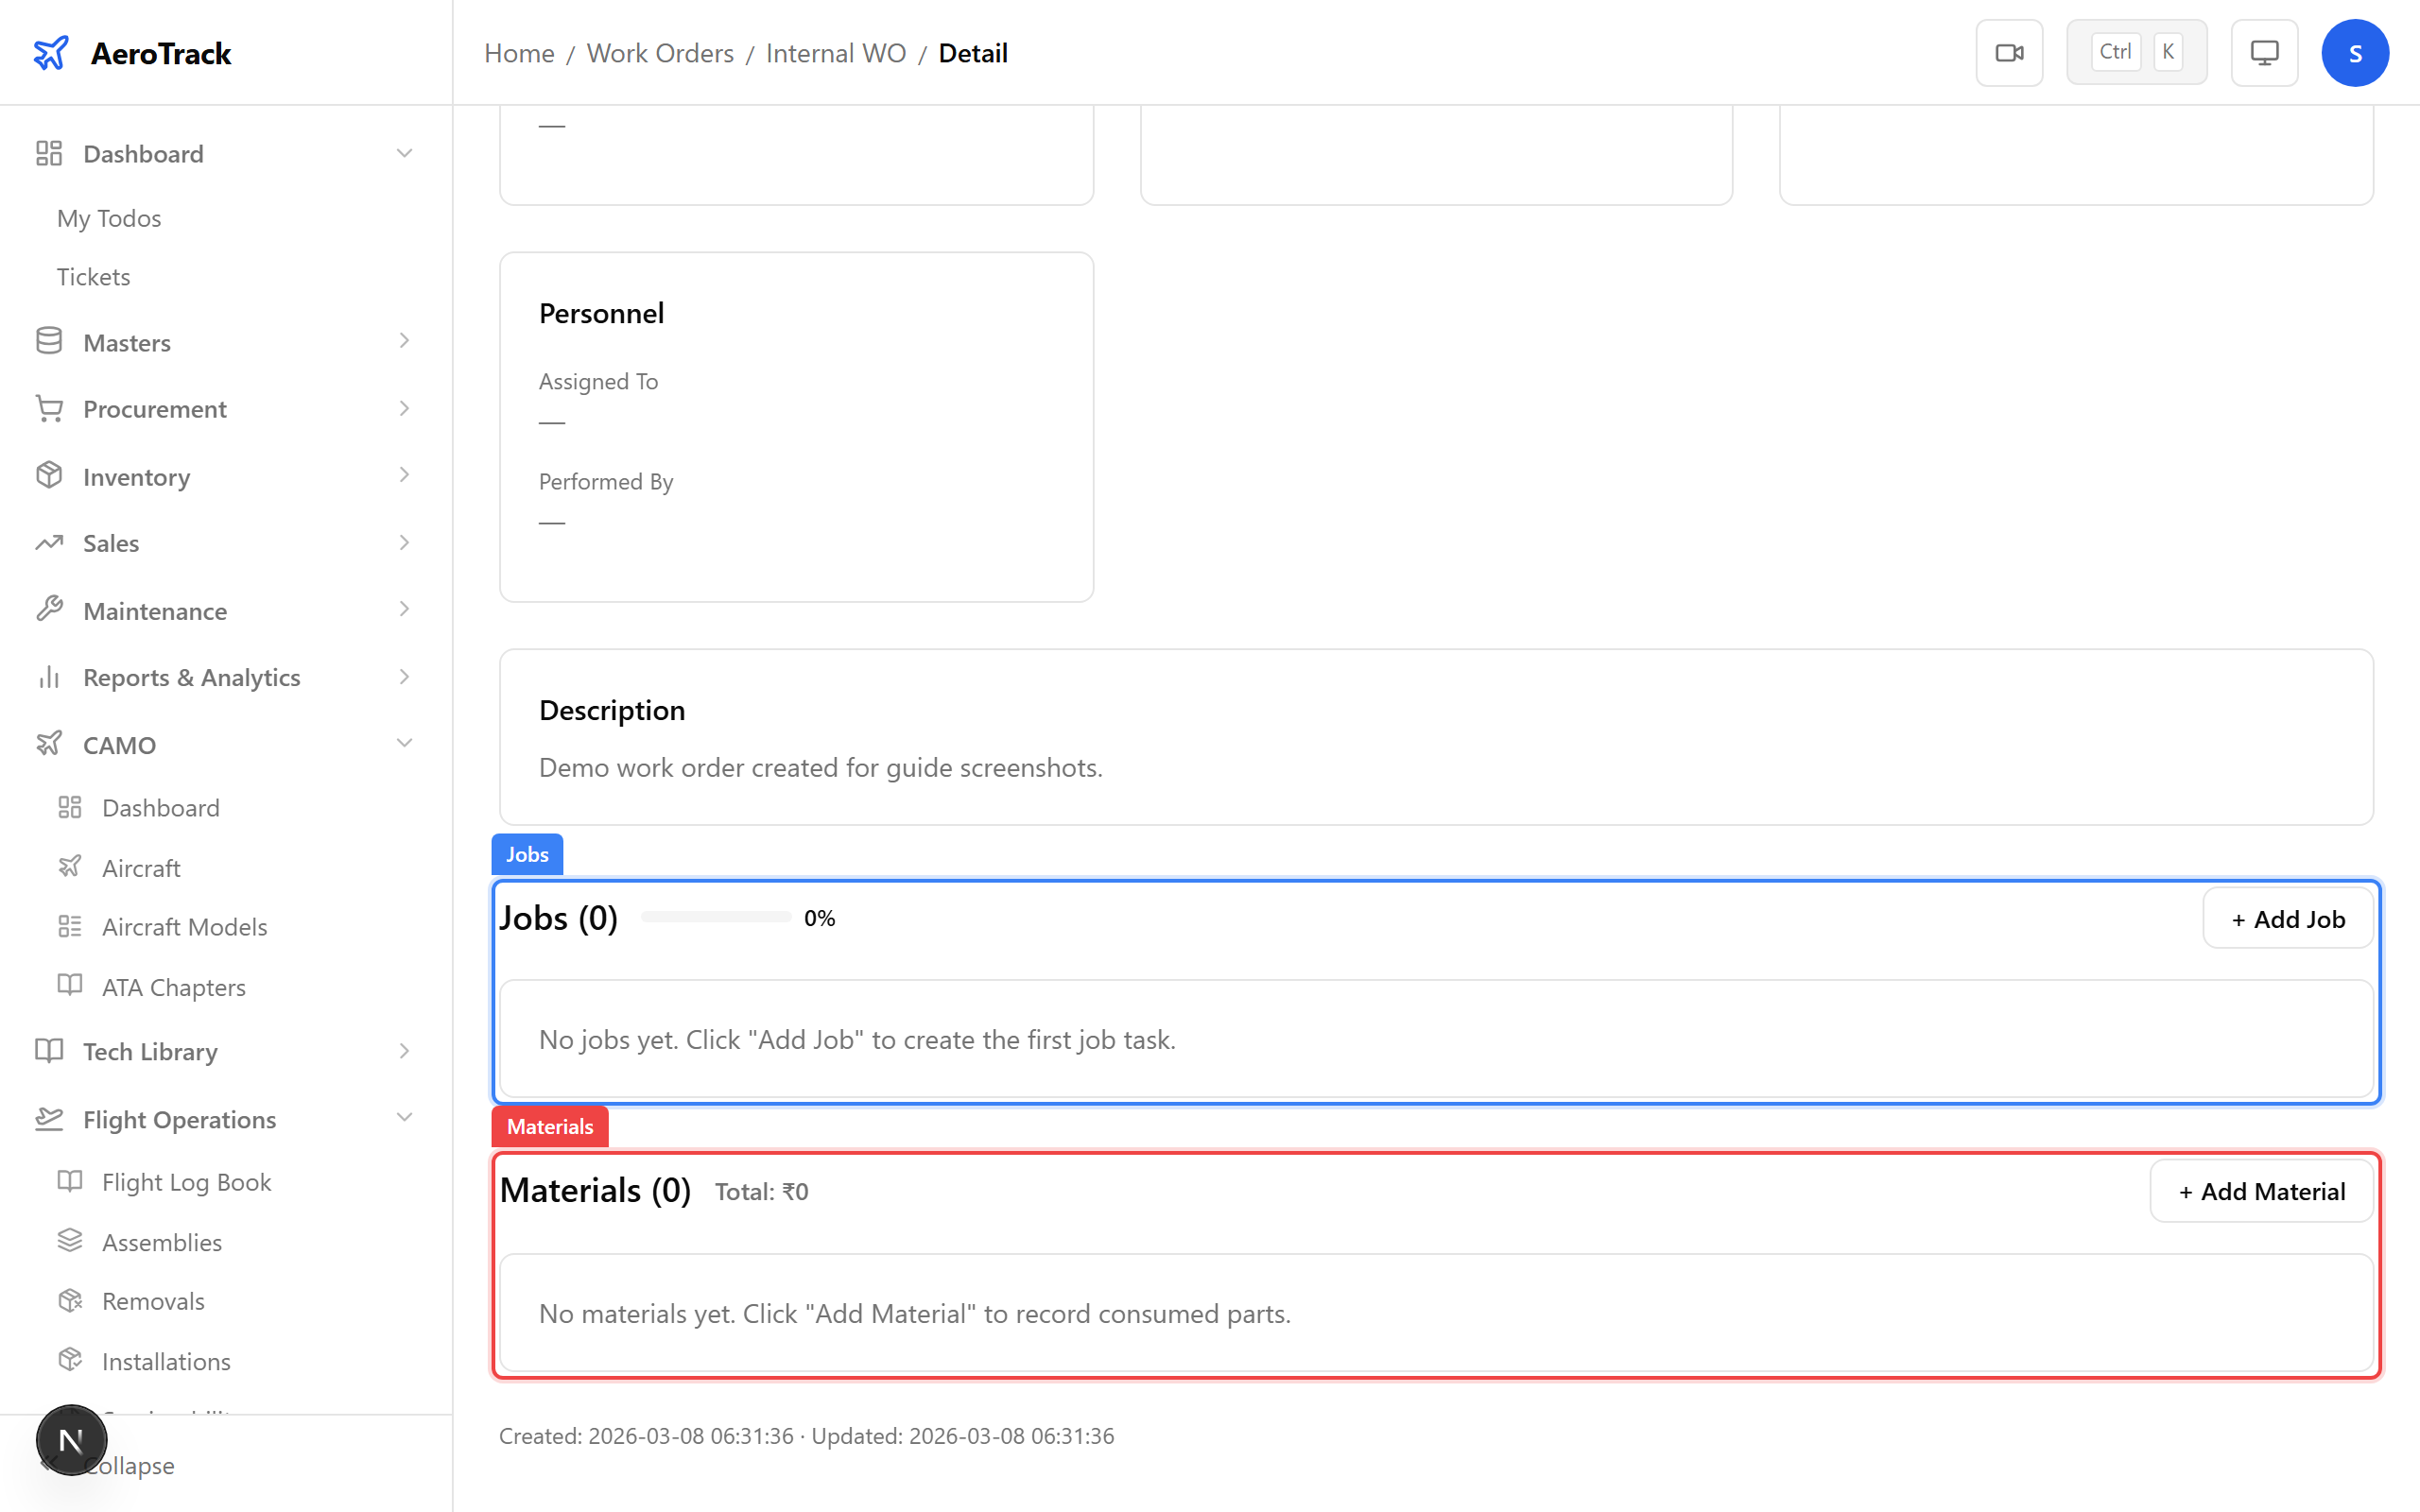
Add Jobs & Materials
From the internal work orders list, click on the WO row to open its detail page. The page shows: status badge, progress bar, due-status indicator, schedule, aircraft info, personnel, description, and the Jobs and Materials sections.
In the Jobs section, click Add Job. Fill in:
| Field | Required | Notes |
|---|---|---|
| Description * | Yes | What work the job covers. |
| ATA Chapter | No | ATA chapter for the job. |
| Task Card Ref | No | Reference to an existing task card. |
Jobs are auto-numbered (Job 1, Job 2, etc.). Each job tracks its own status: PENDING → IN_PROGRESS → COMPLETED. The progress bar on the WO header updates as jobs are completed.
In the Materials section, click Add Material to record parts consumed during the work order. Enter the part details, quantity, and unit cost. Material costs are totalled and displayed in the WO header metrics.
Workflow & Status
An internal work order progresses through these statuses:
A work order can also be CANCELLED from any status. To reach COMPLETED, all jobs must be 100% done or deferred.
| Transition | What happens |
|---|---|
| CREATED → ASSIGNED | A technician is assigned to the WO. |
| ASSIGNED → IN_PROGRESS | Work begins. startDate is recorded. |
| IN_PROGRESS → QA_CHECK | Work submitted for quality review. |
| QA_CHECK → COMPLETED | QA approves. completionDate is recorded. |
| COMPLETED → CLOSED | Archived. closedDate is recorded. See Closing a Work Order. |
On the WO detail page, the Workflow Actions section at the bottom shows available transition buttons based on the current status. Click the appropriate button and optionally add remarks. The status badge updates immediately after the transition.
If the work requires a Part-145 approved maintenance organisation, the work order can be received by the 145 MRO module. When a CAMO WO is in CREATED or ASSIGNED status, it appears in the 145 MRO inbox under the "From CAMO" tab. The 145 engineer clicks Receive to bring it into their system, changing the CAMO WO status to RECEIVED_145.