Select Changes
Navigate to Tech Library → AMP and click a revision in PARSED or PENDING_APPROVAL status. The diff panel appears on the detail page.
As an admin, you will see:
- Checkboxes in the leftmost column of each actionable row
- A Select All checkbox in the header
- Approve Selected button (primary)
- Approve All Changes button (outline)
- Reject Revision button (red)
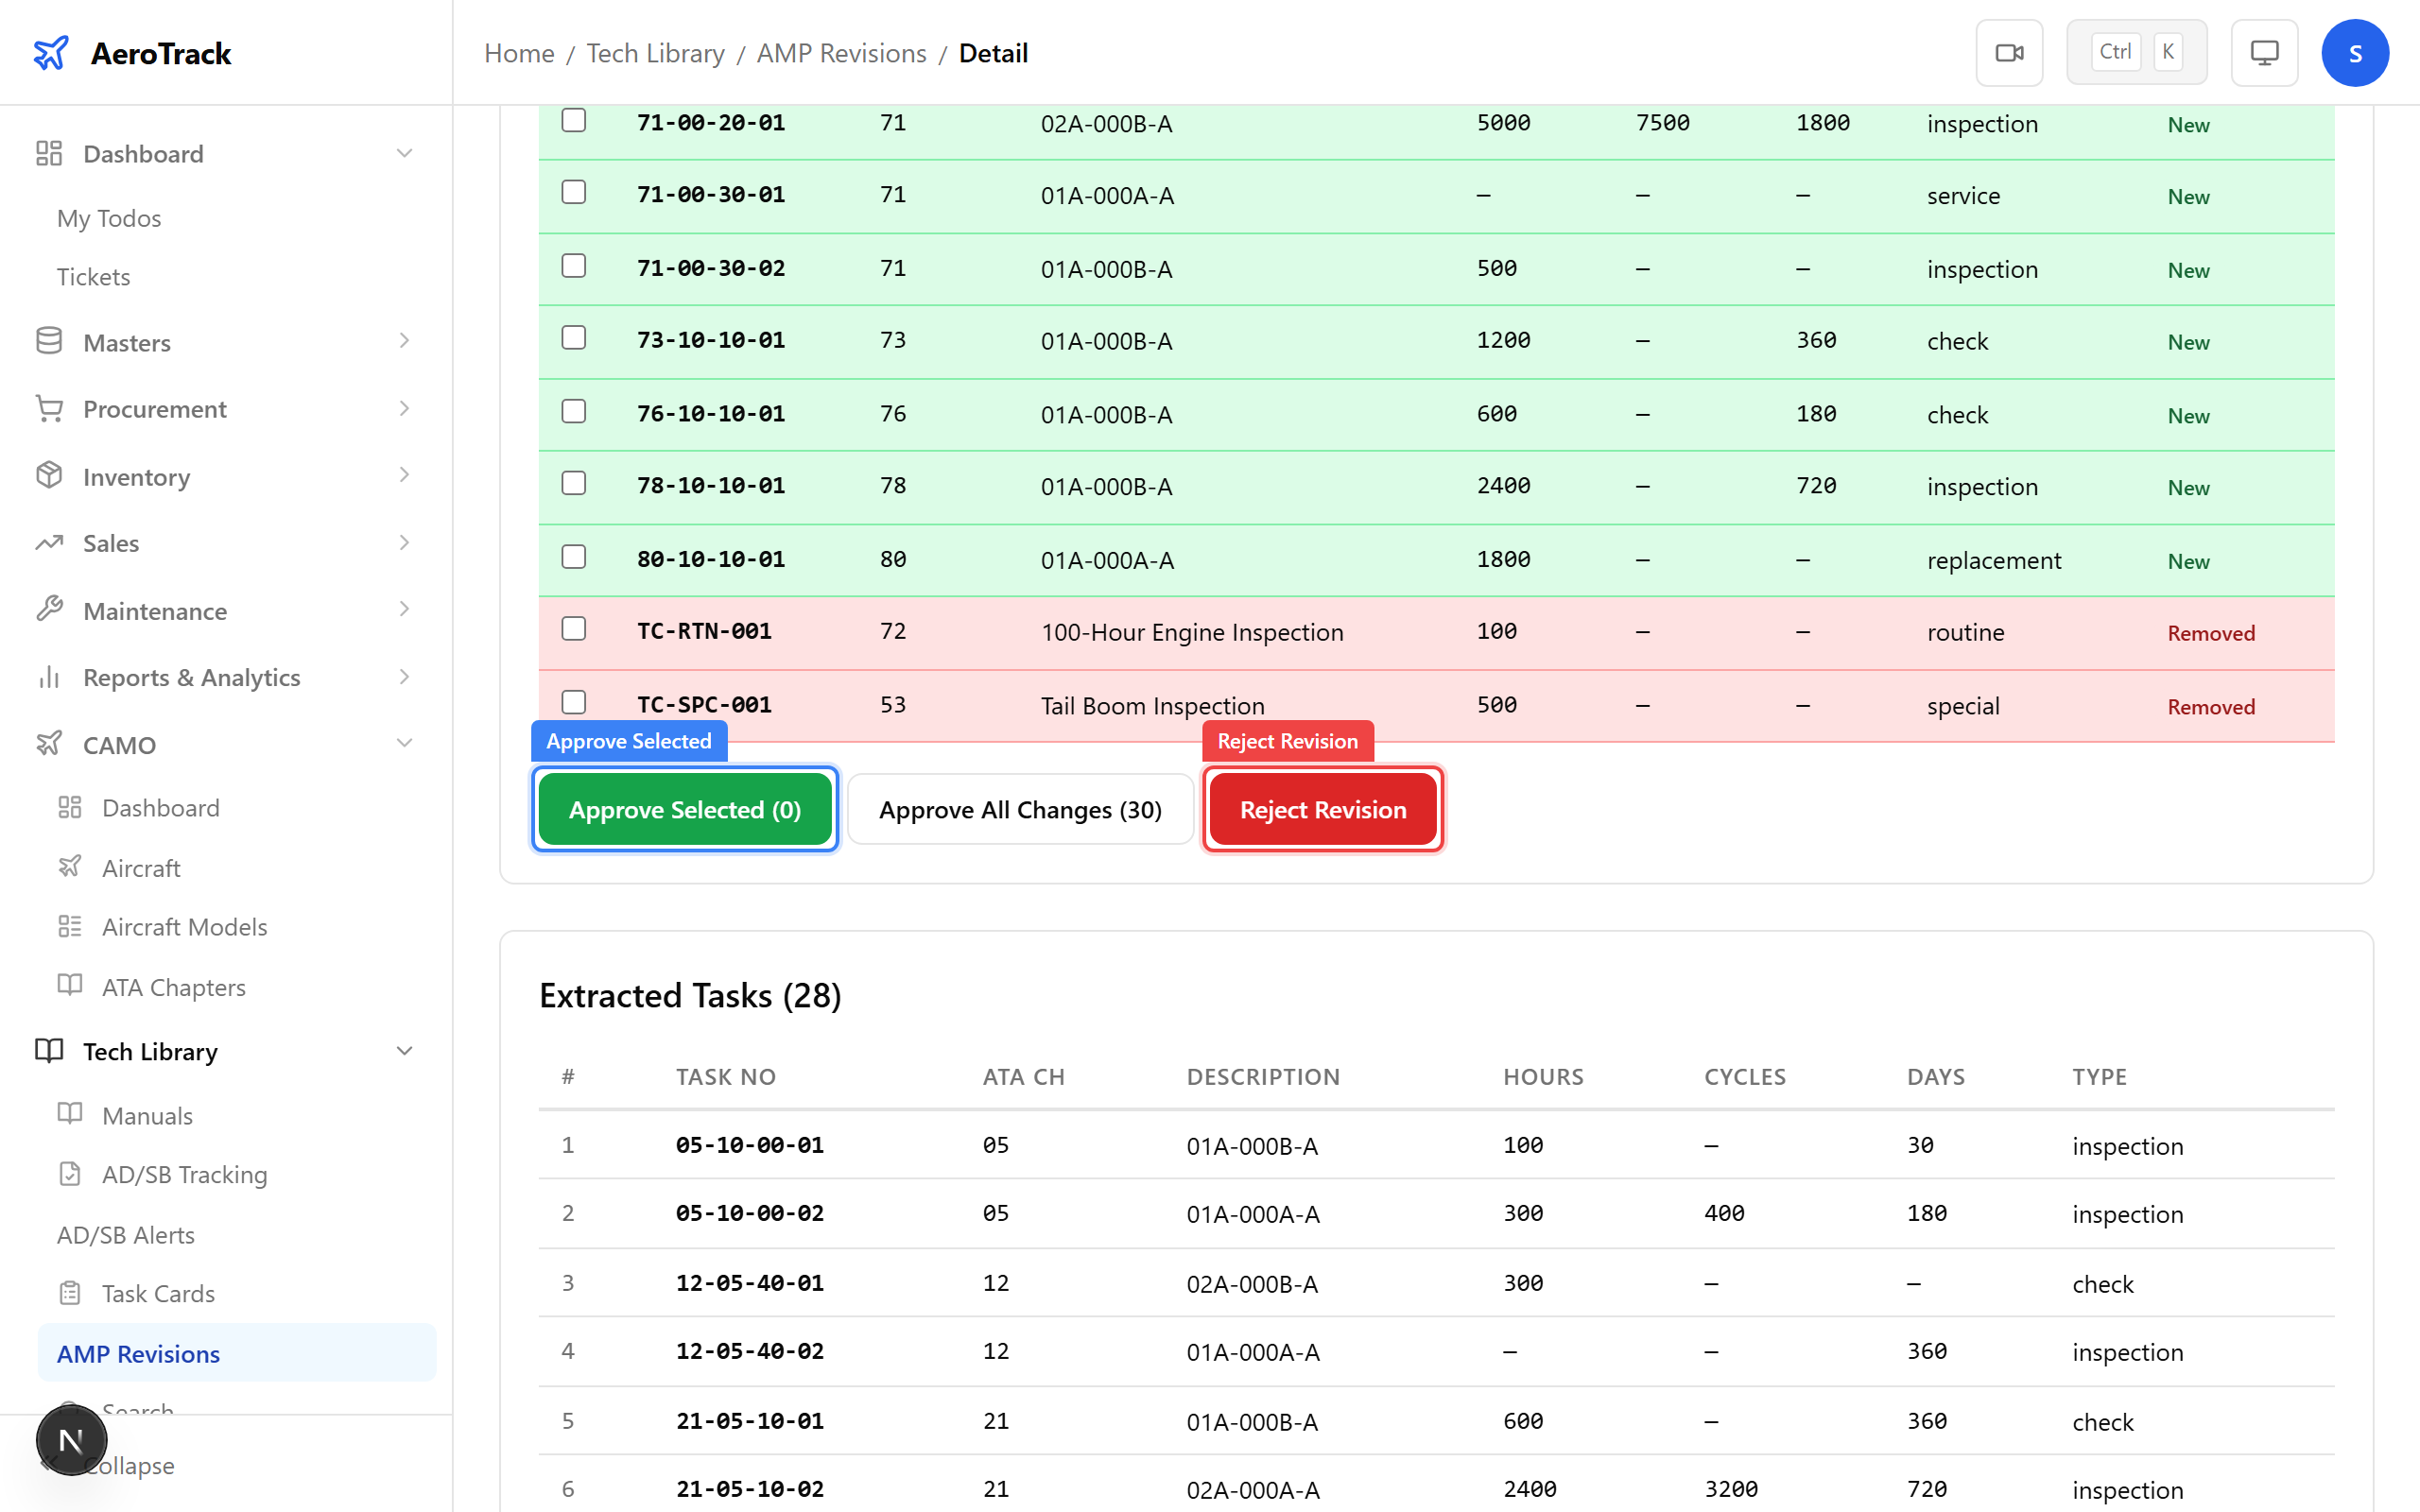
Click the checkbox next to each task you want to approve. Only items with status New, Changed, or Removed can be selected. Unchanged items have no checkbox.
The Approve Selected button shows the count of selected
items in parentheses — e.g. Approve Selected (5).
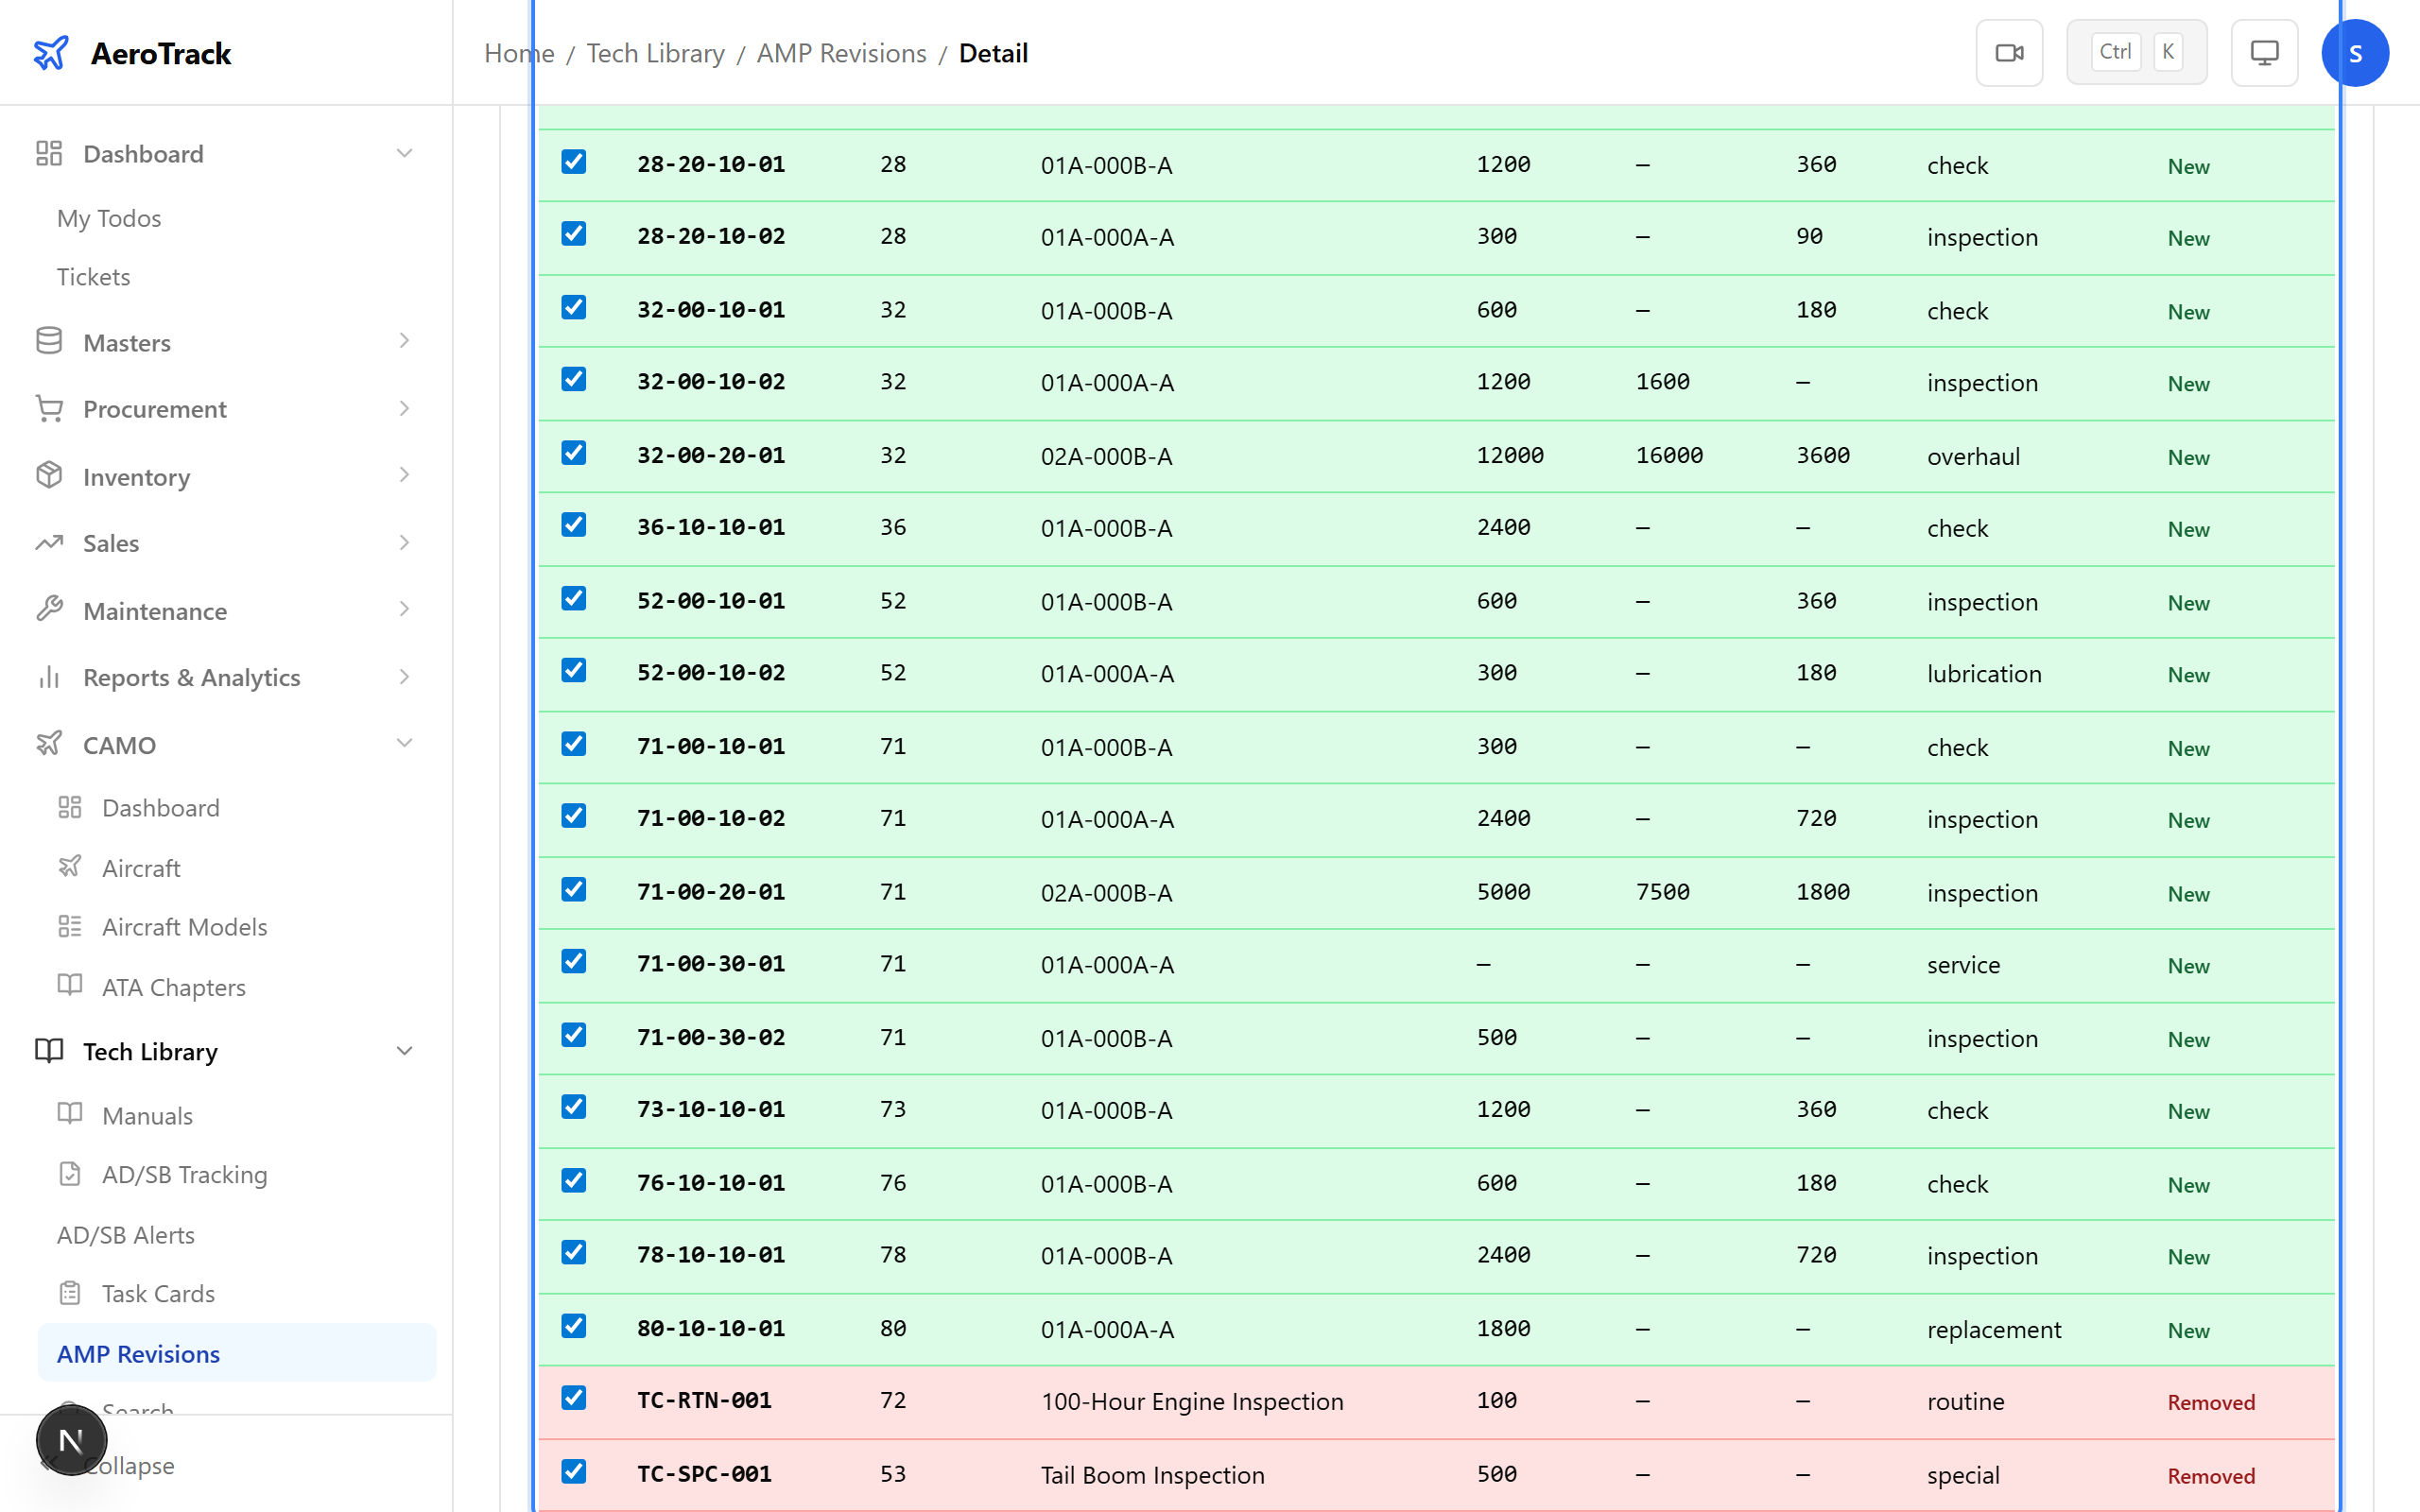
To approve everything at once, click the Approve All Changes button. This automatically selects all actionable items (New + Changed + Removed) and opens the reason dialog.
Alternatively, use the Select All checkbox in the table header to toggle all actionable items, then click Approve Selected.
Approve Changes
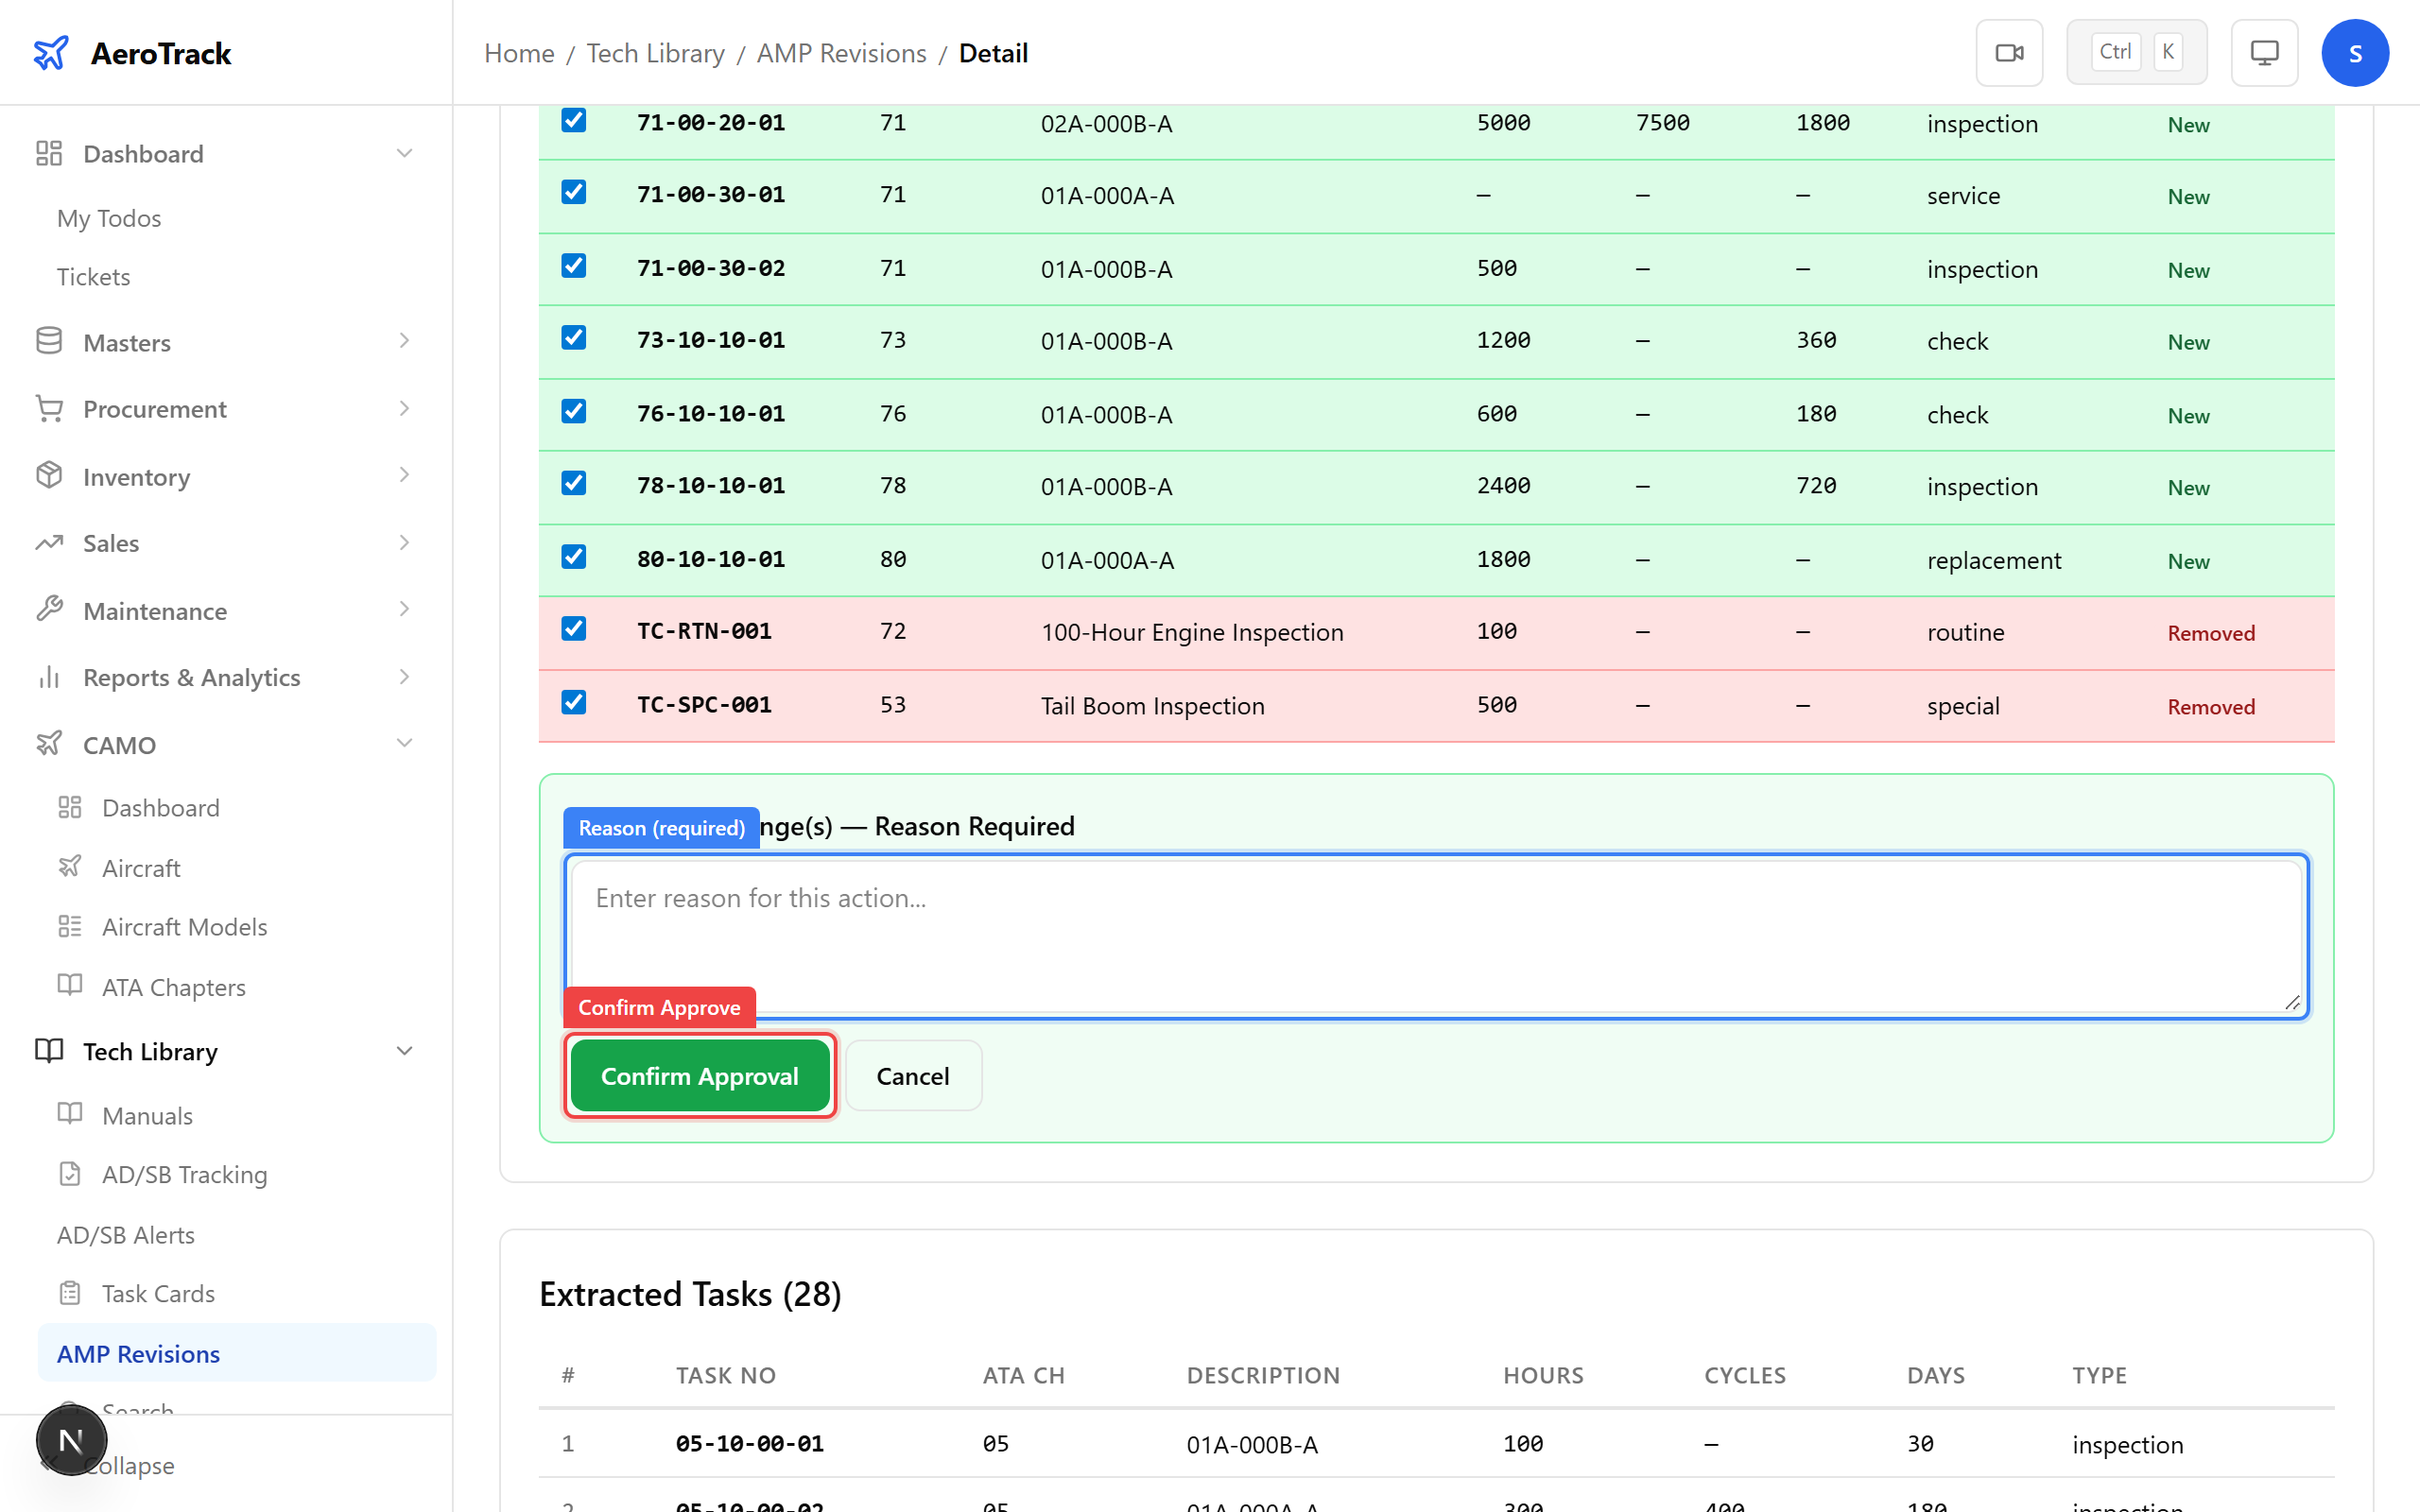
Click Approve Selected ({count}). A reason dialog appears inline with the title: “Approve {count} change(s) — Reason Required”.
Type your reason for approval in the textarea. The reason is mandatory and cannot be empty. This is recorded in the audit trail for regulatory traceability.
Click Confirm Approval to proceed. The button shows “Approving...” while processing.
On success, a toast notification appears:
“Changes Approved — Created {X}, updated {Y}, deactivated {Z} task cards”
The system performs these actions for each approved item:
| Item Status | Action Taken |
|---|---|
| New | Creates a new task card in the database with the AMP’s values (task no, ATA chapter, description, intervals, type). |
| Changed | Updates the existing task card with the AMP’s new values. |
| Removed | Deactivates (soft-deletes) the task card. It no longer appears in active lists. |
The revision status transitions to APPROVED. The status
badge, approvedBy, and approvedAt fields update
on the detail page.
Reject a Revision
If the AMP revision should not be applied, click the red Reject Revision button. A reason dialog appears with the title: “Reject Revision — Reason Required”.
Enter the reason for rejection in the textarea (mandatory, cannot be empty). Click Confirm Rejection.
The system:
- Sets the revision status to REJECTED.
- Stores the rejection reason in the revision’s remarks field.
- Records who rejected it and when.
- Logs the action in the audit trail.
A toast appears: “Revision Rejected — The AMP revision has been rejected”. The diff panel is no longer shown. The detail page displays the REJECTED status badge.